


Create a realistic Stitches in photoshop
Welcome to Part 3 of our 4 Weeks of Terror tutorial series, in which we’ll create torn flesh effects with basic digital painting techniques. My Wacom tablet has been gathering dust in the wardrobe for a couple of years now, so it’s great fun putting it to good use again. This walkthrough is written with tablet users in mind, however with a bit of patience – all effects can be achieved with a mouse also. Let’s go!
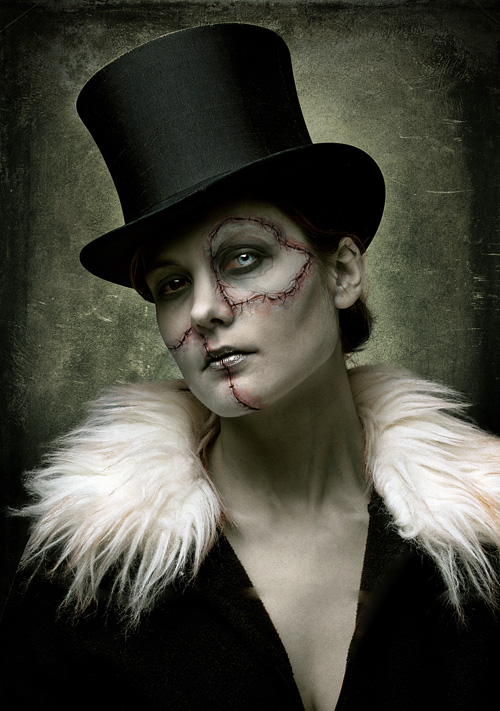
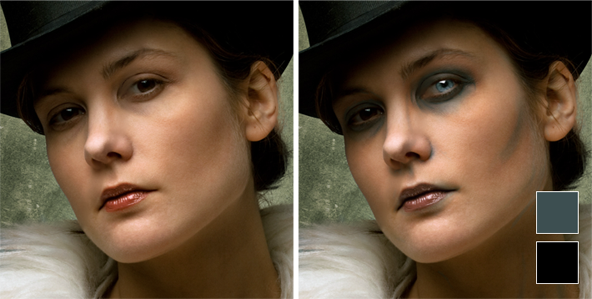
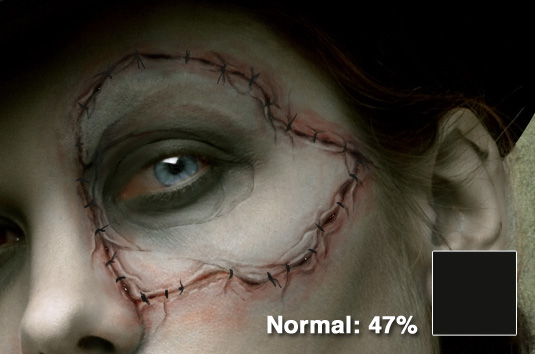
Here the final result
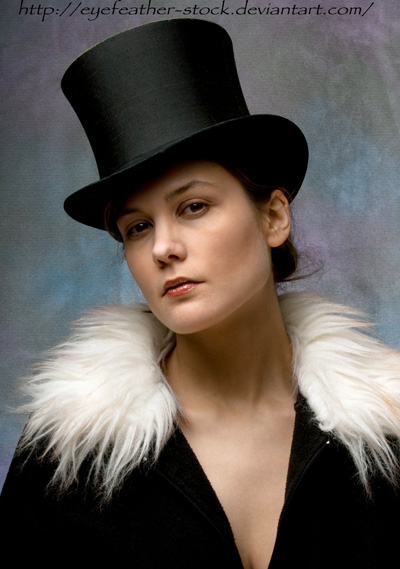
The Stock
The source image used in the example is Tophat Unknown Expression by eyefeather-stock (DeviantArt) . For your version go for a high res portrait, as the horror is all in the details with this one
The Method
The realism in this effect is achieved by using the Wacom to slowly build up the depth of the torn skin with ridges and furrows. Once the dark regions are complete, a number of techniques are used to brighten the raised areas, further enhancing the illusion.
Prep Work
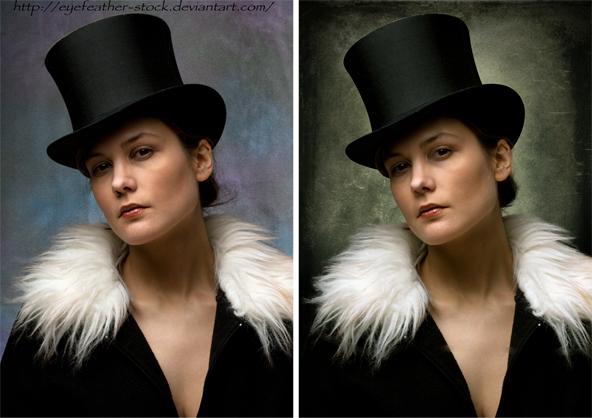
Before we start tearing into skin, it’s best to prepare the stock image by creating a more macabre environment. The first thing usually done in this type of composite is to remove the background from the stock model image.
In this instance the Pen Tool technique was used for sharp areas such as hat, side of the face etc. The Refine Edge technique was used for the jacket fur and hair. I usually combine different masking approaches when working with a stock image that has edges of varying density.
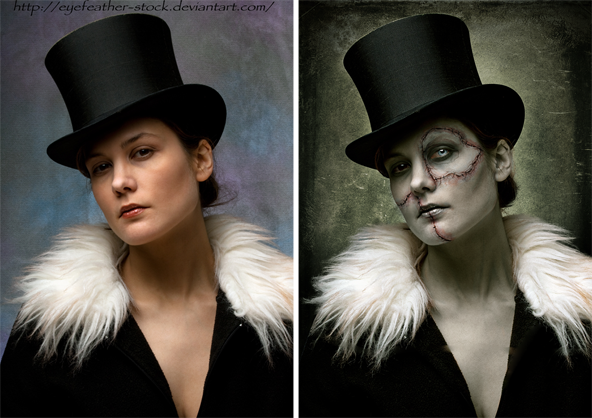
The next step in creating a morgue-like appearance involves accentuating the eye sockets and cheek bones of the face. A dirty blue was used to highlight the creases ( layer set to Overlay, 100% ), the eye socket shadows were painted in using black with a large Soft-Edged Brush (B) ( layer set to Soft Light, 30% ).
The blue eye effect was created using the Evil Eyes technique.
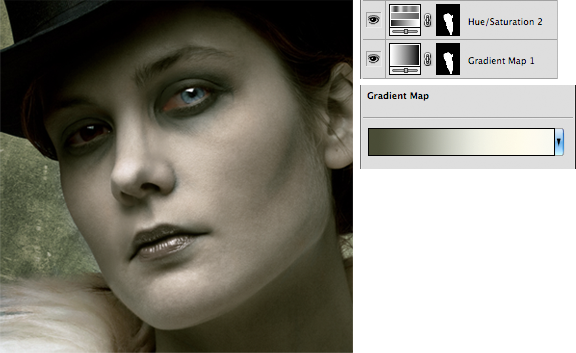
At this stage we mute the healthy tones of the skin using Adjustment Layers , for the example Gradient Map and Hue Saturation gave the desired results. The adjustments were selectively applied using Layer Masks, see image below:
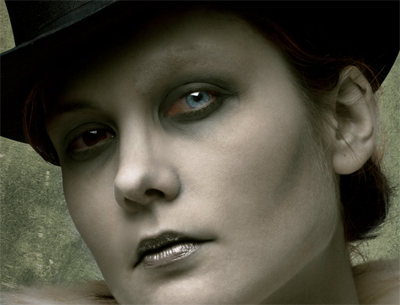
The eyebrow was removed using the Patch Tool (J) – I didn’t mind that the edges were ‘ rough and ready ‘, as that area of the face is about to get a whole lot messier! Lip gloss is achieved with the use of a Gradient Map Adjustment Layer, set to Soft Light (100%).
Setting the Wacom
To paint the wounds / stitches a standard Brush (B) was used, with just two settings applied to make use of the pen pressure sensitivity. The buttons highlighted in red control the following:
• Tablet Pressure Controls Opacity ( Overrides Brush Panel Setting )
• Tablet Pressure Controls Size ( Overrides Brush Panel Setting )
![]()
Painting the Stitches
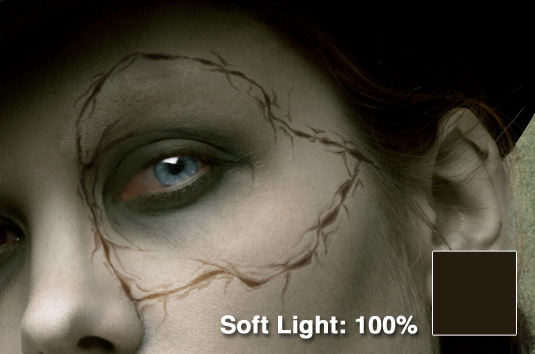
Phase one involves creating the overall shape of the skin-join. There are small gaps where the stitches aren’t pulling the skin taut as well as small wrinkles. Brush size set to 2px, layer mode and the colour used is shown below:
On a new layer, darken the gaps, wrinkles and recesses using a smaller width brush (1px):
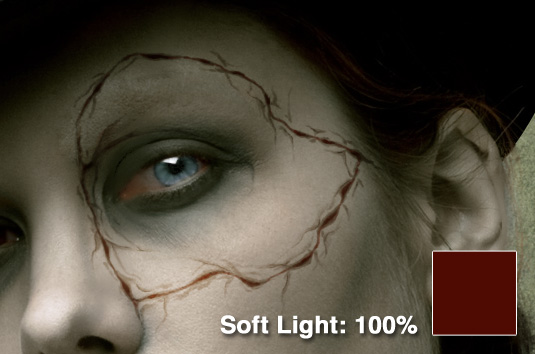
Again, on a new layer with a 1px brush – further enhance the recesses and lines using a dark red for a wound-like appearance:
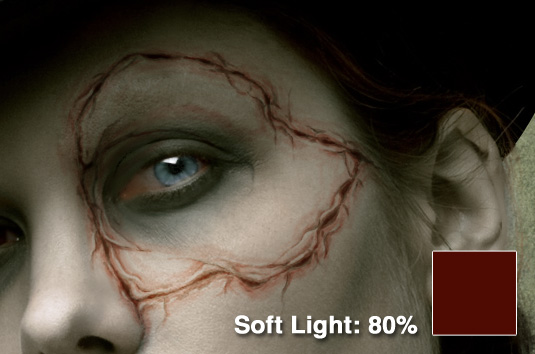
Another layer, and more red applied with a 2px brush to dirty up the edges:

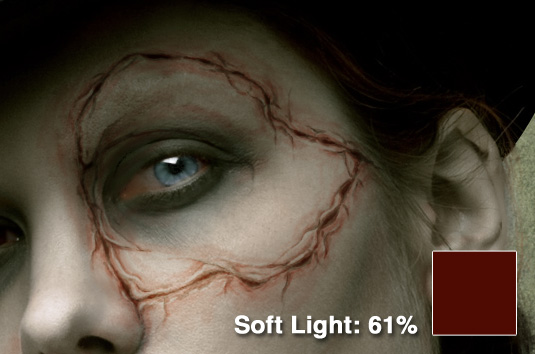
New layer. For this step, we can increase the ‘soreness’ by using a much wider brush (25px), and very gently going over the edges of the wounds. This is where the opacity and size brush settings really come into play:
Building up the soreness with another layer. Brush size 25px:
More of the same:

Finally, some small details on the wrinkles with a 1px brush to bring them out a bit:
Highlights / Speculars
Without illuminated regions and specular highlights, things tend to look flat and not that tactile. A small 1px brush was used to manually paint in the highlights on the raised regions, like so:

Some tiny speculars added, to give the illusion of subtle moisture:

Adjustments
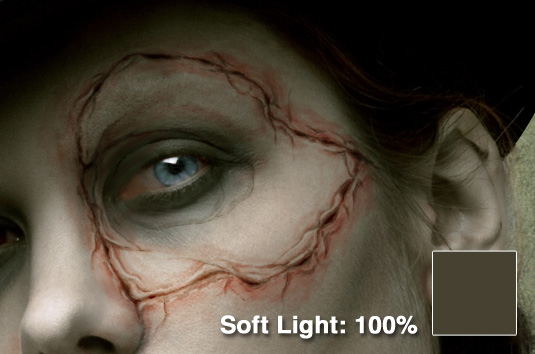
With the main tears in place, it’s time to add some details to enhance the overall effect. The first step is to desaturate the ‘patch’ a little, indicating that bit of skin is a little bit ‘ deader ‘ than the rest of the face!
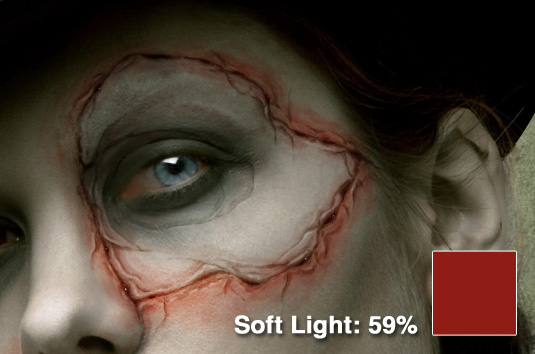
Another round of beefing up the soreness, this time with a large brush around 40px:
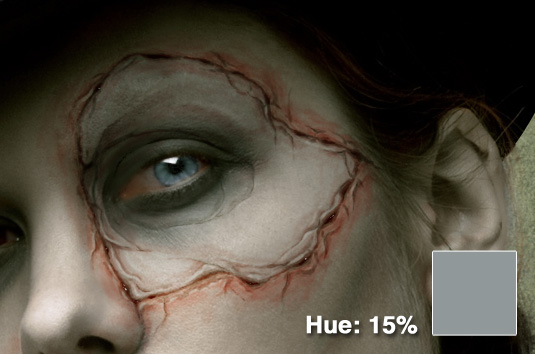
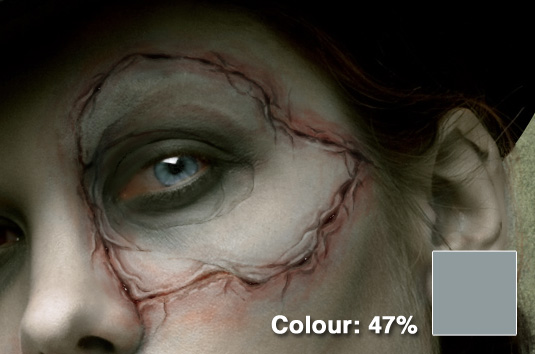
At this stage, the hues start to get a little too vibrant, so a new layer is used to reign them in – using a grey / blue tone for a colder look:
Stitches added using a 1px brush:
Textures
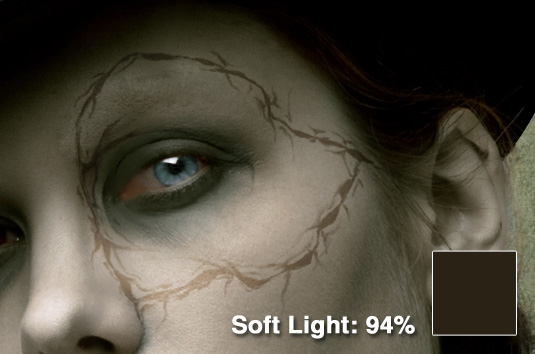
I pulled in a couple of textures from Mayang’s Texture Library, some dirty rust images that I tweaked with Hue / Saturation ( Image > Adjustments > Hue / Saturation ):
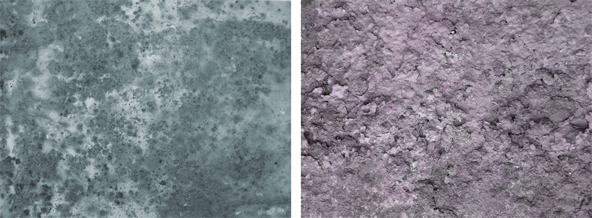
Using Layer Masks, the textures were selectively applied to the image where required:

Final Punch
I like things to be sharp, so I added a little special recipe ‘ Sharpening action ‘ and an unhealthy dose of Unsharp Mask ( Image > Adjsutments > Unsharp Mask ) for good measure:
Review
I can’t determine whether this lady is a Voodoo Priestess or Bride of Frankenstein’s Monster – who knows? Keep your eyes peeled for part 4 of our horror series folks, coming very soon..


