


Mythological Statue Photomanipulation Photoshop Tutorial
In this Photoshop photomanipulation tutorial, you’ll learn how to take a stock image of a person, turn them into a statue using various texture mapping methods, and then how to superimpose this statue into an incredible scene. You’ll see how to handle various stock images of various colors and lighting, as well as how to work with a variety of photomanipulation techniques.
You’ll also learn how to work with custom brushes, textures and shapes.
Tools Used:
- Adobe Photoshop
- Various stock images and textures
- A Wacom Tablet (not required)
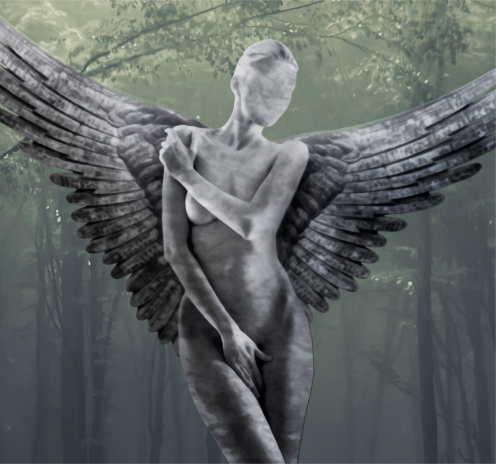
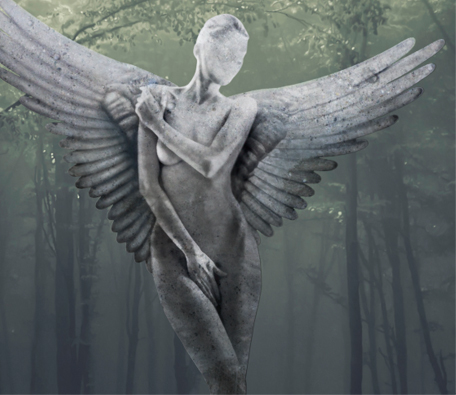
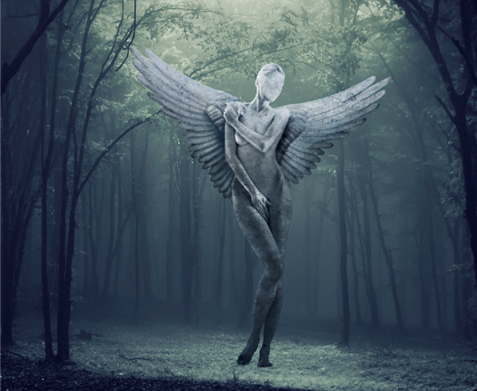
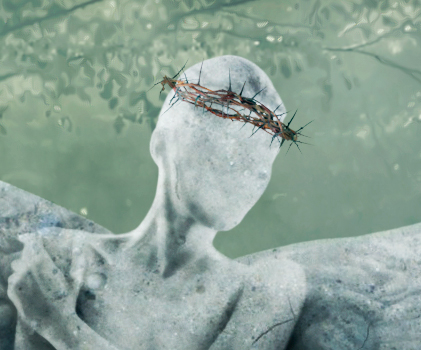
Final Image Preview

Step 1: Creating your statue – part one
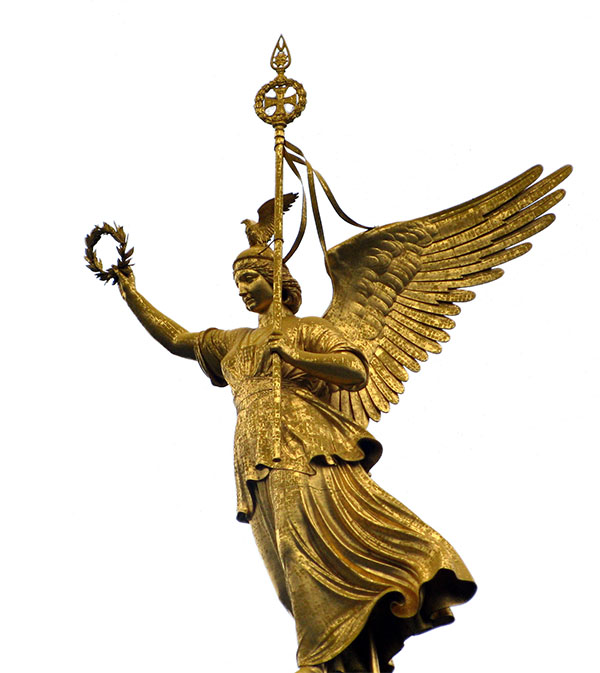
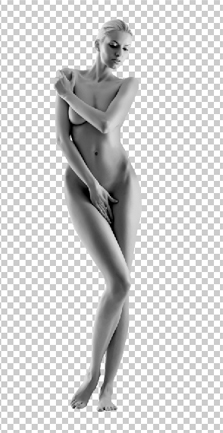
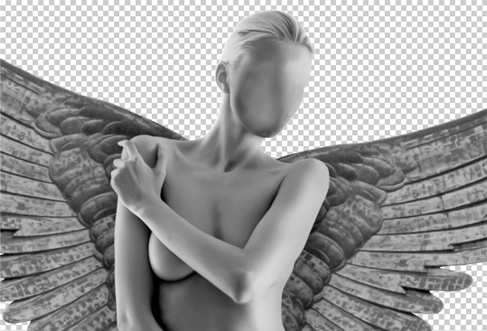
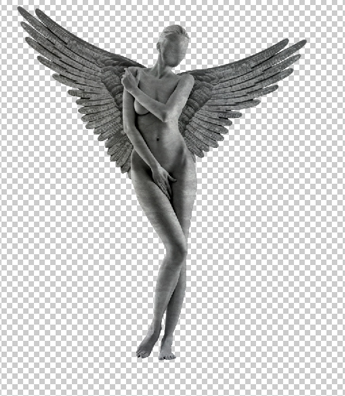
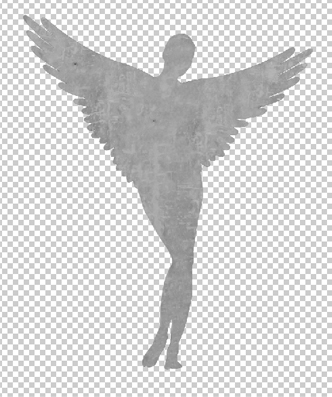
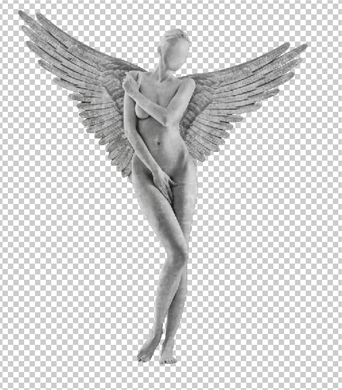
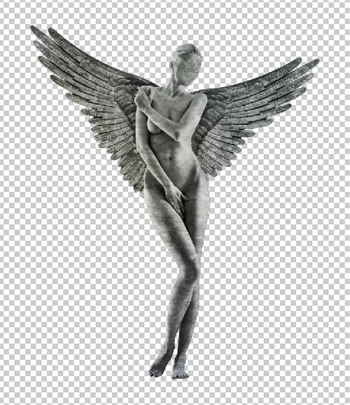
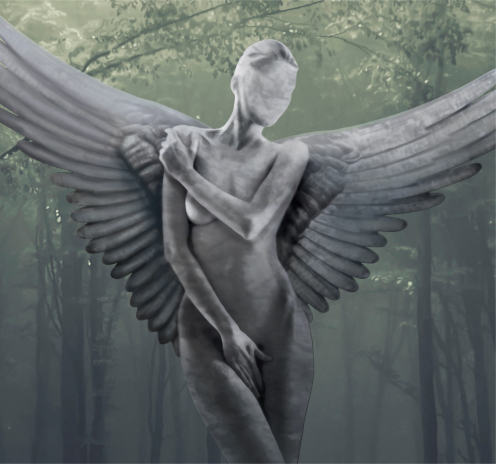
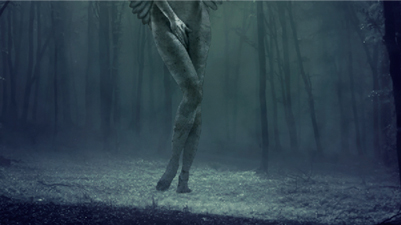
Ok to start off we will need two stock images, one of a human and one of a wing. You can use whatever you like here, clothed, unclothed, metallic or stone, in the end its going to be your piece so make what you want! Having said that though, I would go with something high res as always.
My stock images look like the below two screen shots.

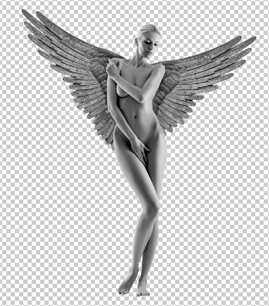
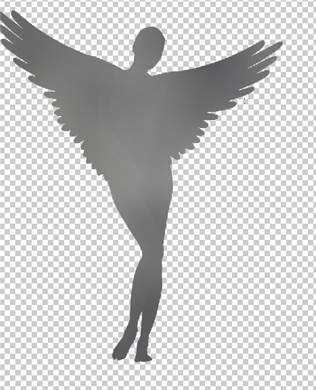
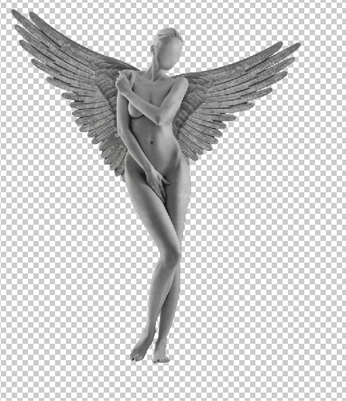
Our next step is to isolate both out and grey scale them (CTRL SHIFT U on your keyboard). Once you have done that move the wing(s) beneath the figure and position them as you see fit. If you, like me, are using just one wing don’t be concerned, just duplicate it and rotate it!
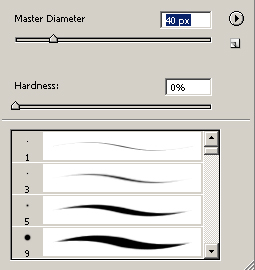
Now its time to get rid of that face, now this is a preference more than anything but I felt it made the piece better in the end. If you don’t want to remove your statues face then feel free to skip over this section. To remove the face press S on your keyboard to enable your stamp tool and set it up as I have in the below screen shot, once you have done that just select a mid range area (not to bright, not to dark) and stamp away the face! Be sure to stay within the faces boundaries though!
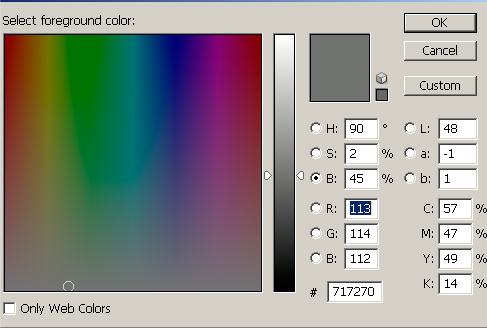
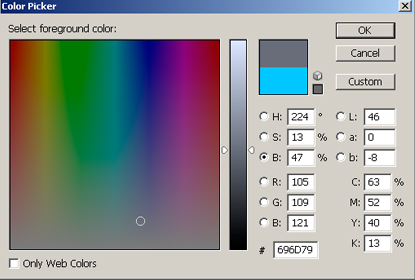
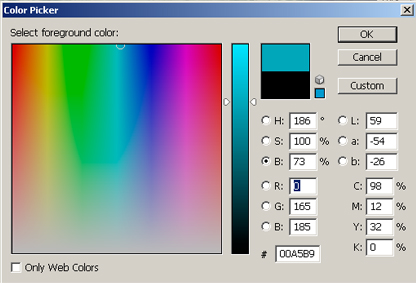
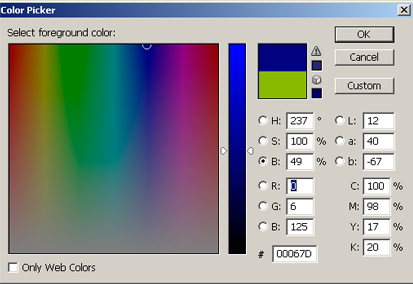
Now its time to begin and yes, I do use begin lightly, to blend these two together. The first step in doing this is to color them accordingly. So grab your color mixer and choose a mid grey that still has the slightest hint of hue. Once you have done that fill it in and set it up as a cover layer!
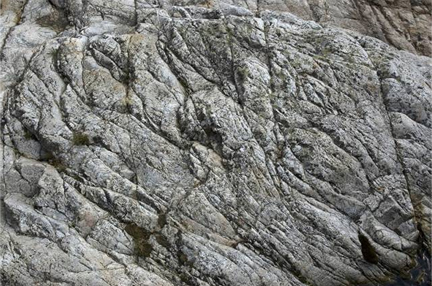
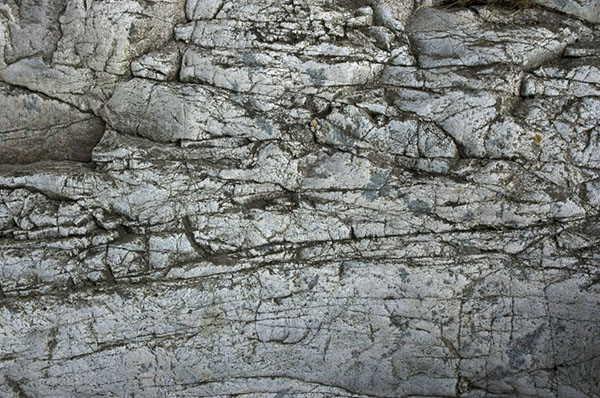
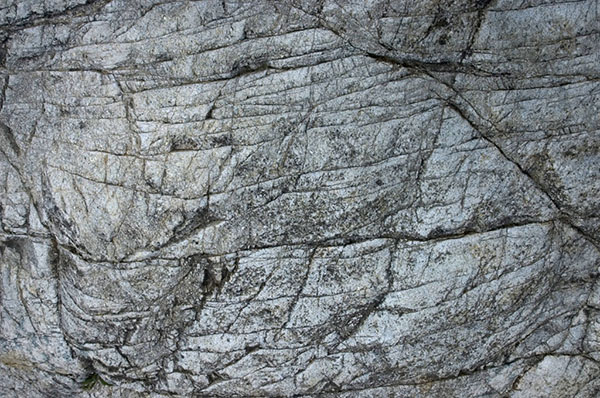
Now lets texture it somewhat. So go and grab yourself a rock texture or use the one I used this texture
Once you have your texture cut your figure out from the stone and set this layer up as a over lay with an opacity of 100%.
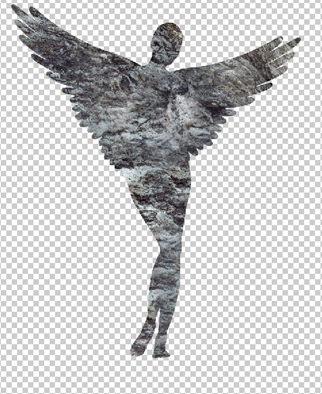
Next we are going to do something a tad bizarre. We are going to duplicate the original layer and drag it above the newly created texture layers. Once you have done this set your new layers opacity up at about 40%. Now, as you can see this hides a lot of what we have just done! So why do it? Well you do not have to but this way you make the previous textures ‘faint’ and now we have a textured (lightly) statue that we can continue to texture… I know it might not make a lot of sense but trust me, in the end it will look much better.
Ok, now on to our next texture, again you can use your own or the one I used this on.
Cut out your figure as we did previously.
Set this layer to overlay at 50%.
And on to our final (for now) texture, which can be found here if you want to use what I used this
Now again, cut out your statue and set it to about 50% opacity. Now here is something to take in, your opacities will vary, I used about 50% on mine but just because I used it on mine doesn’t exactly mean that’s what you should use. So why say it? Because in the chance that you are using the same stocks iam and have followed from the point to the T yours should look just like mine at about 50%. But if your using a different model, a different set of wings or you used a different texture somewhere in there then you should play with the opacities. Move them around, try to experiment and see what looks good to you!

Next we can merge these down and do a quick auto color/auto level, however keep a copy of the original statue layer (the one with the stamped off face).
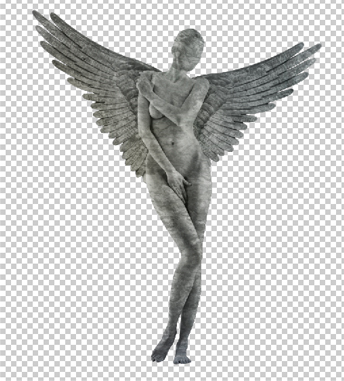
Now take that duplicate of the original and set it above your new statue, once you have done that set it to overlay at 50% and duplicate it once more, on the duplicated version set the opacity to 20% and the blending mode to linear light. This will give our statue back some of its ‘form’, bringing some of the shadows and highlights back that were lost previously when we were texturing.
Step 2: Statue creation continued and placement
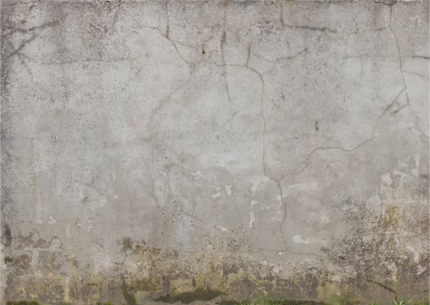
Now its time to consider its final position in the back ground stock as well as figuring out what background stock to use! Why? Well its important, the next few steps will depend on your background stock and this is where our statue will really start to change. So go looking for yourself a background! Mine looks like the below screenshot, once you have yours just drop your statue in and place it.
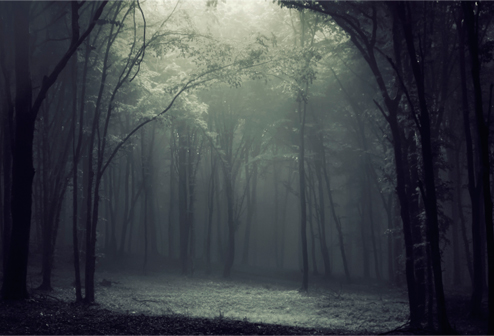

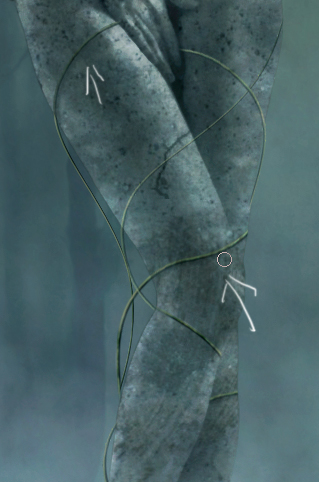
Now lets look at my statue on the background layer.
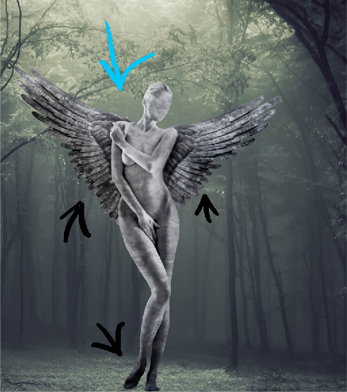
The blue arrow shows where my light is coming from and the black arrows show were the shadows should be or were it should be ‘dimmer’. Now we have to ways of correcting this, you could burn/dodge the areas that should be affected or you can duplicate your background, grey scale it, cut the statue out and set it to overlay above your statue. I would suggest you do the background duplication and if it doesn’t look exactly like you want it to then go ahead and burn/dodge it until it looks correct to you! Don’t really know how to burn or dodge? Check out some of our other tutorials on the subject: http://design.creativefan.com/create-an-amazing-abstract-heart-surreal-photoshop-tutorial/
http://design.creativefan.com/create-an-unbelievable-surreal-abstract-artwork-with-photoshop/
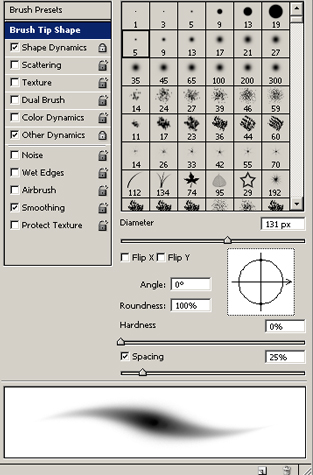
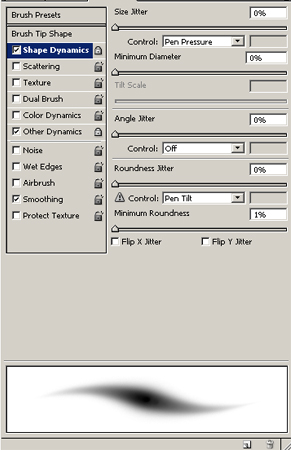
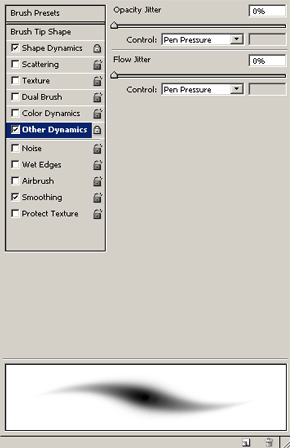
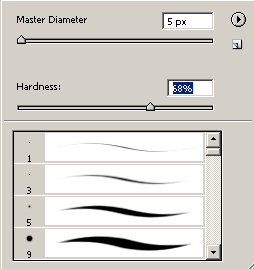
Ok now its time we go ahead and get the big work done. This section is the hardest section in the tutorial to do and to write about, its time to start painting. So to start off create a new layer above your statue and then grab your brush tool. Once you have your brush tool selected and your new layer set up grab a color that is grey but still retains some hue and set your brush up as I have done mine.
Our brush will be a very low opacity brush similar to an airbrush that way we are not completely painting over the piece but just lightly doing it and slowly building up were we feel its needed.
Now the color you selected will be your base grey, you will also need a dark one and a light one. One for the highlights and one for the shadows if you will. Once you have all of these selected and your brush set up lets take a minute to look over our piece before we decide how we want to continue.
Now theres 2 ways you could go about doing this, take for instance the below two screenshots.
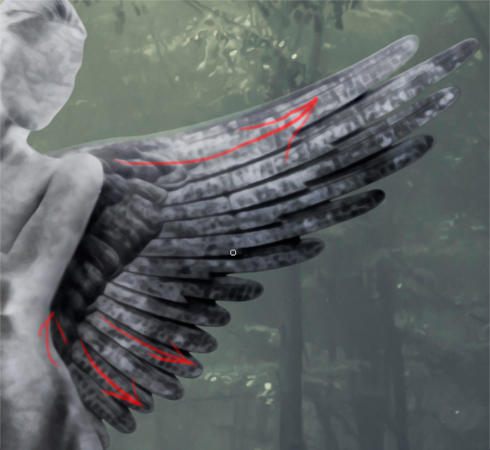
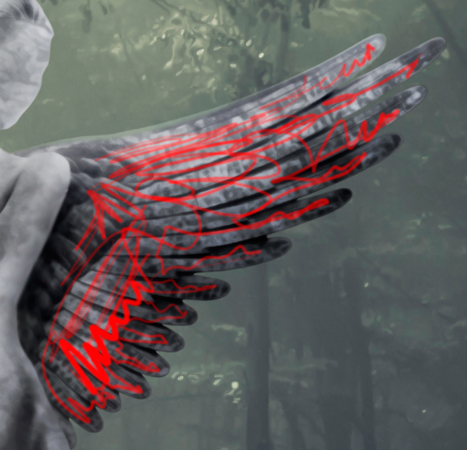
You could just go crazy all over the wing/body, or you could follow the contours and lines of the figure that we already have. By following the contours your able to do this with much more ease and without creating something that looks sloppy. So having said that be sure to do it as it is in the first screenshot. Follow your contours, why spend all this time just to ruin it?
Next lets look at it again and think of our three tones of grey (medium, light and dark).
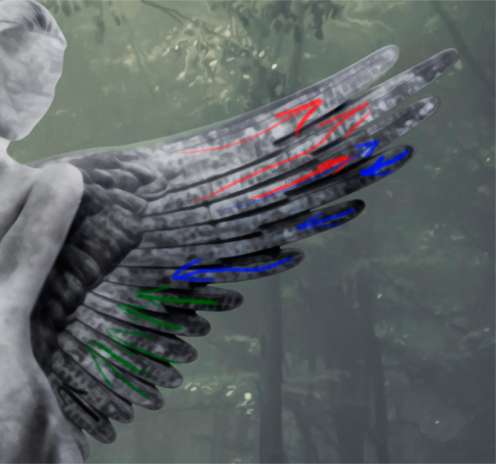
As we now from the background the top most part (red) is the brightest, followed by the mid tone and the dark zones, this is exactly how you should do yours. I know my representation of this doesn’t exactly do it justice but think of how it should look in your head or how it would look if you actually went stumbling through the forest and saw a statue in a shimmer of light. Also take into account that just like in nature you want this to be a gradient, meaning it flows smoothly from lighter to darker.
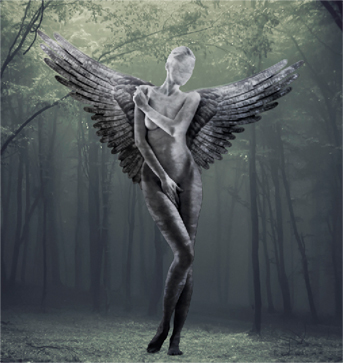
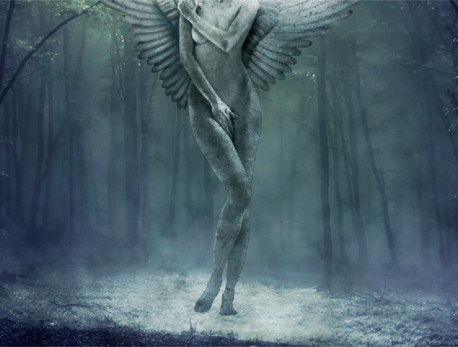
Now just for the sake of presentation lets take one last look at my statue, the before version if you will.
Now after the painting it looks like the below screen shot.
Now that we have finished the painting section lets move on to the last bit of texturing, so go ahead and grab one last rock stock or use the same one I used this texture
Set this to overlay at 100%.
My scene now looks like the below screenshot.

Step 3: Blending the statue with the background
Ok so now its time to make the statue and the background look a bit more like they belong with one another. To start this chose a color that would suit both, I went with blue. Once you have your color create a new layer, fill the new layer with said color and set its blending mode to overlay with an opacity of about 50%.
Now we need to do a little bit more. So create yet again another new layer and grab two colors, one for the light areas and one for the dark areas. My two colors are dark blue and green. Once you have done this draw all over the dark spots with the dark color, light spots with the light color and then apply a Gaussian blur with a radius of 250px and set the layer to overlay at about 50%.
Now lets add in some fog above our statue but under the two new color layers. To add in our fog we will just simply grab out fog brush here and paint it on. We can use three layers for this, all with a blending mode of overlay. Why three layers? Its easier to adjust later on if need be. Also we should use three colors, plain old white, grey and black.
So once you have your brush and your layers go ahead and paint away!
Step 4: Continued statue manipulation
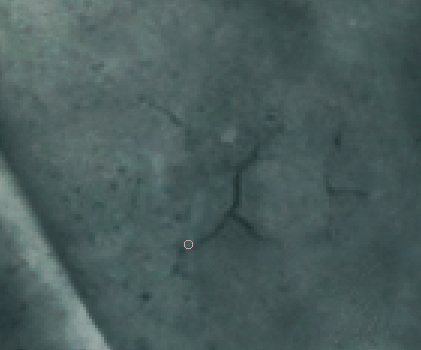
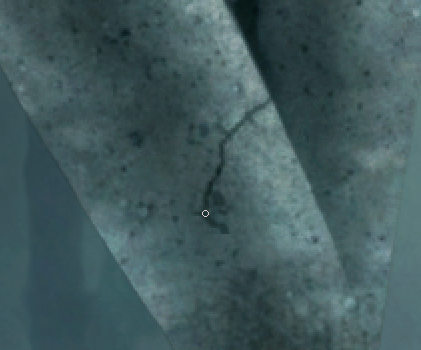
So now lets get back to that statue. While it does look nice, its not what we want exactly, lets rough it up some shall we. So to do this we will paint on some cracks, now, if you don’t have a tablet, can’t do it with a mouse or just don’t care to you can skip this section or use some textures, but why not just give it a shot? So lets get started by creating a new layer and then grabbing the 3px hard brush. Once you have done this just paint some cracks! Its not that difficult just make sure your lines are hard, jagged and flow with the statue. Also keep in mind you can do some at a low opacity as well to show cracks that have not quite come to bloom.
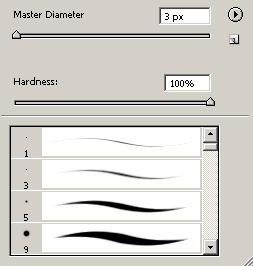
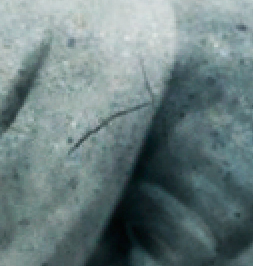
I drew/painted my cracks zoomed way in, it makes it much easier and I would suggest you do the same unless your capable of doing it without zooming.
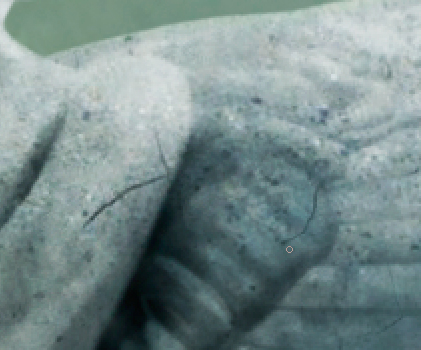
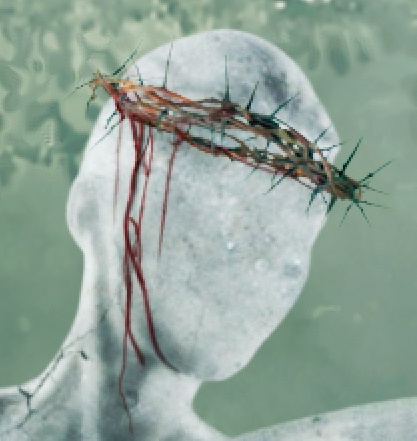
Now lets add in another stock, this time a crown. I will be using a crown of thorns from Shutterstock but you can use whatever you like or you could just leave it out all together if you wanted to. Either way, its your piece in the end!
Once you have a crown you like go ahead and isolate it out and drop it onto your statue.
Next we need to paint the blood (again not necessary). To do this just set your brush up as mine is and draw away, keep in mind that the blood on the left side should be brighter than the right side!
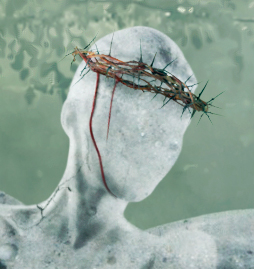
Again, zooming in really helps me out here and if it helped you prior I suggest you do it again!
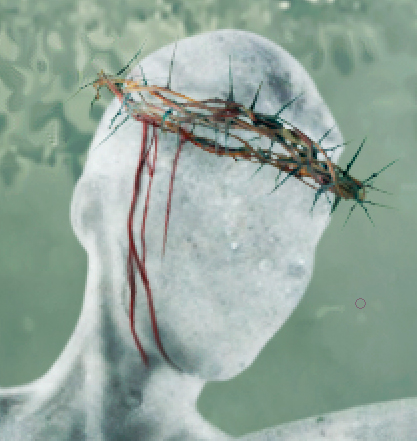
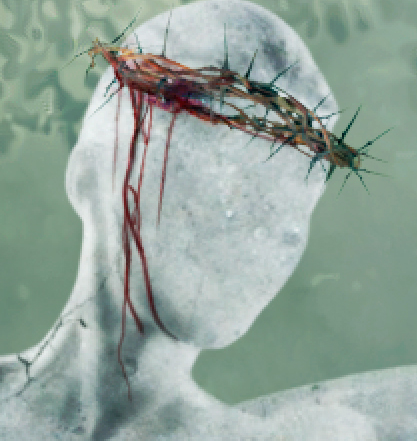
Now we can use this brush to do some work to our crown. Just turn your opacity down to about 50% and draw over this as well. This will give it a blood stained grungy look which is good.
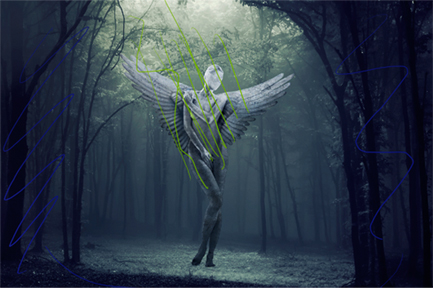
Step 5: Vine creation and wrapping it all up
Ok so now its time to make some vines that will wrap up the statues legs and wind up. Doing this is very simple even if it doesn’t appear that way at first.
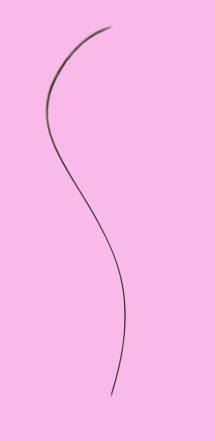
So lets start off by filling our canvas with a dark green. Once you have done that just grab your pen tool and make a strange long shape.


Now just make a selection (right click and choose make selection) out of your new path. Once you have done that copy and paste it as I have done in the below screenshot.

Now just liquefy it into a long curvy line as we have done in previous tutorials.
Now just drop these in above the statue but below the color layers.
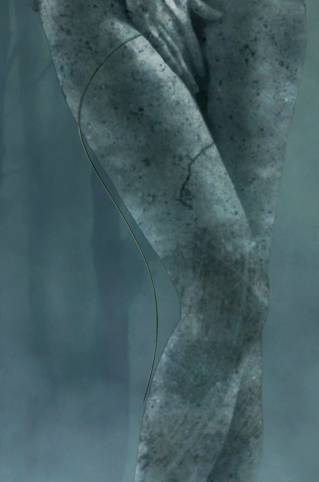
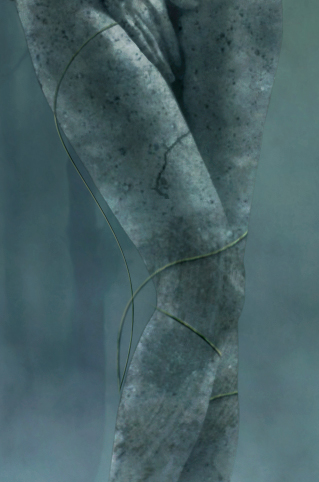


Notice how I added a shadow! This IS important, its not a part of the statue! To do this just paint them on using a low opacity soft brush.
Now our vines need leafs. To add leafs just grab a stock of a leaf like the one below.
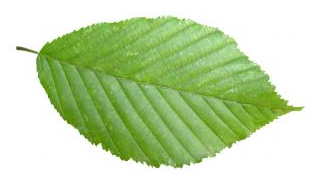
Isolate your leaf out, size it down and feather the end and then just place it onto your vine. Feathering means using a soft edged eraser and gently erasing away so it creates a gradient of visibility.
Now just throw a few of them down!

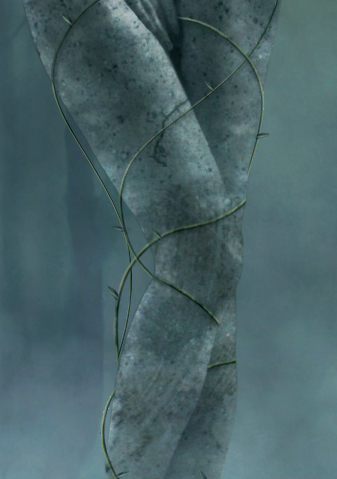
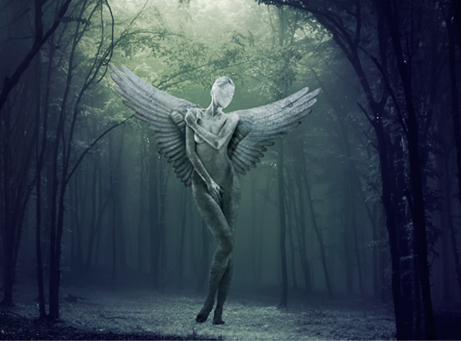
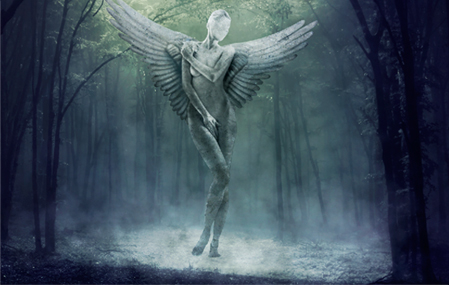
And now we are done! You could continue on by adding in birds, more vines and the likes but we have ran out of time (and space!) for that here. Plus it looks pretty good as is! To finish mine off I painted a bit of a shadow under the statue, it now looks like the below screenshot.
I hope you enjoyed reading this tutorial and it has helped you understand a few concepts or at least showed you some techniques you did not know. If you have any questions please don’t hesitate to ask! Or if you have any tut suggestions please drop a comment, we are always looking for new concepts!


