FANTASY LIGHTING – EXPERT TIPS
Im a bit of a specialist, I can handle complex mechanical works or sultry ‘vogue-ish’ pin-ups – but Ive never been too hot at ‘ethereal’ lighting. Vibrant light is a huge part of Fantasy photomanipulation art, so I thought I’d bring in some experts to provide the lowdown on deep hue lighting. Some great insight has been provided for this elusive technique, read on for the lowdown..
THEDARKRAYNE
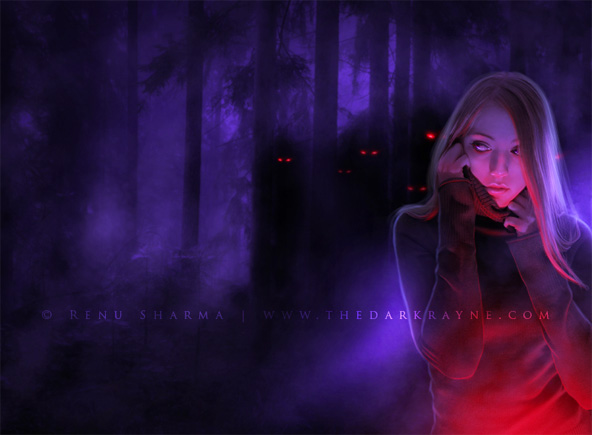
The Avenging Amethyst by TheDarkRayne
What are the layer modes you use for your ‘lighting’ layers?
I mostly paint with white and set the layer on overlay or softlight on low opacity. In this case, I also painted with red since that is the color for light.
How do you ‘accelerate’ colour vibrancy on your highlights?
When you set a layer on Overlay, it generally brings up the vibrancy. In order to add more vibrancy if the work isn’t vibrant enough in the end, I add more vibrancy using the vibrance adjustment layer, or adjust colors using color balance.
Do you use Wacom or mouse?
I have a wacom bamboo.
Are there any natural media books that helped you to understand light?
No. If I am having a hard time with the lighting or some other aspect of photo-manipulation, I browse for actual photographs with the kind of effect I want to get. Studying them really helps.
How influential has the work of your peers been in respect to your lighting work?
Every once in a while I come across work that I am in awe of in regards to the lighting work. I later try to capture that kind of lighting in my own work. A lot of what I have learned over the years is by studying the work of other accomplished artists.
Where have you experienced most difficulty in developing your lighting work?
I just went back to observe my initial work to answer this question. I realised that the shadows are off in most of them. Other times, the image is too bright to add additional light to or bring more contrast. With time I have learned a few things to fix such things. For eg., since adding a black layer on overlay shoots up the saturation, you can duplicate that shadow layer, set it on the saturation blend mode and lower the opacity to match the colors of the rest of the image. Also, in order to have more value or room to add more lights and shadows to an image, I fill a layer with color, set it on multiply and lower the opacity. This way I can add more shadows and highlights.
Do you have any tips regarding lighting theory such as determining light sources, diffraction or reflective colour?
In order to recognise the light source, notice where the shadows fall. The light source is always on the opposite side of it.
Do you have any general tips that may be helpful for beginners, or those who generally struggle with light?
In the beginning, it is best to stick to a minimum number of stock images and focus the most on blending. Study photographs and notice how the lights and shadows are. Make sure to practice as many tutorials as you can.
Be sure to check out TheDarkRayne’s Gallery – DeviantArt
DEREKEMMONS
What are the layer modes you use for your ‘lighting’ layers?
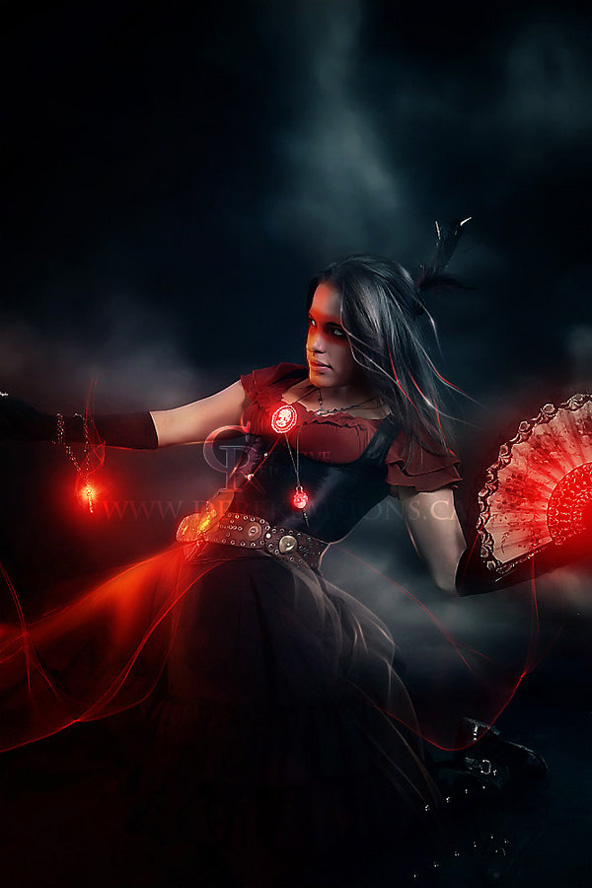
For lighting layer modes I prefer to usually integrate 2 layers, one layer in Hard Light and another in Screen to brighten any focal points of the light. Smaller details and hightlights I use color dodge or even Vivd Light on occasion, it really depends on the individual image. Also another technique I use is the brush tool with a soft edge and its mode in linear dodge, Create a wide radius and add your color and decrease the size of the brush and brush again toward the center, and the layer mode should be Hard Light.
How do you ‘accelerate’ colour vibrancy on your highlights?
To accerate color highlights Color Dodge is usually my best friend and I outline with the pen tool and use the stroke path command with brush pressure on as to create a smooth line. There are always certain areas where this does not work and i would restroke the path with a layer in screen and adjust the fill to get the proper look.
Do you use Wacom or mouse?
I have a bamboo tablet which I use a lot of the time for freehand strokes simply because I am left-handed,and have better control, but the mouse is still what i use for any pen tool paths.
Are there any natural media books that helped you to understand light?
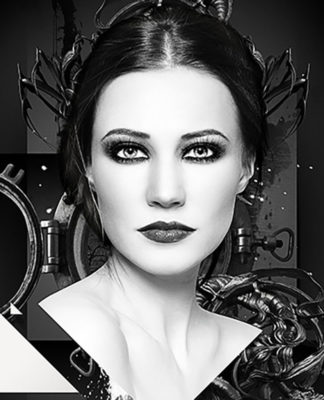
There are numerous books I have use to understand light, but I have to admit most of them were used to understand lighting in my photography which is a key component in my art. For example the image used as an example here I actually used a blue gel over a small softox to create the ethereal glow on the model and anhanced the effects with Photoshop ( in reference to ‘ Demmon Queen ‘ )
How influential has the work of your peers been in respect to your lighting work?
I have always found inspiration as well as techniques from my peers as well, the same can be said in understanding every aspect of my art, not just with lighting but even atmosphere and compostion.
Where have you experienced most difficulty in developing your lighting work?
The most difficulty aspect for me personally, it has always been with hair and highlights. I still find it a challenge but every time and even know I try to just use patience and learn through every new image.
Do you have any tips regarding lighting theory such as determining light sources, diffraction or reflective colour?
I would have to say that Cinema 4D or any 3D software is a great way to learn lighting and to practice understanding light source, diffaction and reflective color, creating 3D scenes has definately helped me improve alot in these areas.
Do you have any general tips that may be helpful for beginners, or those who generally struggle with light?
My only advice for this would be to use common sense and practical application, meaning observe real objects and how the light affects it everywhere from walking down the street to in your home. from direction of lights to how the shadow and relection are affected by different materials it comes in contact with.
In the end the most important thing is to create, for the love of it enjoy what you are making, over time as with anything else you will learn and adapt new techniques and your skills will improve.
Be sure to check out DerekEmmon’s Gallery – DeviantArt
LUNEBLEU
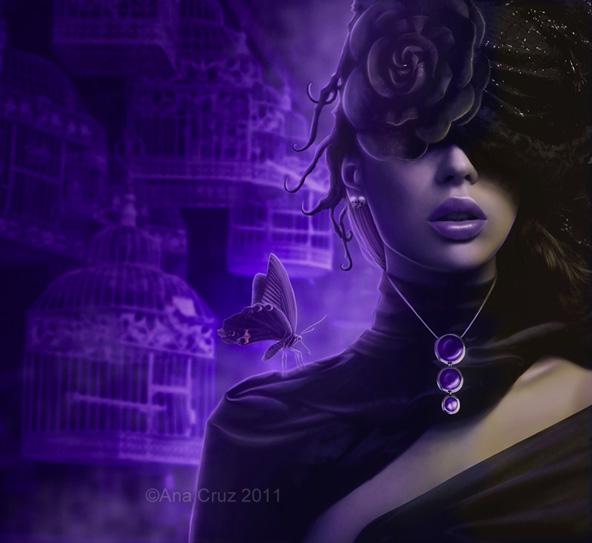
Artist Insight:
I work with Wacom Intuos 4 (large). Since I started using a tablet, I gained much more precision and detail accuracy so, I never used a mouse again. To add extra lighting effects, such as the purple light behind the model I added an empty layer behind her, I painted with a low opacity light-purple tone; then I applied the layer mode “Soft Light” + layer style “Outer Glow” with a very light purple tone.
As far as some tips: always respect the natural light sources, in order to achieve a more natural final look: your model’s original light sources comes from the right, and the background original light sources comes from the left? Invert one of them horizontally, so that both light sources match the same side; that will make your blending work much easier.
If you want to enhance the overall light source, add a final transparent layer, put a black/light-color gradient on it and then apply layer mode “Soft Light”; reduce opacity if necessary. it will give you an extra balance to the final artwork.
Be sure to check out LuneBleu’s Profile – Facebook
SEVENTH FAIRY
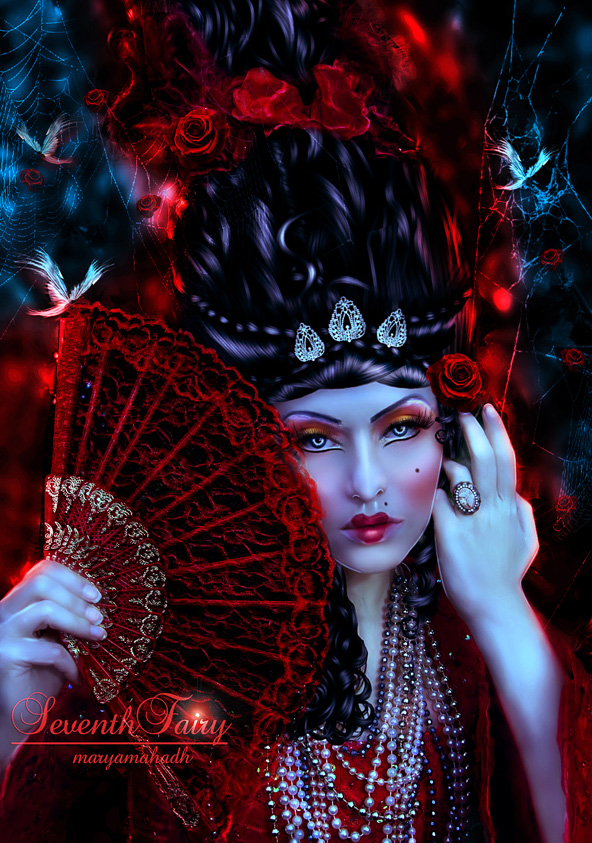
Lady Antoinette by SeventhFairy
What are the layer modes you use for your ‘lighting’ layers?
I usually use Overlay mode and reduce the opacity or Softlight sometimes, but I also experiment with Color Dodge and Linear Dodge and reduce its opacity and fill color according to the highlight.
How do you ‘accelerate’ colour vibrancy on your highlights?
I use Adjustment Layer-Color Balance, in that I increase highlight, and also paint white color with soft brush and reduce opacity – as well as the Dodge Tool. I repeat it again and again till i get my desired output.
Do you use Wacom or mouse?
Im Using Mouse.
How influential has the work of your peers been in respect to your lighting work?
Yeah, many artworks inspired and influenced me lot to do lighting works, I took many artworks as a reference to see how they given highlights and from where the light falls etc.
Where have you experienced most difficulty in developing your lighting work?
I think im still having difficulty working in Sunlight, ths is my recent work done with sunlight ,ths is really a challenge for me. [link]
Do you have any tips regarding lighting theory such as determining light sources, diffraction or reflective colour?
We can experiment with a torch light or candle light and get the idea about lights, according to our light source we can give reflective color.
Do you have any general tips that may be helpful for beginners, or those who generally struggle with light?
As I already said above we experiment with torch, candle and also with sun and determine where we get highlights, generally I highlight forehead, nose, cheeks and chin and also highlight the outlines of all parts of the face by drawing white lines, then change the blending mode to overlay or lineardodge and reduce opacity.
Be sure to check out SeventhFairy’s Gallery – DeviantArt
MARILUCIA

I’ll Give You the Moon by MariLucia
Artist Insight:
I do not want to stop now on the base of artistic and historical research of the theory of light and shadows, which certainly helped me a lot to better understand this theme. Leonardo da Vinci with scattered light and the theory of “Air Sfumato”, Caravaggio with his love for realism and preference for this direct source of illumination and a very dark background, Rubens – who adored this direct source, but it has removed this dark background with the help of reflector – academic type of lighting. Anders Zorn with two sources of light: warm and cold etc.
Also, a great help for my understanding of theory of light – the book by Burne Hogarth “Dynamic Light and Shade”. My art especially for children or for people who prefer something very nice and tender, fables with animals. and for this I have to create something a little fantastic in my work, work more with illusion of light and make this light less realistic. For example, my moon, almost always has his reflected on the ground, to make it clear that my character brings the moon as lamp. I always work with dark scenes, so easier to have result. Even if I do not use the night, then I work with sunrise. Important start working with image, where exposure is minimal, the difference between light and shadow is not strong.
Before using layers in blending mode overlay, screen etc. – I prefer use rendering. First level with general, natural source of light, after new levels, where I add new light sources. Only after this I begin work in any light source with the help of blending mode. Overlay and Screen for stronger light, but more realistic. Soft Light for scattered light – more magical. Sometimes you can get wonderful results from Difference mode, so I can also change color scheme for lighting part. I use a tablet, because very often I must to paint, but also mouse when working with precise contour (with pen tool).
I also work with a lot with Channels, Gradient Map, Shadow / Highlight, and Black & White function, where I can change correlation, proportion between light and shadow. After I copy levels with colors in mode color above all levels for return in first colour sheme. It’s important not to forget to use trasparency on all levels in blending mode. It’s more difficult to work with lighting and shading, if you are working with rich colors, vibrant and artificial, like purple, blue, red. Often, if I want to have a similar color gamma, I add the colors later with channels or gradient map.
Be sure to check out MariLucia’s Gallery – DeviantArt
REVIEW
Advanced Lighting is the apex of the photomanipulator’s workflow, so I can’t wait to try out some of these techniques myself and share the results. Although Fantasy isn’t my chosen genre, I have always really admired the vibrant colour and lighting schemes. Time for some experimentation!! Thanks again to the artists who have participated in this feature.


