


Create Custom Brushes using the Image Trace Tool in Illustrator
Enjoy this Post! Please Help spread the word and Share it!
in this Quick Tip, we’ll learn how to a create custom Brush Set from scanned marker strokes and the Image Trace Tool in Illustrator in a few steps to create your own homemade Brushes.
While you can find a lot of Illustrator Brushes for free on the web, I like to experiment and create my own resources. The Image Trace Tool in Illustrator can be very powerful to vectorize your images or shapes, feel free to play with the parameters and be creative.
Step 1 – Scanned Marker Strokes
Before starting in Illustrator, pick a marker and paint some horizontal strokes on a paper sheet and scan this paper sheet.

Open the scanned file with the Marker strokes in Illustrator and let’s create those custom brushes.
Step 2 – Image Trace Tool
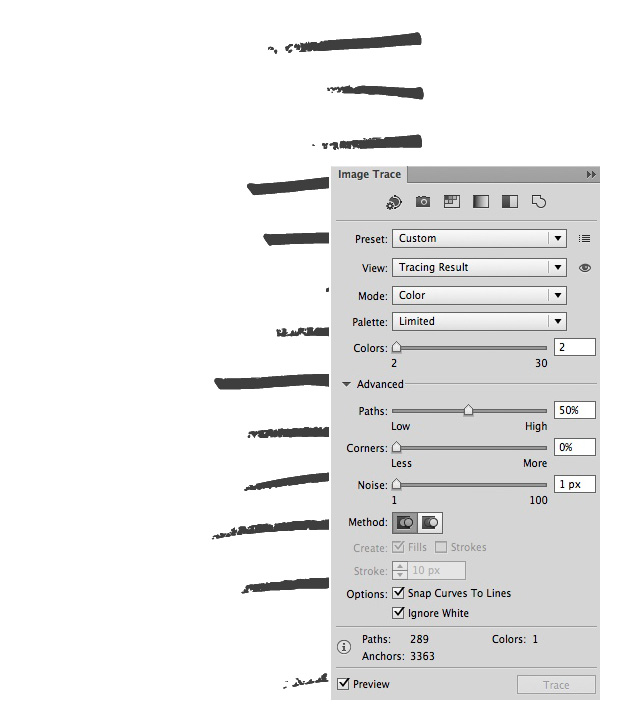
Select the Marker Strokes and open the Image Trace Tool Panel , Window – Image Trace .
I used the parameters below to get a very basic outcome but you can play with those parameters and get other cool results, don’t forget to check the box next to Ignore White:
When you like the result, select the shapes with the Selection Tool (V) , right click on the shapes and select Ungroup or go to Object – Ungroup , you’ll have to ungroup your shapes maybe 2 or 3 times.

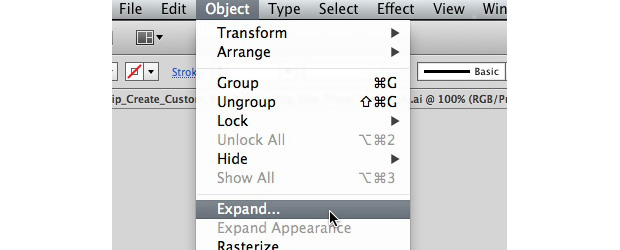
Then we’ll have to expand those shapes, go to Object – Expand and click OK .

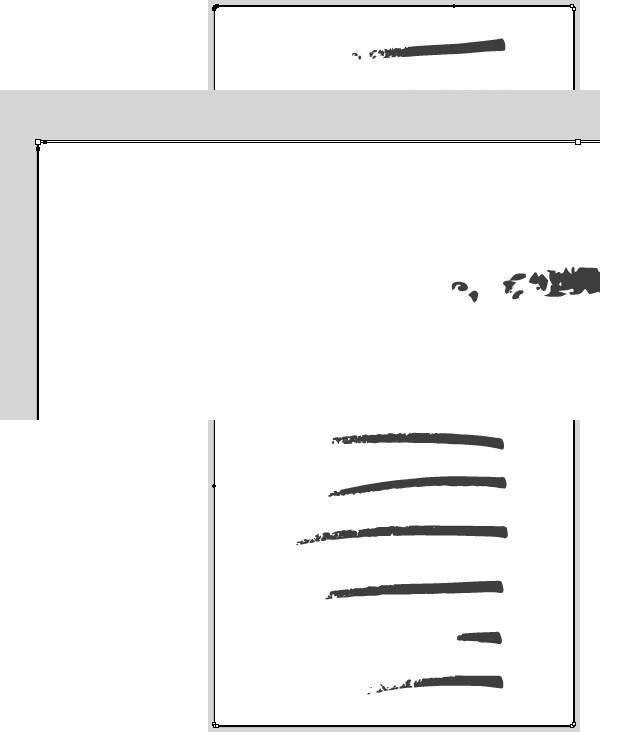
Most of the time the Image Trace Tool creates a transparent mask on the shapes, select the Direct Selection Tool (A) and select some anchor points on the top left corner of the canvas, then go to Select – Same – Fill Color and press the delete key. Now we have our the shapes we want, let’s start creating those custom brushes


Step 3 – Brush Tool
Before creating the custom brushes, select all the shapes you have and ungroup them, Object – Ungroup .

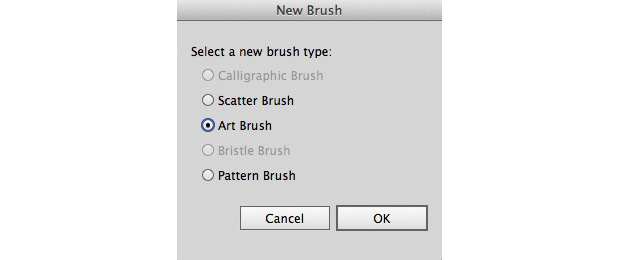
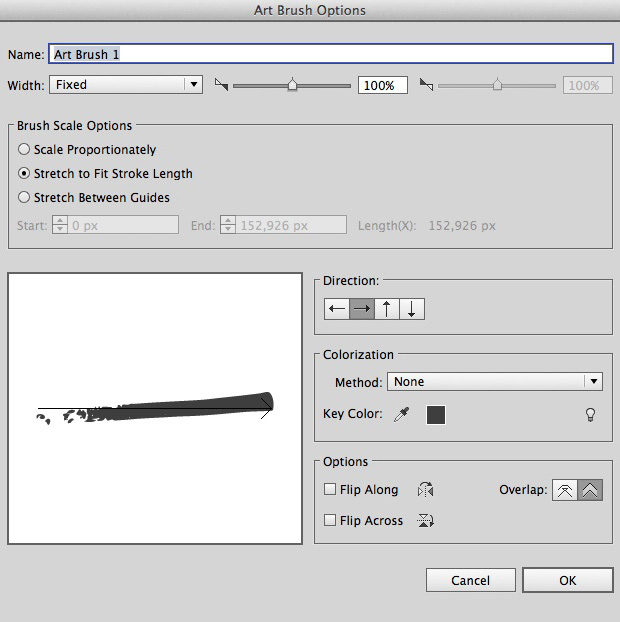
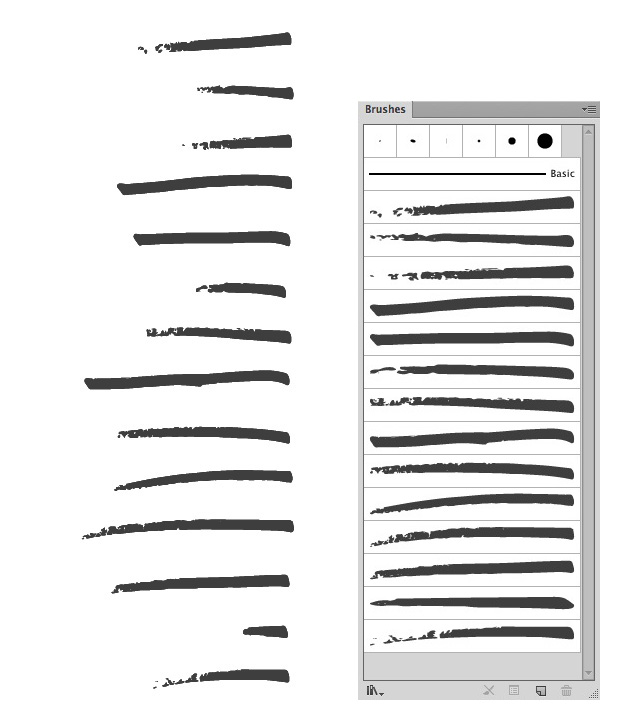
Open the Brush Panel , Window – Brushes , select the first shape, drag it into the Brush Panel, select Art Brush , click OK , then in the parameters panel, change them if you want and save your brush, it should now appear in the Brushes Panel . Create the other brushes using the other shapes we created.


You can now apply those brushes on any shape or text in Illustrator, to save those brushes into a set, select all the brushes we just created in the Brushes panel, click on the small arrow on the top right corner of the Brushes panel , select Save Brush Library and save them where you want.

You can use this Quick Tip to create a lot of different style and shape brushes, just in a few steps you can start creating your own resources. Leave us a comment if you’ve got some requests for the next Quick Tip.
Enjoy this Post! Please Help spread the word and Share it!


