


Photoshop CC Tutorial – Fantasy Looks Photo Effect Editing
Welcome to this new tutorial, in this one we will use Photoshop CC to create an amazing Fantasy looks Photo Effect editing using filter and some tips.
What you’ll Be Creating:
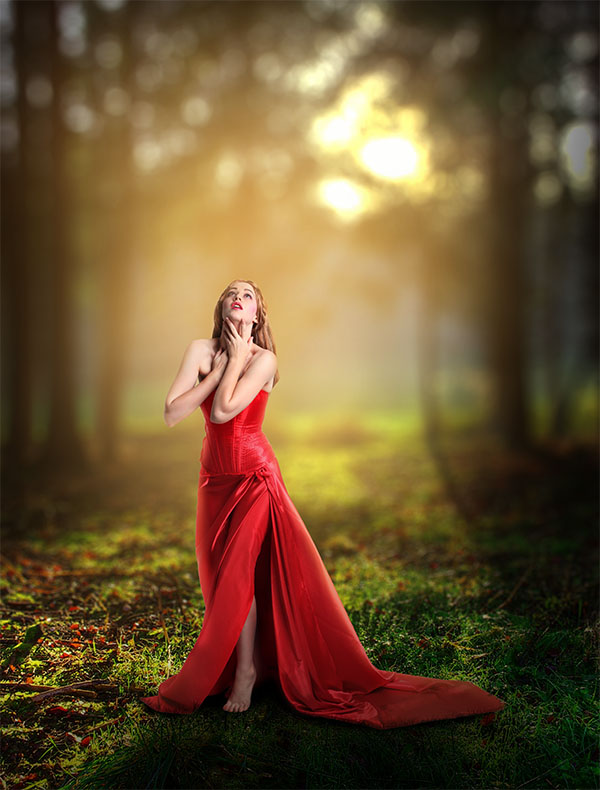
Here’s a look at the outcome you’ll be able to produce by the end of this Photoshop tutorials:

Let me started! You can download the resources used in tutorials.
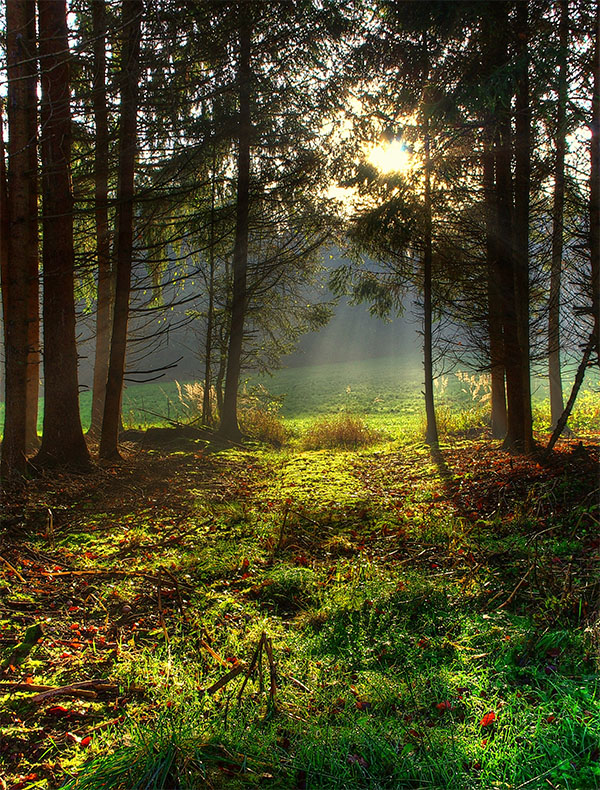
First, open a new document of 3600×4800 pixels , resolution 72Dpi and open forest image.
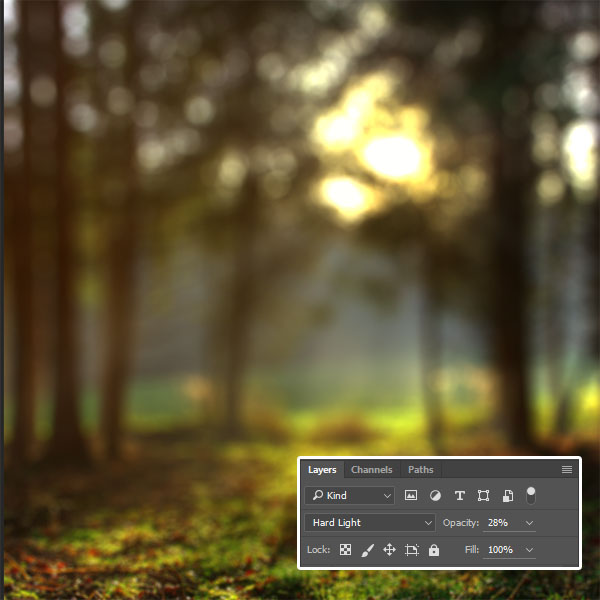
Then go to Menu > Filter > Blur Gallery > Tilt Shift and do like so to get this result.

Create a new layer. We will create some effects on the background, use a soft brush with the color #c5a178 to paint on this area.

Use the Hard Light blend mode & bring down the Opacity to 28% .
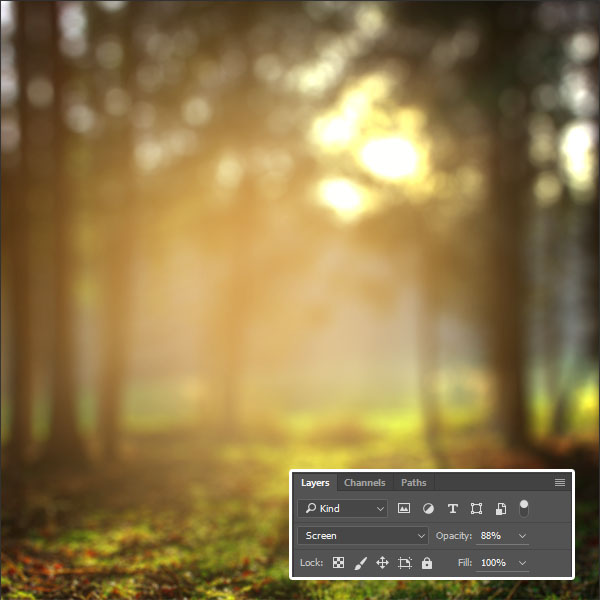
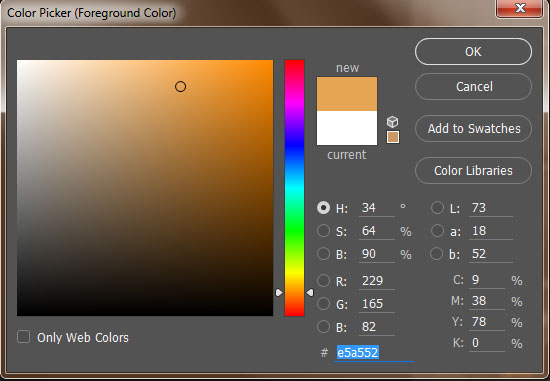
Create a new layer again, and do the same think with the color #e5a552.

Use the screen blend mode & bring down the Opacity to 88% to get this result.
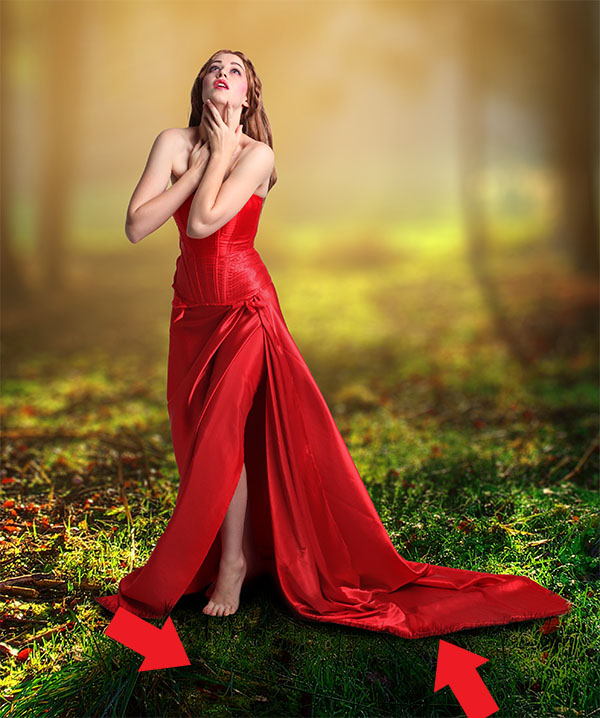
Isolate the model from the background using a layer mask (but feel free to use your own method).

Move the extracted model on a new layer.

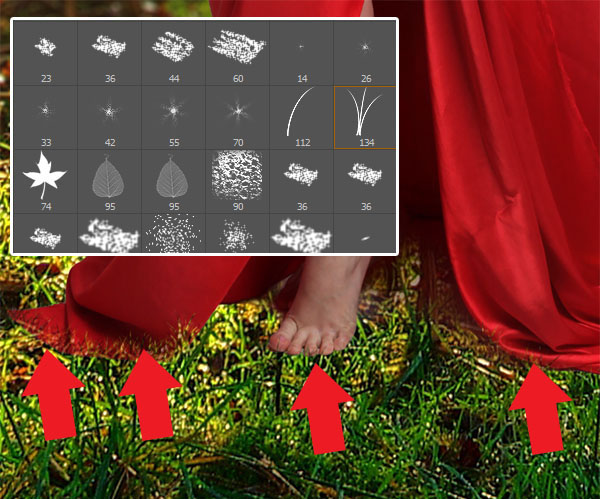
Now, add layer mask by going up to Menu > Layer > Layer mask > Reveal all and delete some parts of bottom by using grass brush.
Create a new layer and use a soft brush with black color to paint a shadow.
We will start retouching the model with some tools of Photoshop. First, make a new fill layer with Clipping Mask Go to Menu > Layer > New Fill Layer > Solid Color :

Invert the color of the fill layer mask by pressing command Ctrl+I

Use soft white brush with opacity about 30% to refine edges and get this result.

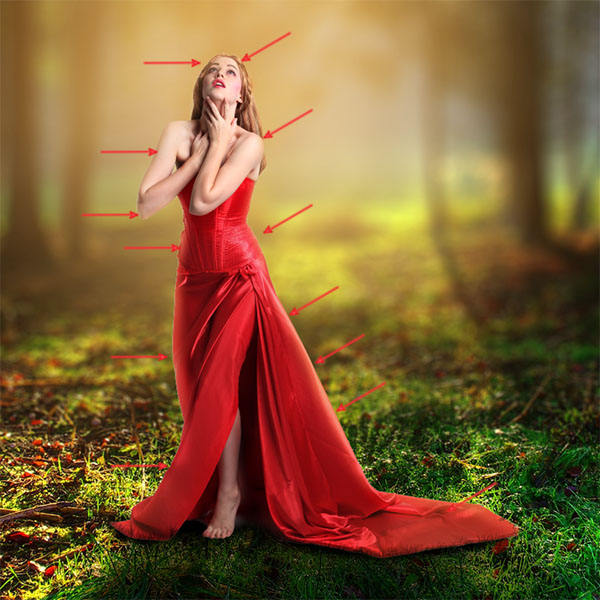
Now I will give black effects around of this image, use the Brush Tool (B) with black and paint it on the Light Source.
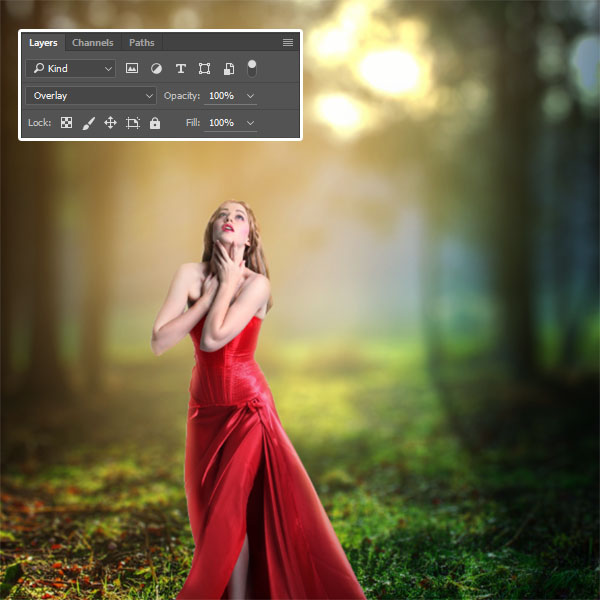
Create a new layer. Take a brush tools with Blue color #4c8bb3 and give some Blue effects as the image below.

Change the blend mode to overlay .
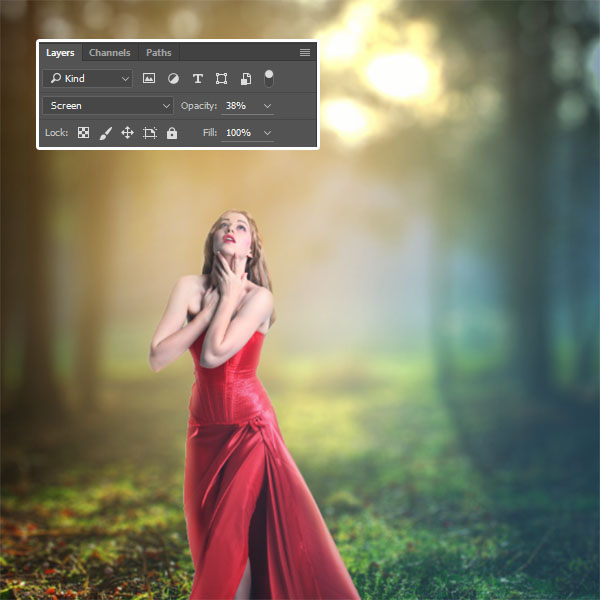
Duplicate the layer by pressing Ctrl+J . Change again the blend mode to screen and bring down the Opacity to 38%.
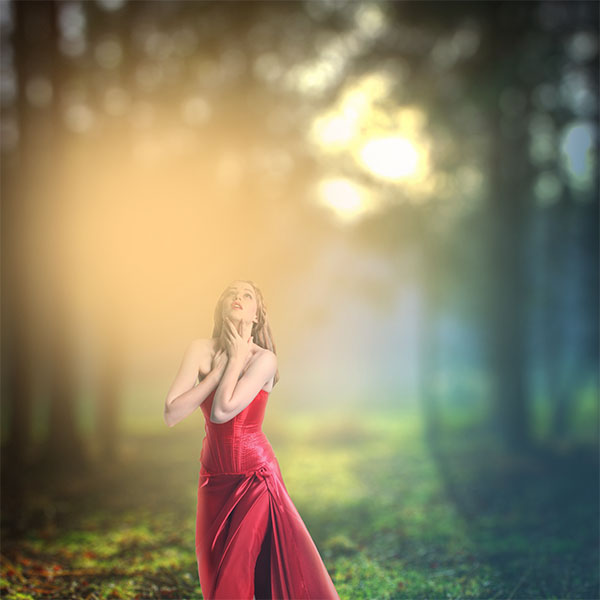
Create a new layer, use a soft brush with the color #fed18c to paint on this area.
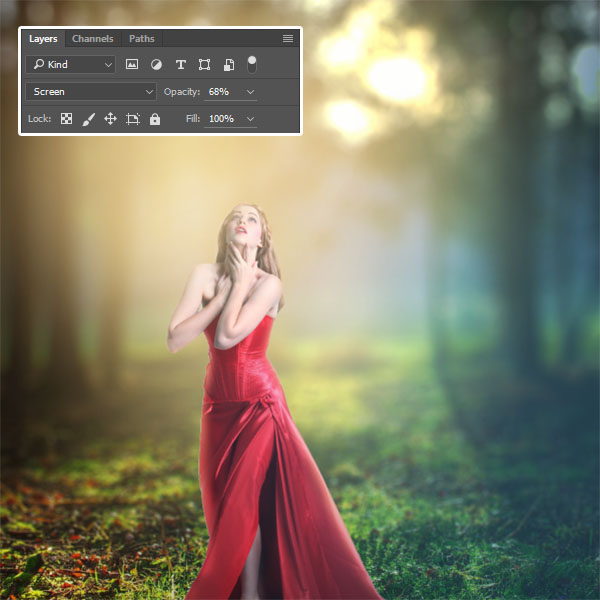
Change the blend mode to screen and bring down the Opacity to 68%.
Finally use Curves to add color effects and enhance the contrast of the picture:

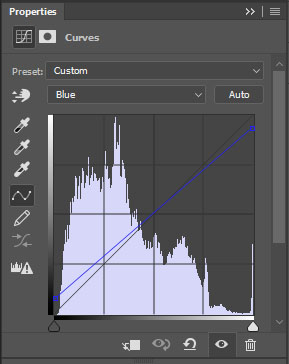

Here is the result on Curves layer mask.
You can also comment here, or any questions you had about the tutorial. We love to see what you guys create and we’re always here to give helpful feedback and tips to help you to improve.


