


Create a lightning in Photoshop
In this Photoshop tutorial I am going to show you how to actually create your lightning bolts in few steps.
First, open a new document of 600×600 pixels, take gradient tools (G) and create a black to white gradient, diagonally from left, to right.

Then, go up to Menu > Filter > Render > Other clouds.

Invert image colors by pressing Ctrl+i or go up to Menu > Image > Adjustment > Invert.

Now, go up to Menu > Image > Adjustment > Levels.


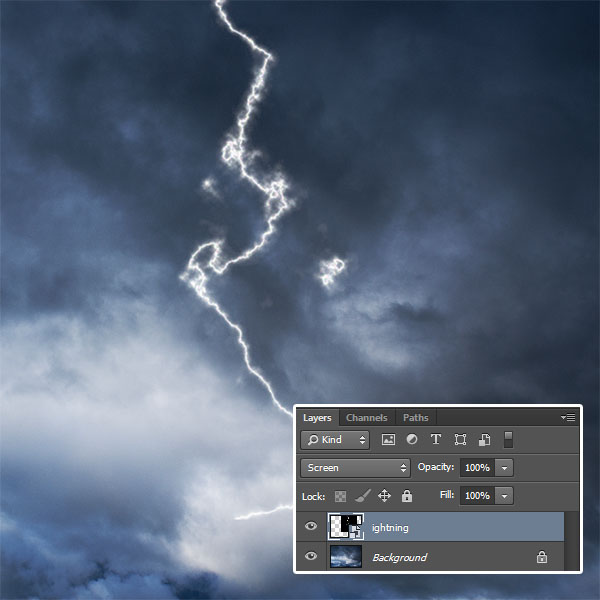
Drag your result to a new document with stormy clouds and change the blend mode to screen.
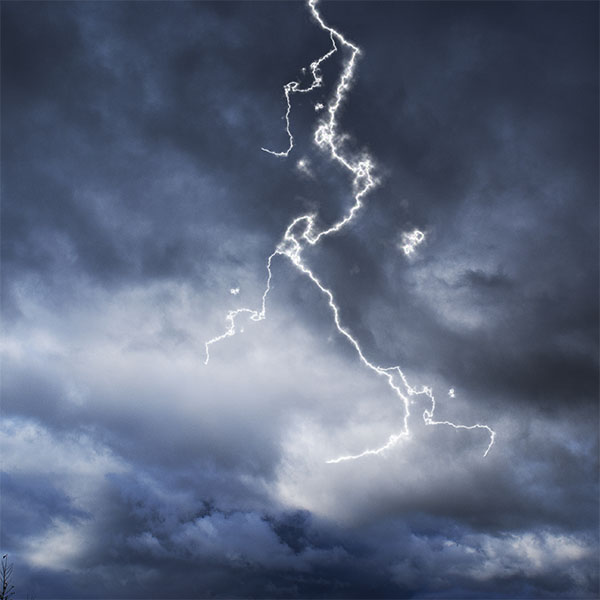
Repeat those steps to create some different shaped lightning. Duplicate the lightning layers and scale them down to build the smaller branches of lightning. Reuse each layer as much as you can to save time, flipping and rotating allows you to use each piece several times. Don’t be afraid to use some layer masks to paint out different portions of the lightning to make it look more random.


