Create an abstract background like Windows
Welcome to this new tutorial, in this one we will learn how to create an abstract background like windows BG in few steps with adobe Photoshop.
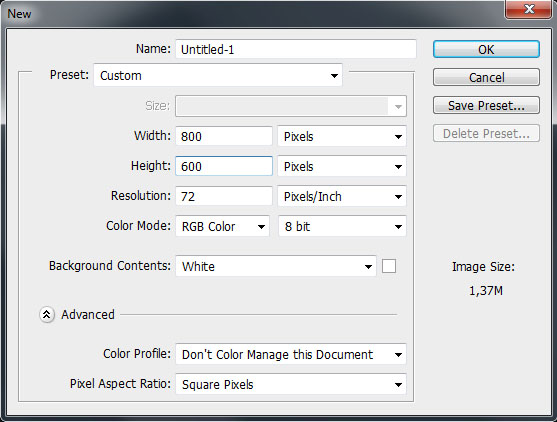
To start, create a new document of 800×600 pixels , resolution 72dpi and RGB colors.
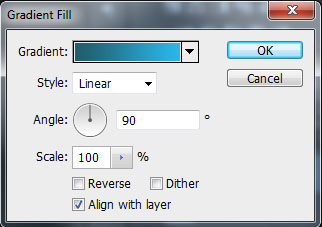
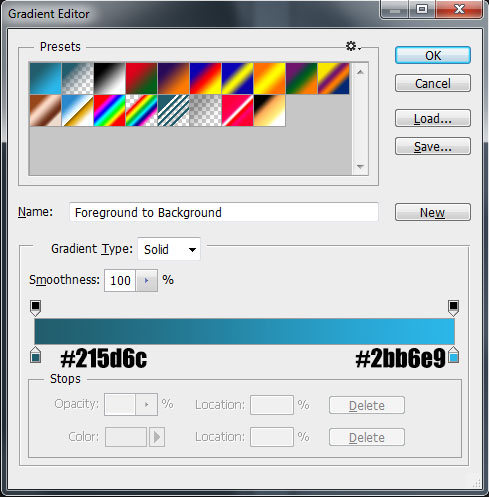
Now, add gradient fill layer by going to Menu > Layer > New fill layer > Gradient.

After, take the Brush tool (B) with this configuration
Size: 66px
Hardness: 100%
Color: # 72d72f
Then draw something like this

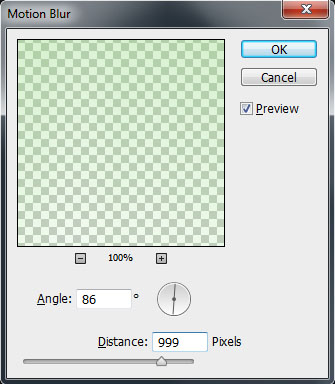
Now, apply a motion blur by going to Menu > Filter > Blur > Motion blur.

Then, change the blending mode to Color dodge
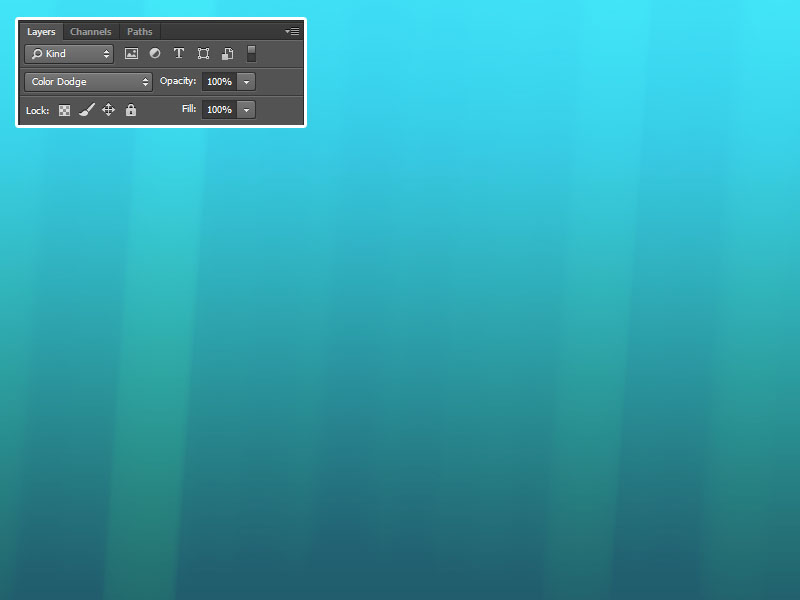
Create another layer (Ctrl+Shift+N), and do the same think by changing the color to #fcff00.

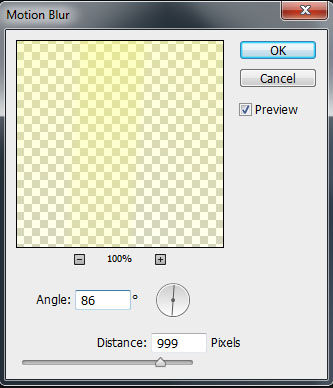
Then, apply a motion blur filter

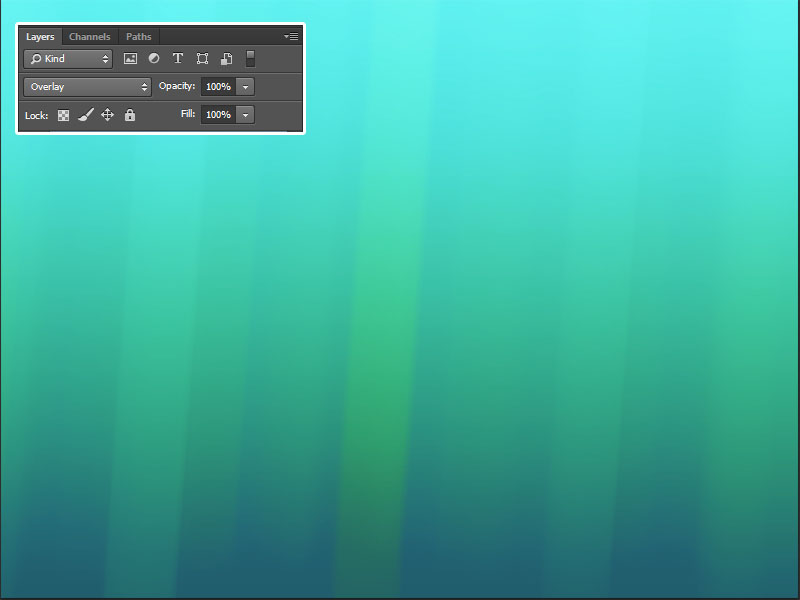
Change the blending mode to Overlay
Now, set the Foreground color to black and background color to white by pressing the “D” key.

Then create a new layer and add Clouds filter by going to Menu > Filter > Render > Clouds
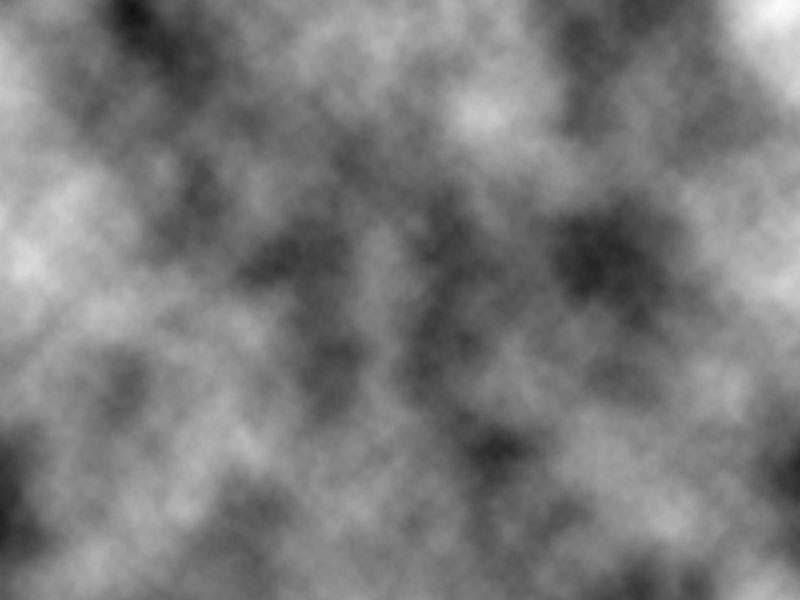
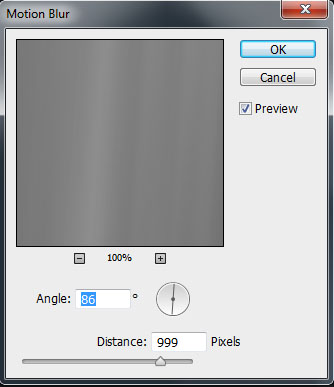
Apply a motion blur by going to Menu > Filter > Blur > Motion blur.

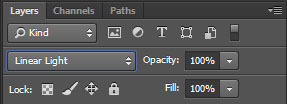
To finish, change the blending mode to linear light
Here the final result


