


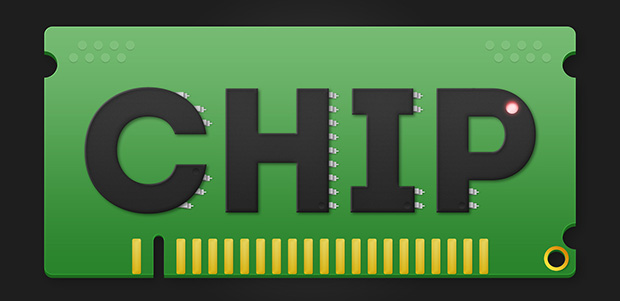
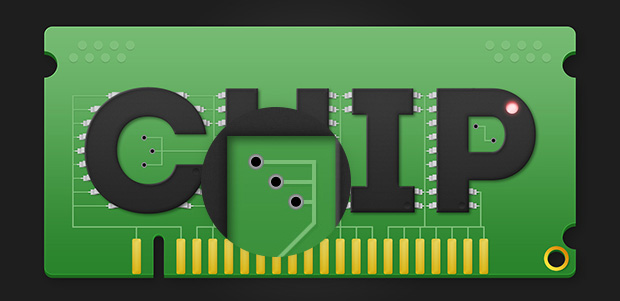
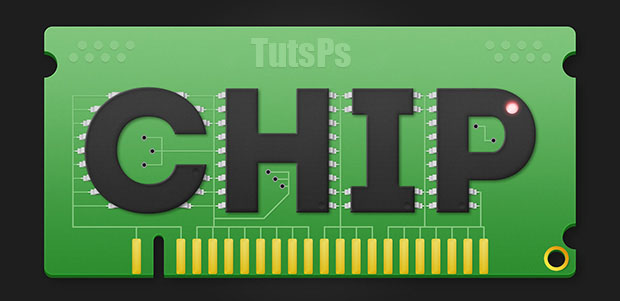
Create a Computer Chip Text Effect in Photoshop
In this Photoshop Tutorial, learn how to create a Computer Chip Text Effect. We’ll use basic shapes, Layer Styles, Layers Masks and a few Filters to create this cool text effect to give a technology feel on your texts.

Step 1 – THE New Document and Computer Chip Shape
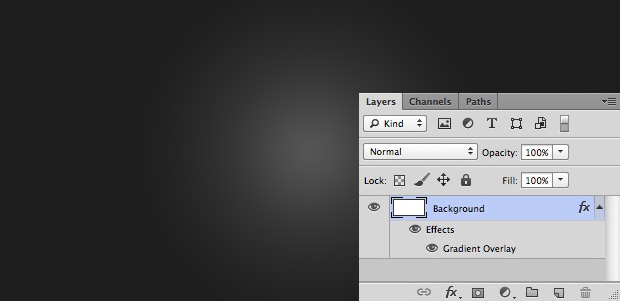
Open up Photoshop, create a new document, 1750x850px with a Transparent background. Fill this background layer with white, Edit – Fill – White .
Add a Gradient Overlay Layer Style with a Radial Gradient , with a 90° Angle with those colours, #1B1B1B – #313131 – #565656 .

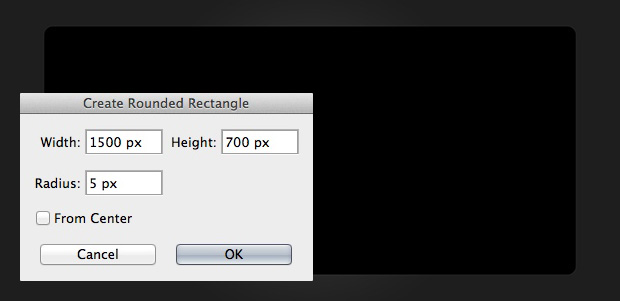
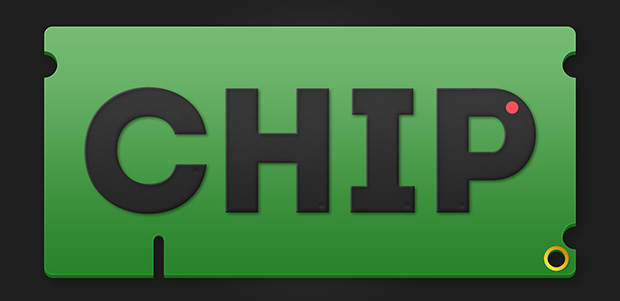
Create the main shape of the computer chip, select the Rounded Rectangle Tool (U) , create a black 1500x700px rounded rectangle with a 5px Radius .
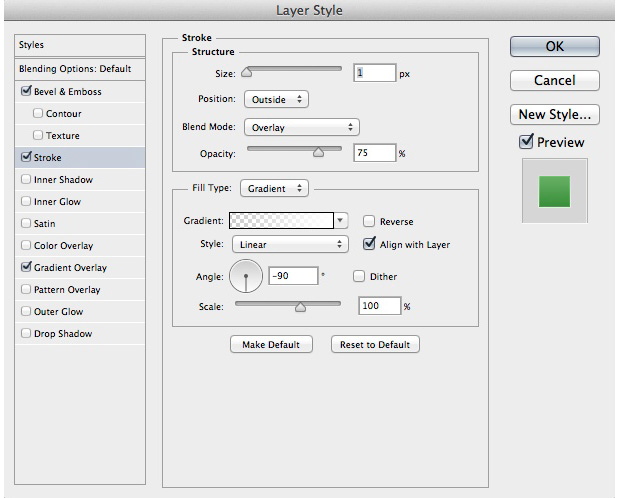
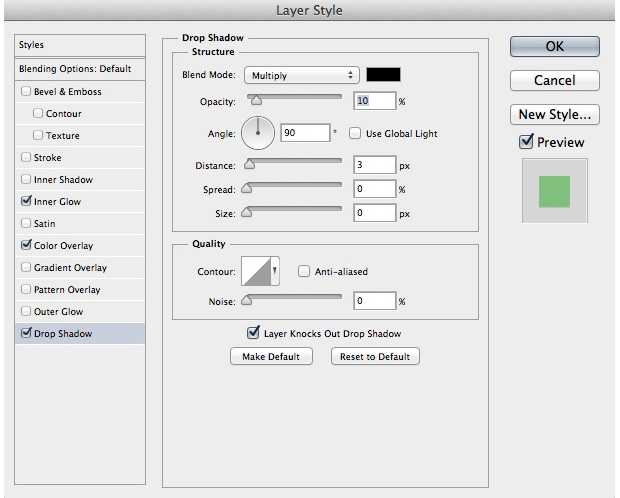
Add a few Layer Styles on this shape to give a nice green colour with those parameters :


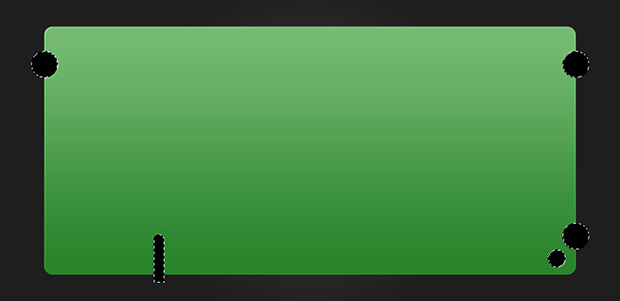
Now let’s cut out a few parts of the main shape using a Layer Mask , first select the Ellipse Tool (U) , create 3 75x75px circles, place one on the top left part, one on the top right part and the other on the bottom right part. create a smaller 50x50px circle on the bottom right part. create an other shape on the bottom part of the main shape with a 30x120px rectangle and a 30x30px circle like below.

We’ll now create a Layer Mask on the main shape with the selection of those small shape. Load the selection of all the small shape we just created, Cmd+Shift+Click on the thumbnails of the small shapes to load the selection.
Create a Layer Mask on the Main Shape with this selection, Layer – Layer Mask – Hide Selection .

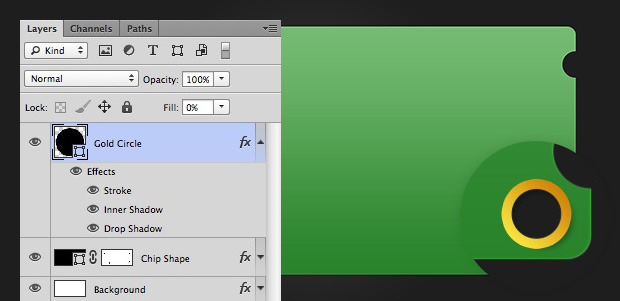
Step 2 – Gold Stroke Circle and Background Shape
Hide or delete the small shapes we created except the small 50x50px circle on the bottom right corner.

Apply a few Layer Styles on this circle shape with those parameters :

Use #F4E541 – #C4791B for the Gradient Overlay Layer Style.


Change the Fill of this circle to 0% .
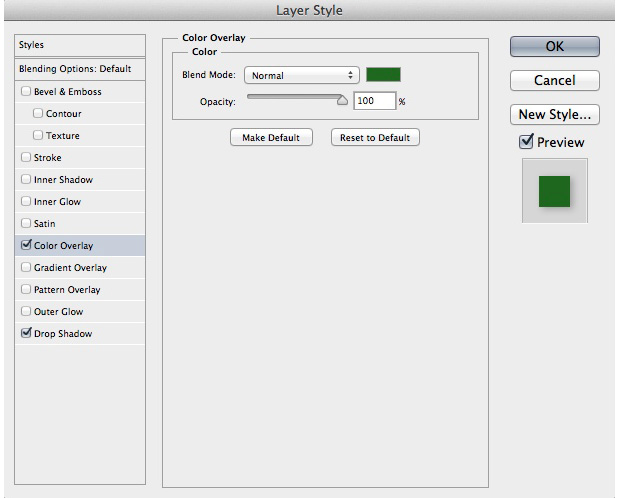
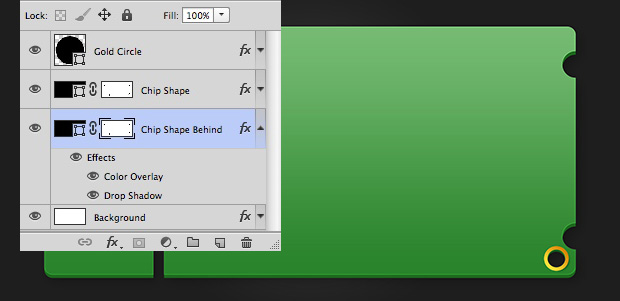
Duplicate the main shape layer, delete the Layer Styles from this shape, right click – Delete Layer Styles , place this duplicated layer, behind the original layer, use the Move Tool (V) to move the duplicated shape 10px down.

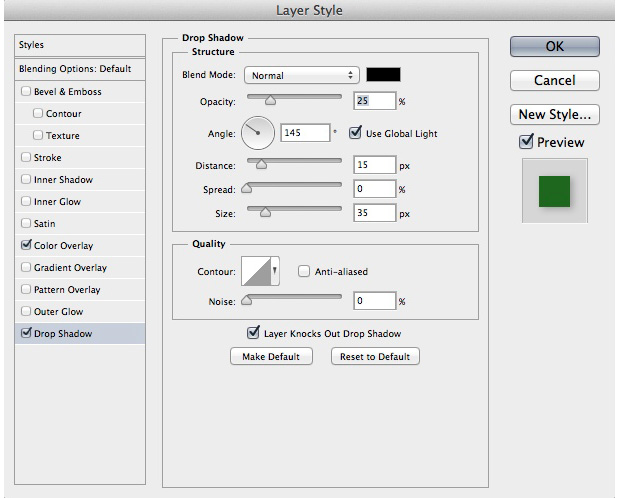
Apply a Color Overlay and Drop Shadow Layer Styles on this duplicated shape.
Step 3 – Text
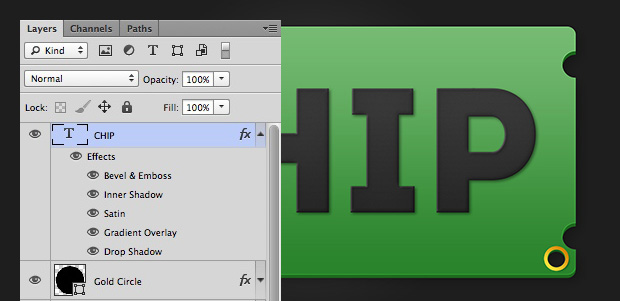
After creating the main chip shape, let’s create the text. I used a Font called Intro , you can use any font you like and wrote “ CHIP “.

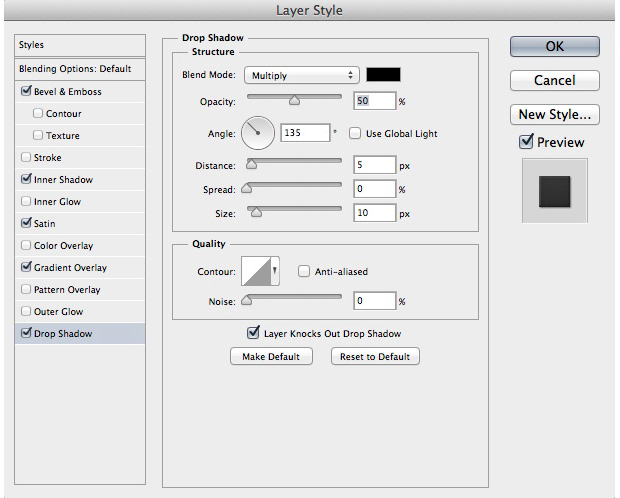
Add a few Layer Styles on this text layer to give a black plastic feel with those parameters :


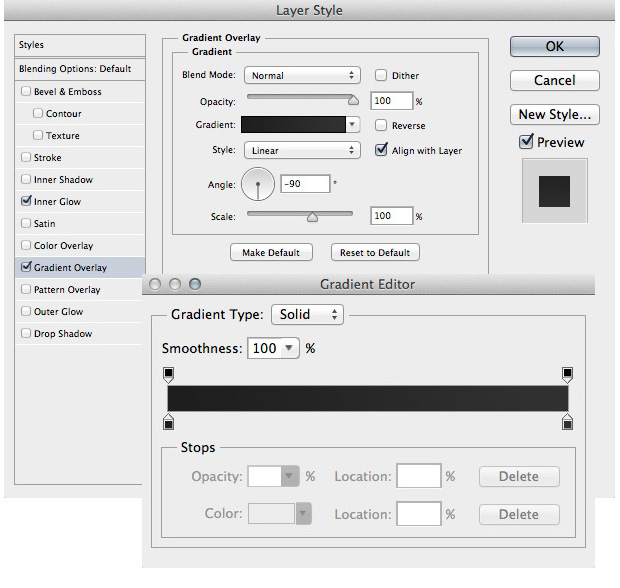
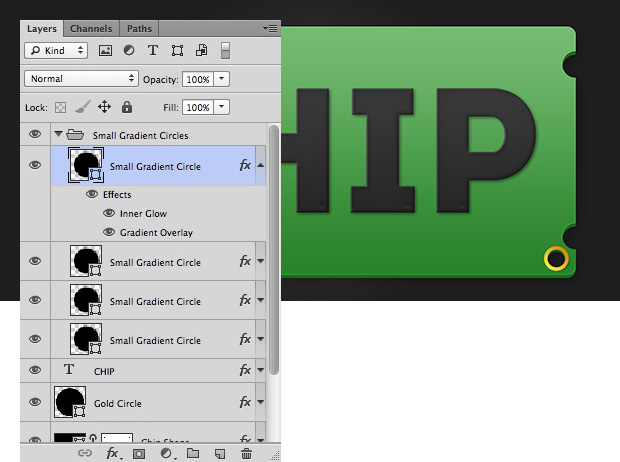
To add more details on the text create a few small black circles on the bottom corners of each letters.

Add an Inner Shadow and Gradient Overlay Layer Styles on those small shapes.


Select the Ellipse Tool (U) again, create a 35x35px red #EE445E circle on the top right corner of the “ P ” letter.
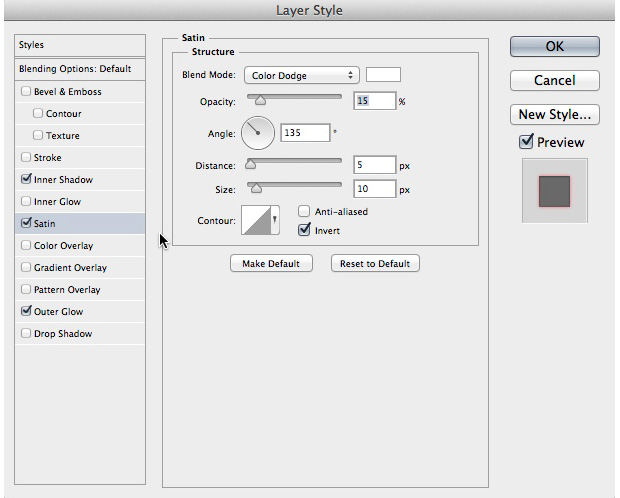
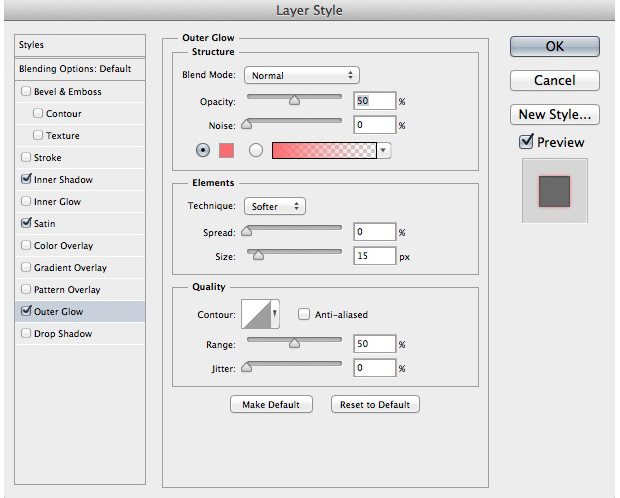
Add a few Layer Styles on this red circle :


Create a 35x35px white circle on top of the red circle, apply a Gaussian Blur with a 3,5px Radius on this white circle. Right click on the white circle blurred layer, select Create Clipping Mask . Change its Fill to 65% and Blending Mode to Lighten .


Step 4 – Details
Create 16 small circles, 2 rows of 4 circles on the top left part of the chip shape and 2 rows of 4 circles on the top right part like below
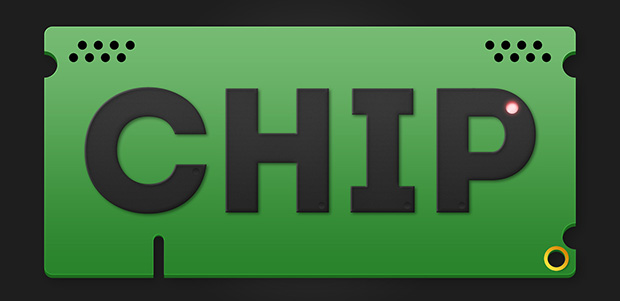
Add a few Layer Styles on the small circles with those parameters :


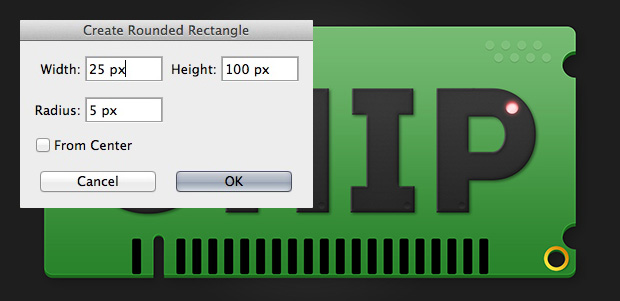
Select the Rounded Rectangle Tool and create the small metal shapes on the bottom part of the chip, create a 25x100px with a 5px Radius rounded rectangle, duplicate it 20 times, place those rounded rectangle on the bottom part of the chip with a 20px margin between them expect one on the left of the cut out part like below.
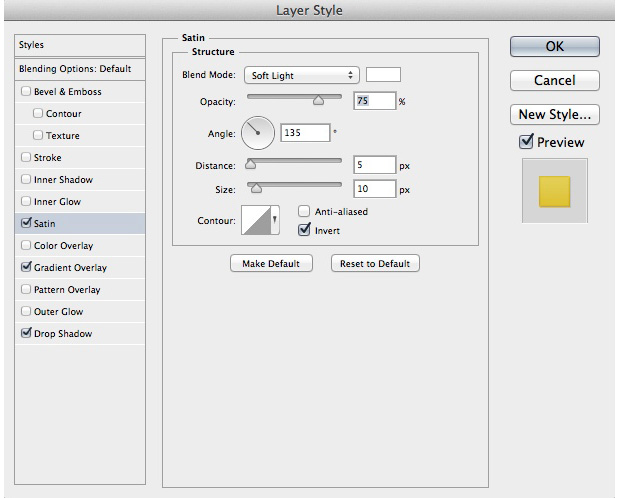
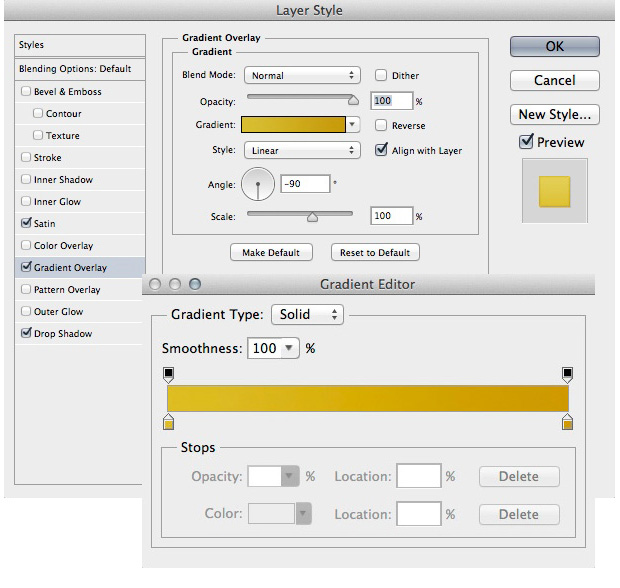
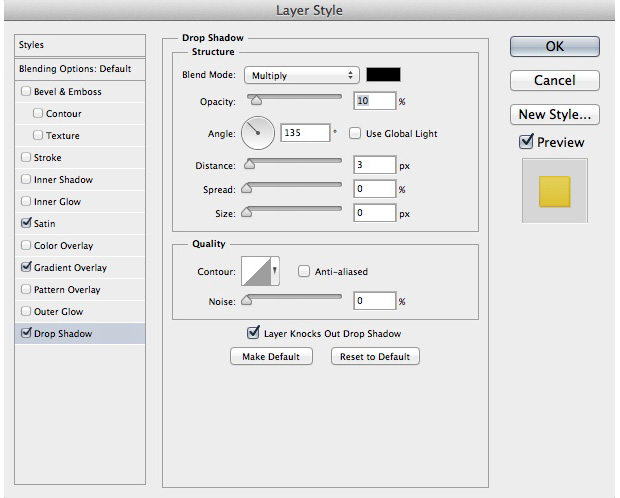
Apply a few Layer Styles on all those small shapes to give a nice gold metallic effect.
Use #D1C03F – #C4931B for the Gradient Overlay .


Step 5 – Small Metal Pins
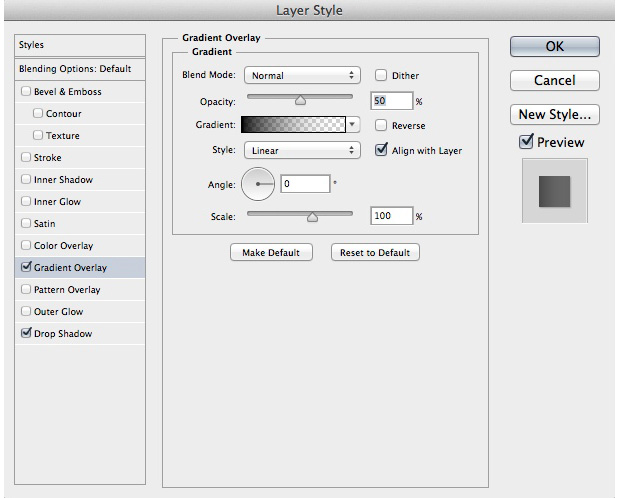
In this step we’ll create the small metal pins around the letters, Create a Grey #D0D1D3 rectangle using the Rectangle Tool (U) .

Apply a Drop Shadow and Black to Transparent Gradient Overlay Layer Styles on this rectangle shape.

Create a smaller grey rectangle behind the first rectangle we created, a little down the right. Create an other small grey rectangle on the right of the second rectangle like below. Merge the two smaller rectangles we just created, select those rectangle shape, right click on the two selected layers and select Merge Shapes .

Apply a Drop Shadow and Black to Transparent Gradient Overlay Layer Styles on this merged rectangles shapes.


Place this metallic pin shapes in a new group, use the Free Transform Tool (Cmd+T) to downsize this pin shape. Place this pin shape group behind the text layer, duplicate this group a few times and place those pins on the right parts of the letters.
Duplicate one of the pins, Flip it Horizontally, Edit – Transform Path – Flip Horizontal . also change the Angle of the 2 Gradient Overlay Layer Styles on this duplicate pin shape to 180° . Duplicate this pin shape group a few times and place them on the left parts of the letters.

Step 6 – Green Lines
This part of the tutorial can take a little time, we’ll need to create a lot of lines to join the small metallic pins together and to the gold bottom shapes, select the Rectangle Tool (U) and create a lot of lines, also create a few lines inside the letters like below :

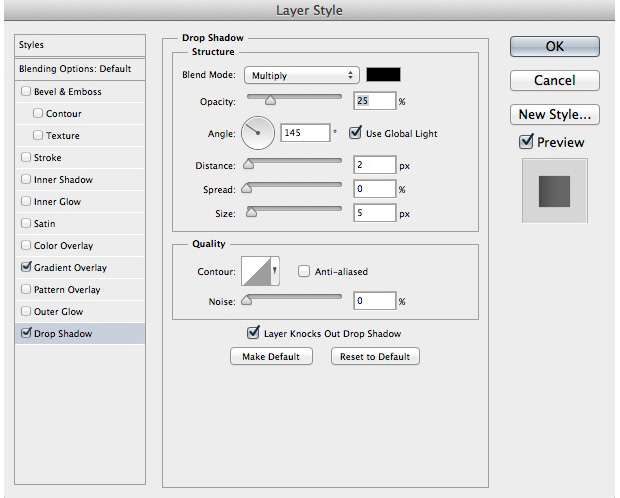
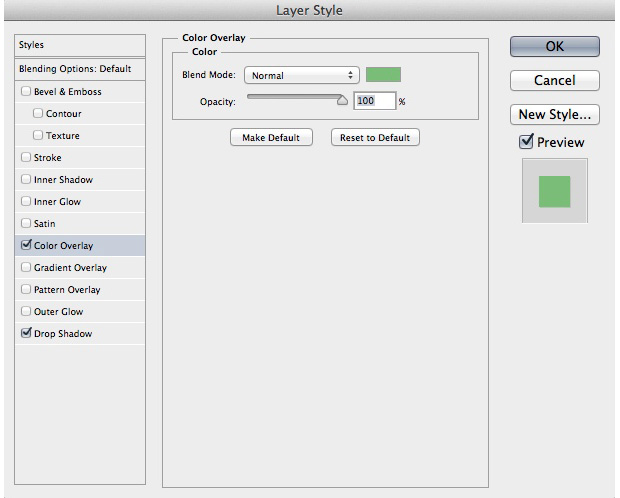
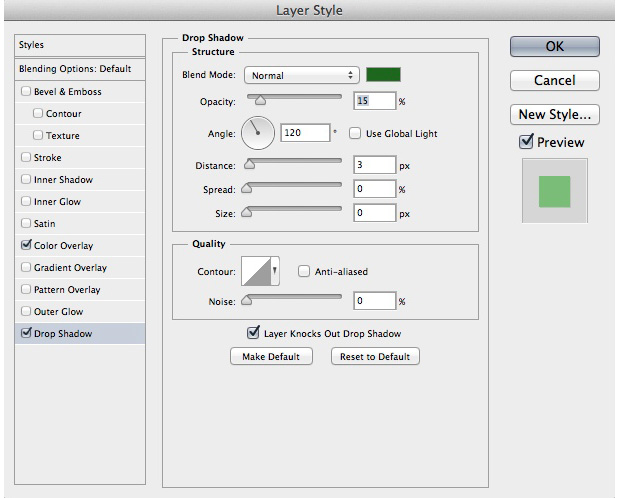
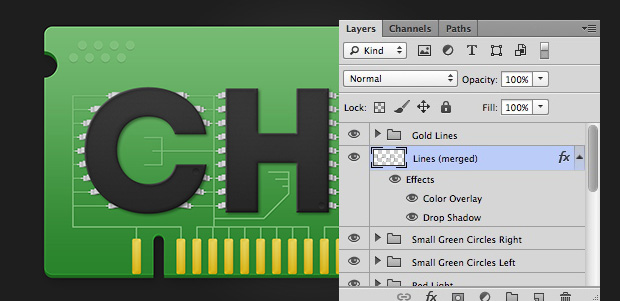
Merge all those lines together and apply a Color Overlay and Drop Shadow Layer Styles with those parameters on those lines.
Select the Ellipse Tool (U) , create some small circles at the end of the lines we created inside the letters.

Add a #6F6F6F – #BBBBBB Gradient Overlay Layer Style on those small circle details.


Step 7 – Noise and Blur
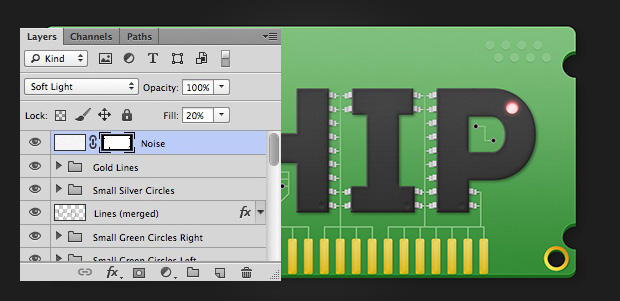
Create a new layer, Fill it with white, E dit – Fill – White . Apply a Noise Filter on this white layer with a 10% Amount and Gaussian for the Distribution.

Change the Fill of this noise layer to 20% and Blending Mode to Soft Light .

Apply the same Layer Mask than on the main chip shape on this noise layer.

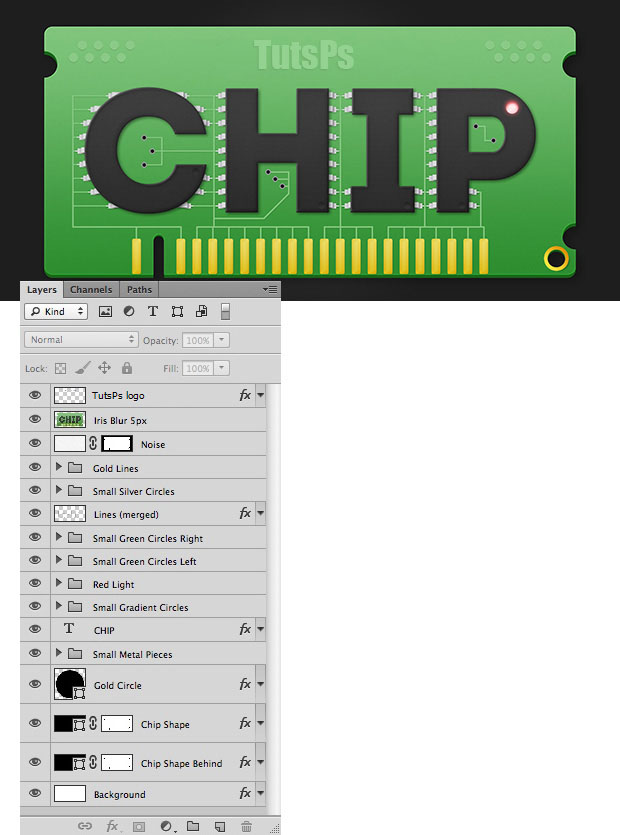
Select all the layers we created from the start of the tutorial except the background layer and press the Cmd+Alt+E keys. This will create a new layer with all the other layers merged inside this new layer.
Next apply an Iris Blur Filter, Filter – Blur – Iris Blur with a 5px blur on this merged layer like below.
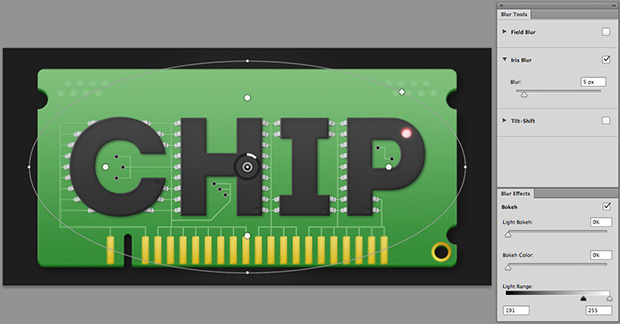

Change its Fill to 25% and Blending Mode to Soft Light .

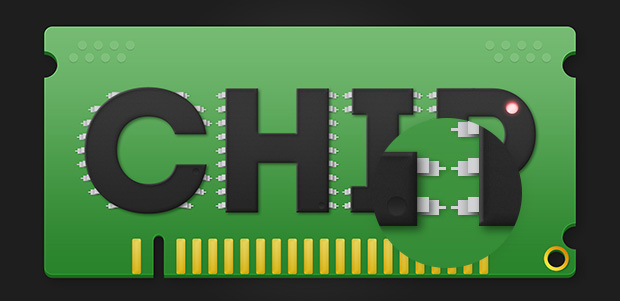
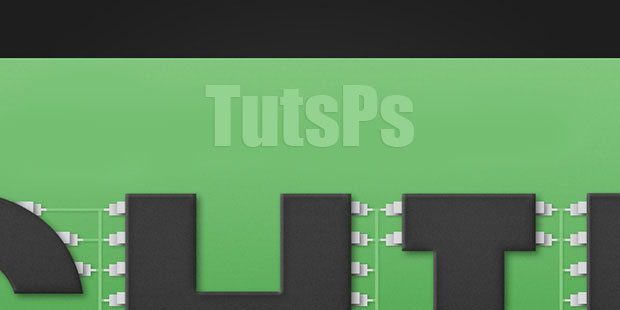
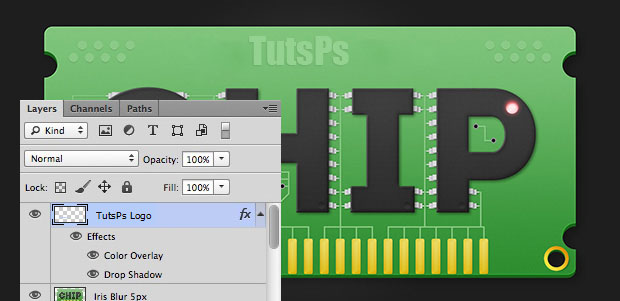
To finish this Computer Chip Text Effect I just added the Supercolortuts Logo on the top part of the chip with the Layer Styles than on the small green top circles.
That’s it for this Tutorial, now you have a cool Computer Chip Text, you can use those technique with any text and create different styles of technology style text effects. Feel free to download the Source Files or leave a comment if you need help.


