


African sunset with Photoshop
Welcome to TutsPS, in this tutorial, we will learn how to make an amazing African sunset with adobe Photoshop.
You’ll also learn how to manipulate brush, some tools, and tips to create a beautiful sunset on Africa. Finally, we’ll add lighting effects and adjust the color of our entire scene.
Let’s get started now!
Here’s look at the outcome you’ll be able to produce by the end of this Photoshop tutorial.

Resources used in this tutorial
Create a new document of 1500×1500 pixels by selecting File > New and set the setting as shown in the image below.

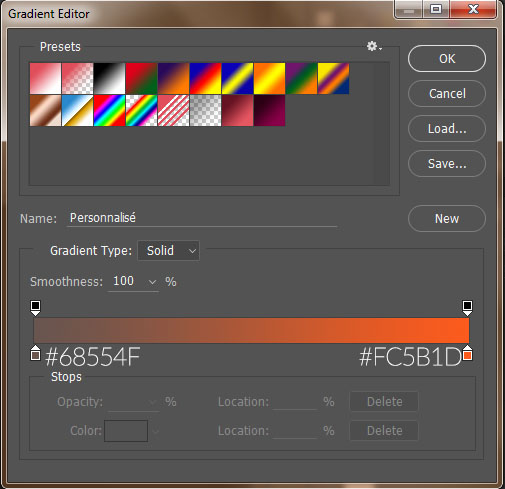
Add a gradient fill layer by going up to Menu > New fill layer > Gradient.


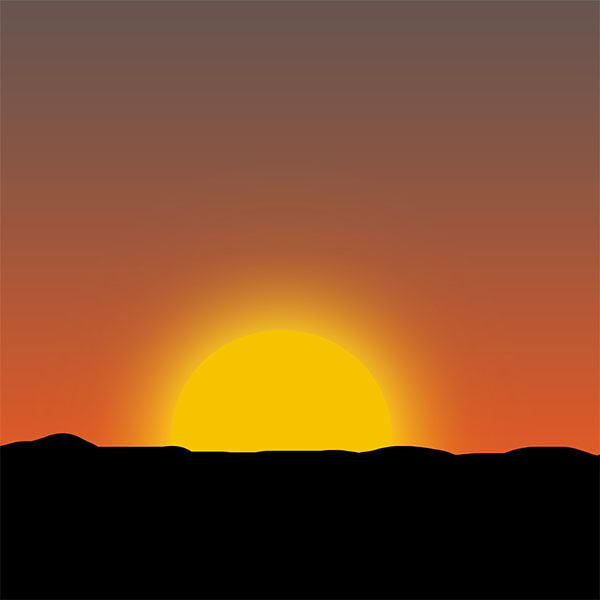
Now, add a new layer (Ctrl+Shift+N), Grab the brush tool by pressing (B) on the keyboard, use a soft round basic yellow brush #ffba25 and paint a circle shape.

Add a yellow circle #f7c200 by using ellipse tools (U) .

Then, add a blending option effect to the circle. Here are the values for blending options.


Now, add a new layer, grab the brush tool by pressing (B) and paint a shape as shown in the image below.
Load the animals and trees brush in Photoshop. Use the Tree brush to create some grass like shown in the image below. I have used two layers to create this grass line.


Add a new layer take the brush tools and add some animals and trees.
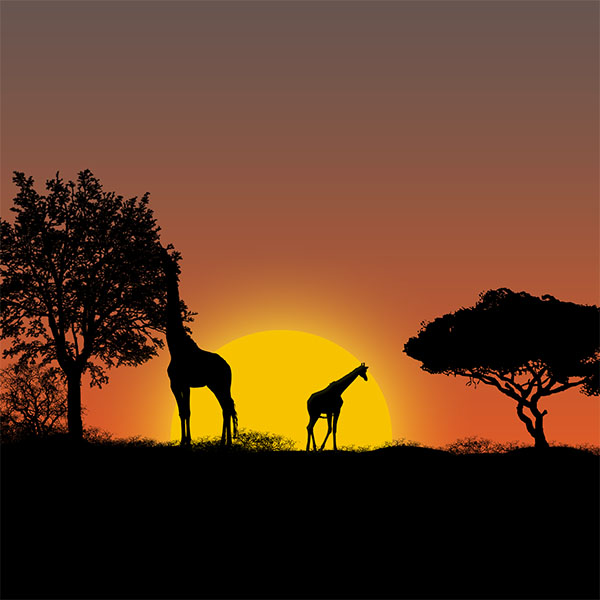
Add a Blending Options effect to this layer. Here are the values for blending options .

Do the same think and add some birds as shown in the image below.

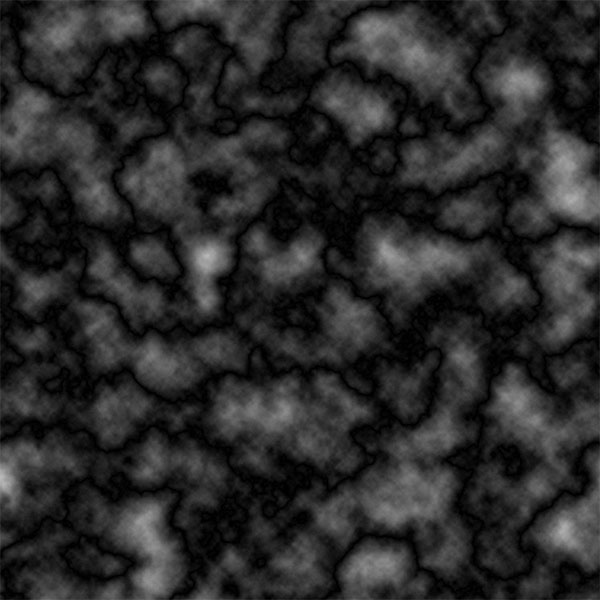
Then, create a new layer, and go to Menu > Filter > Render > Clouds.

After that, go up to Menu > Filter > Render > Difference clouds.
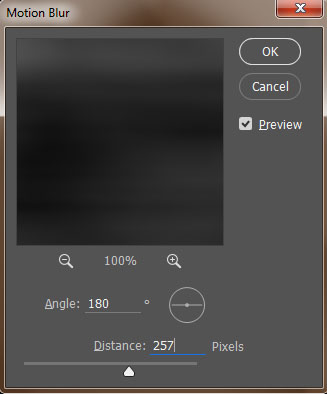
Now, add a motion blur to the layer by going to Menu > Filter > Blur > Motion blur.

Duplicate the clouds layer two times and rename those clouds 1, 2, 3 as shown in the image below.

Add a layer mask to “clouds 1” layer by selecting Menu > Layer > Layer mask > Reveal all and use a soft round basic black brush to hide the top part.
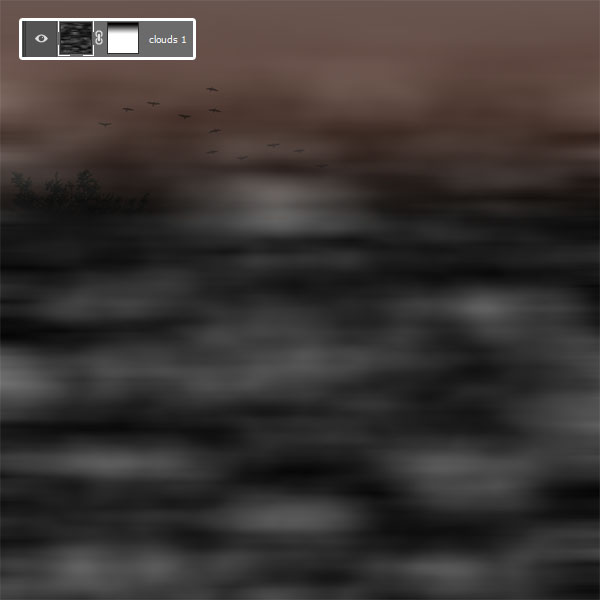
Change the blend mode to color dodge.

Now, select “clouds 2” layer and activate the Free Transform tool by pressing (CTRL+T) on keyboard. Resize it as shown in the image below.

Add a layer mask to it and using a soft round basic black brush hide the selected part as shown in the image below.
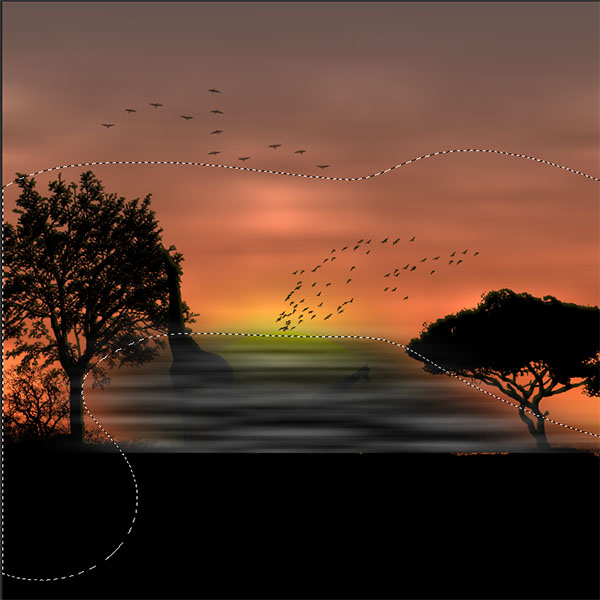
Change the blend mode to color dodge .

Do the same think to “clouds 3” layer and mask all the center and top parts.
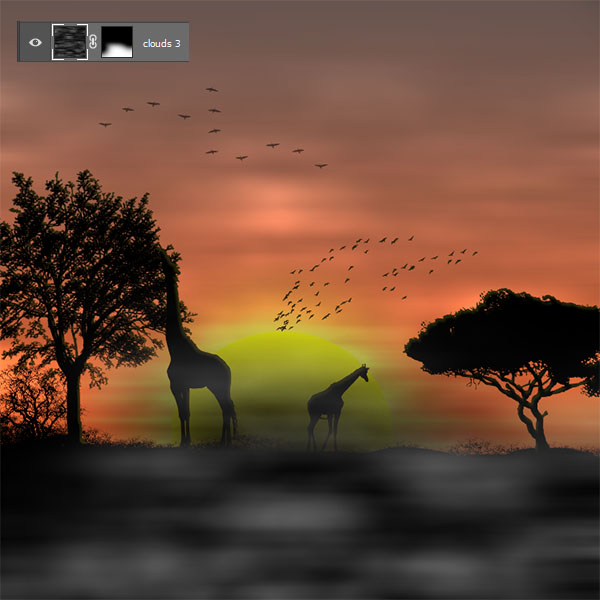
Change the blend mode of this layer to soft light. Here are the results.

Now we’ll learn how to easily add a realistic water reflection to any photo. It’s a very easy effect to create and you can add it to any photo you like.
We need to duplicate the entire layers merged, and we can do that using the keyboard shortcut Ctrl+Alt+Shift+E
Now when I look in my Layers palette now, I can see that I now have – all layers and on the bottom and a new layer, ” Layer 2 “, above it which is my duplicate:

In order to create our reflection, we need to flip our image upside down, so let’s do that. With the top layer selected in the Layers palette, go up to Menu > Edit > Transform , and then choose Flip Vertical . Photoshop will flip the image upside down in the document:

We need the flipped image to be at the bottom of the document, so grab your Move Tool from the Tools palette, or press “V” on your keyboard for the shortcut:
Then, with the Move Tool selected, click inside the document and drag the flipped image down to the bottom. Hold down “Shift” as you drag to make sure you drag down in a straight line:
Activate the Free Transform tool by pressing ( CTRL+T ) on keyboard. Resize it as shown in the image below.

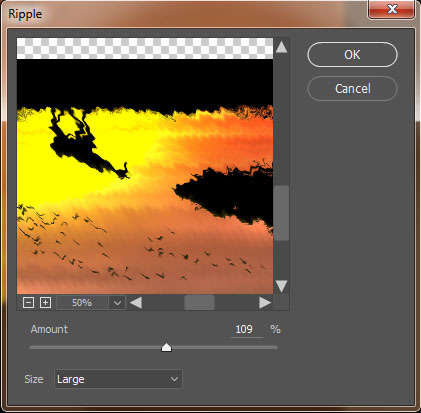
After, go up to Menu > Filter > Distort > Ripple.

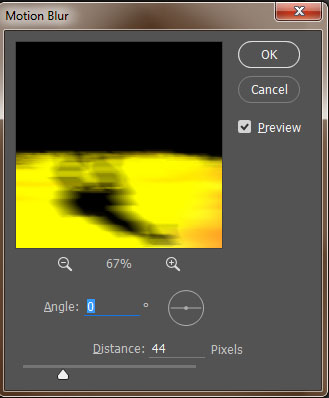
We need to smooth them out and create nice, smooth transitions between them. To do that, go up to the Menu > Filter > Blur > Motion blur, which brings up the “Motion Blur” dialog box, Choose 0° angle , and a distance of 44 .

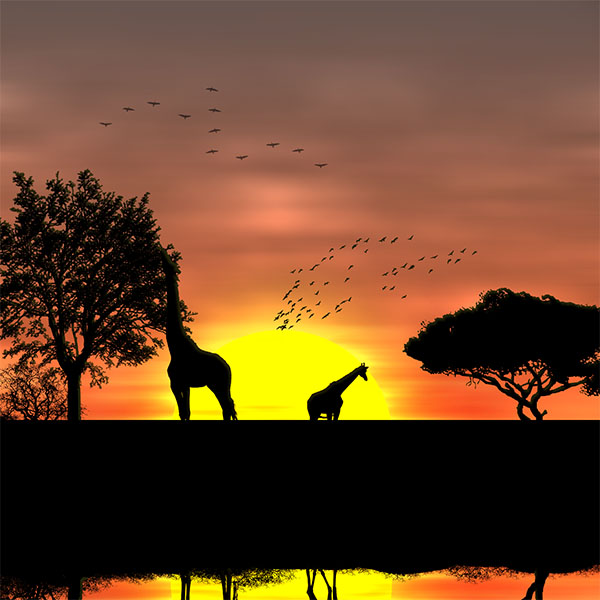
Finally, Add levels adjustment layer to it. To do that, go up to the Menu > Layer > New adjustment layer > Levels . Here are the values.

You’re all done! You can view the final outcome below. I hope that you enjoyed this Photoshop tutorial.


