How to enhance photos with Photoshop
In this new Photoshop tutorial, we’ll learn how to enhance photos with adobe Photoshop using filter, brush tools, Dodge & Burn tools and other tips to give them an amazing effect.
Let’s get started now!
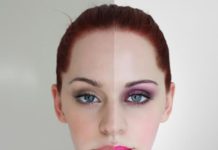
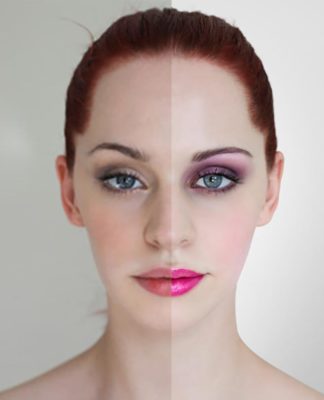
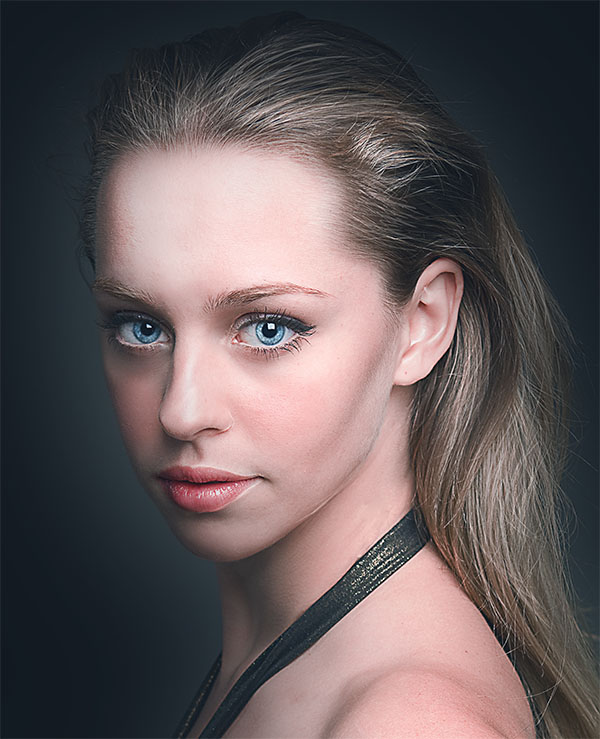
Here’s look at the outcome you’ll be able to produce by the end of this tutorial, In this before and after photo you can see the basic principle of everything we’re about to do.
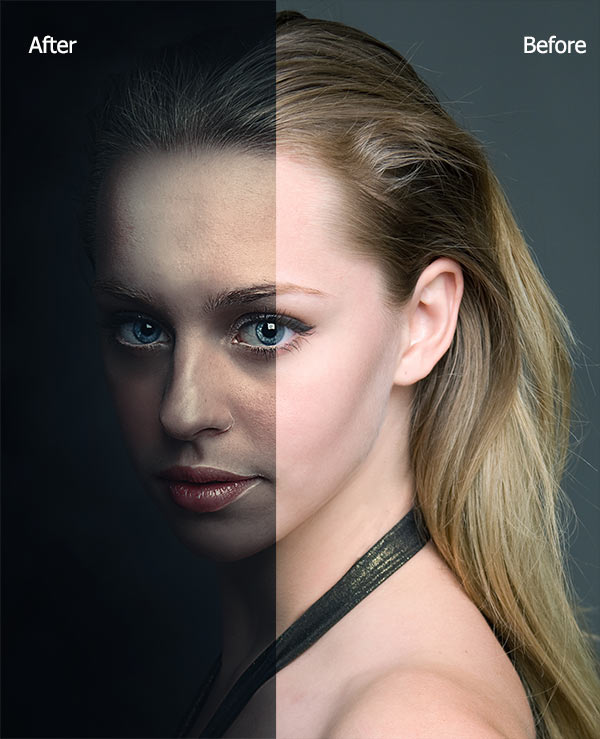
First, download the image used in tutorial
Paste it in a new document of 1900x2400pixels at 300 dpi, and place it as shown in the image below.
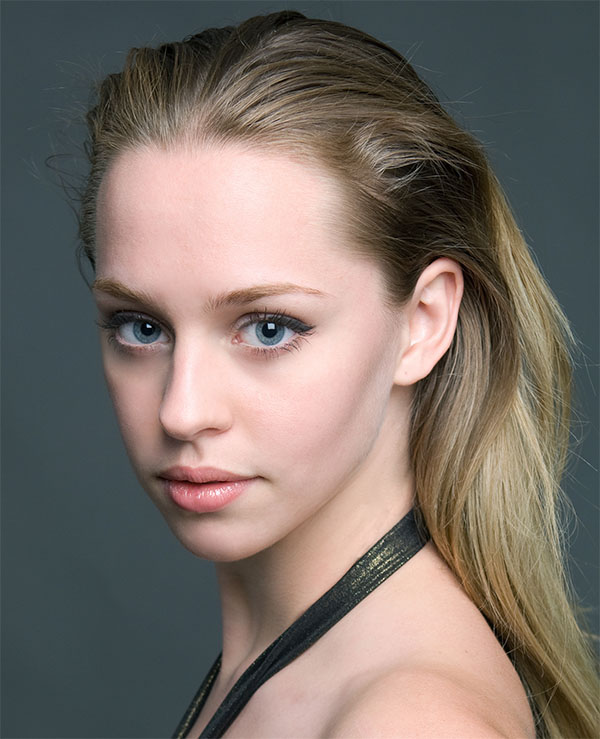
Then, duplicate the layer by pressing Ctrl+J shortcut and go up to Menu > Filter > Sharpen > Unsharp mask and set the setting as shown in the image below.

Duplicate the layer by pressing Ctrl+J and go up to Menu > Filter > Other > High pass.

Then, change the blend mode to overlay .
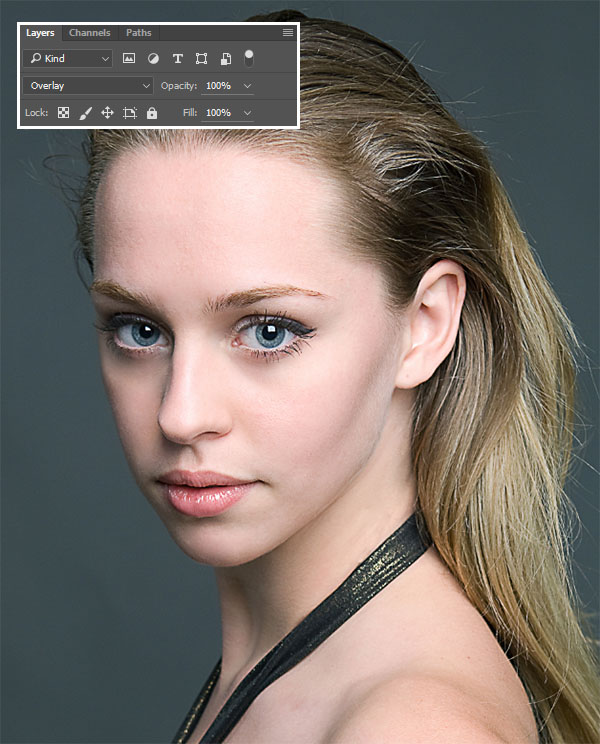
Now, add a new layer, use a large brush, and cover stroke of its face and the body.
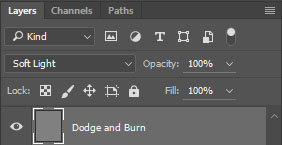
Think many of you know that we can apply Dodge and Burn effect nondestructively. To apply Dodge and Burn effect nondestructively, first we need to create a new layer. Press Ctrl+Shift+N to create a new layer and rename it to “ Dodge and Burn ”. Now go to Menu > Edit > Fill or press Shift+F5 to open Fill dialogue box. Choose the Content as 50% Gray. Press OK.
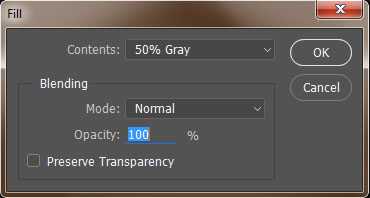
Now, change the blend mode of “ Dodge and Burn ” layer to Soft Light.
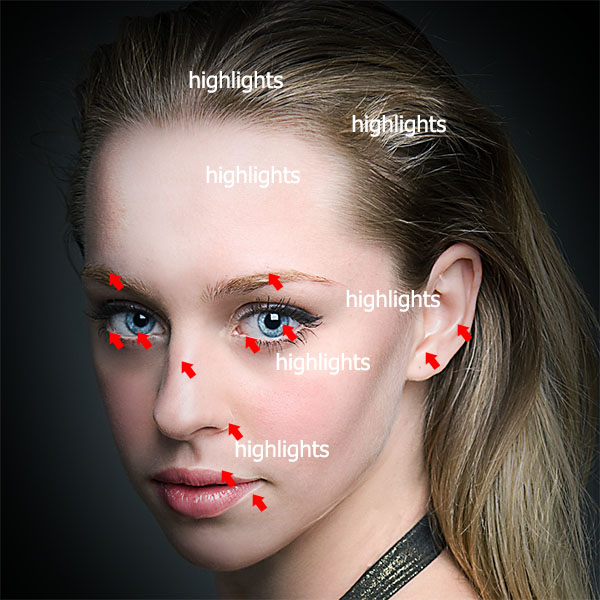
Now grab Dodge Tool from the tool panel. Dodge tool lightens the part where we apply it. So apply Dodge tool to the area which is having some highlights. You can take below image as reference. The areas which is embedded with “Highlights” text, are the areas where you are going to apply Dodge tool.
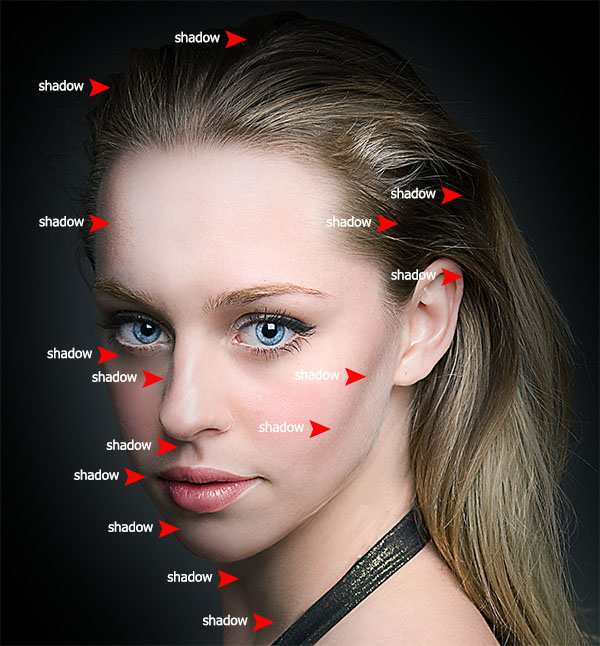
Now grab Burn Tool , and apply the Burn tool to the regions which are having shadow’s. You can take below image as reference.
Your image should look like this.
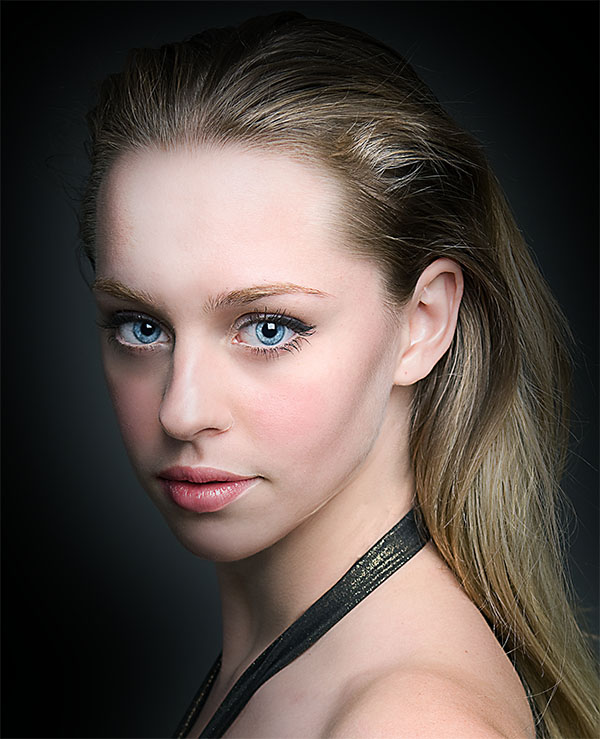
Add new layer, and paint a white stroke along the hair of the model. Also, add a touch of white over the eyes and nose, but don’t just use a large brush size. Use a 2px brush on low Opacity and paint according to the texture of the face.

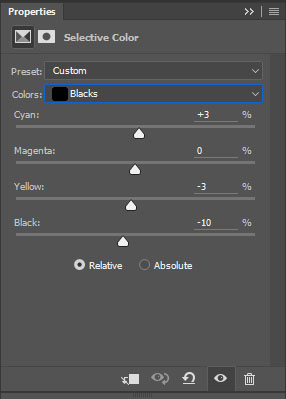
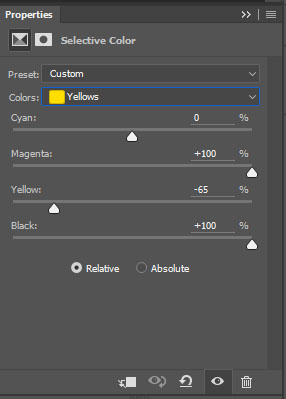
We’ll add a few Adjustment Layers. The first one’s a Selective Color effect. Go to Menu > Layer > New Adjustment Layer > Selective Color. Double-click on the layer’s icon to bring up the settings. From the drop-down menu, find Blacks and yellows. Change it as shown here below.
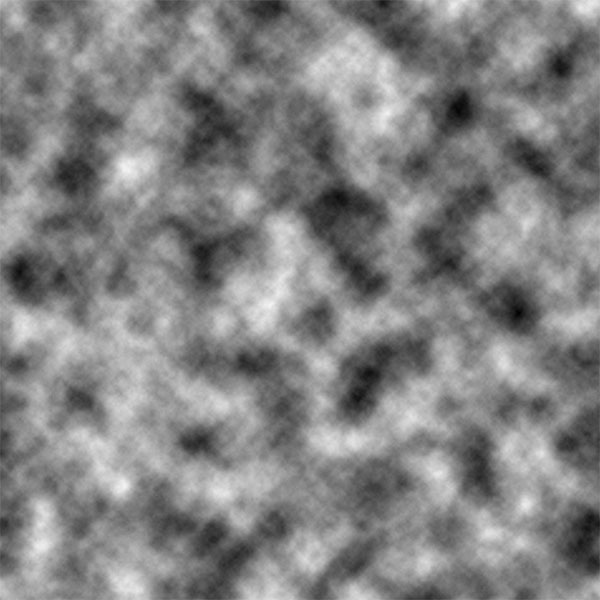
Now, add a new layer, and apply a clouds filter. To do that, go up to Menu > Filter > Render > Clouds .
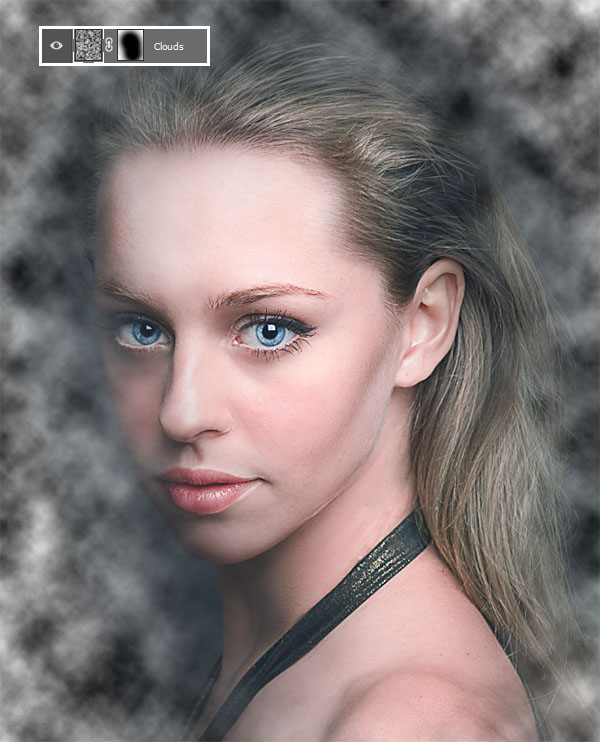
Add a layer mask to “clouds” layer by selecting Menu > Layer > Layer mask > Reveal all and use a soft round basic black brush to hide the center part.
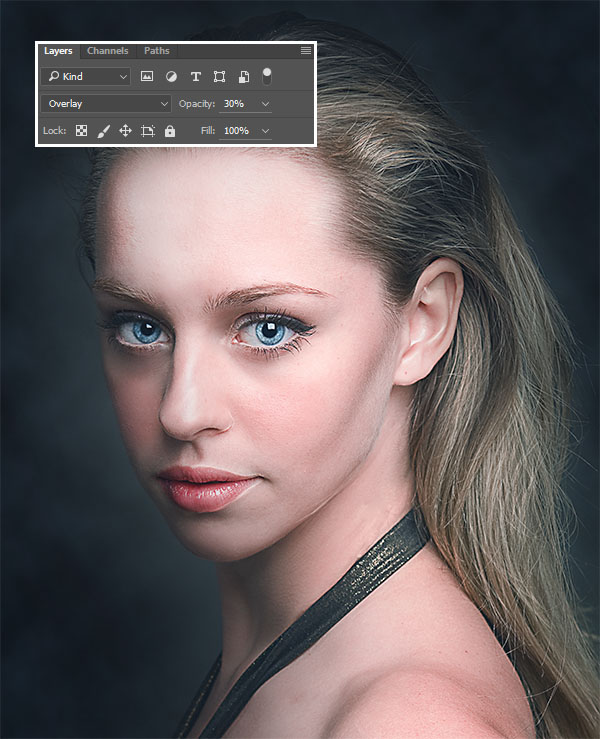
Change the blend mode of this layer to Overlay and reduce the opacity to 30%. Here are the results.
Then, add a color lockup Adjustment Layers. To do that go to Menu > Layer > New Adjustment Layer > Color lockup, change it as shown here below.

Change the blend mode to multiply and reduce the opacity to 74%.

Add Gradient Map adjustment Layer, to do that go to Menu > Layer > New Adjustment Layer > Gradient Map.
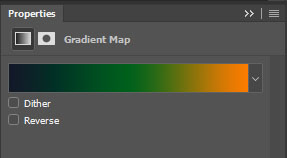
Change the first color (Violet) to a dark blue: #121929.

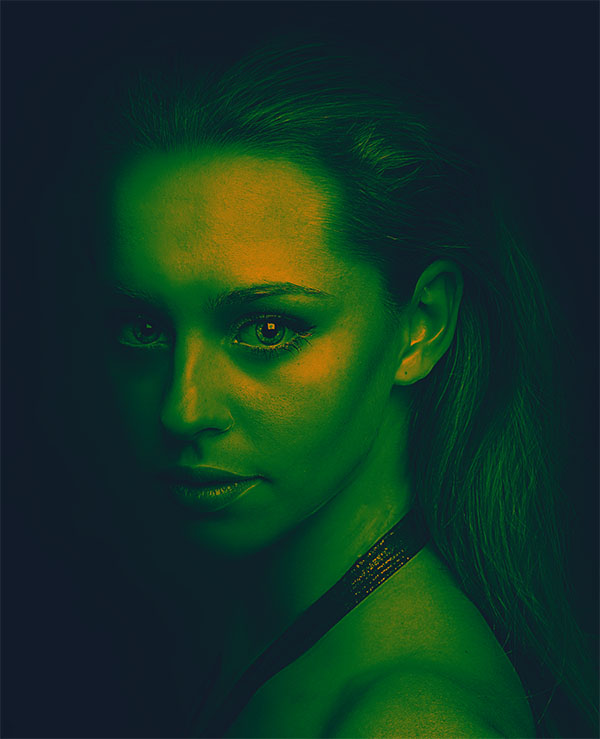
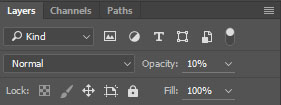
Then, change the layer’s Opacity to 10% .
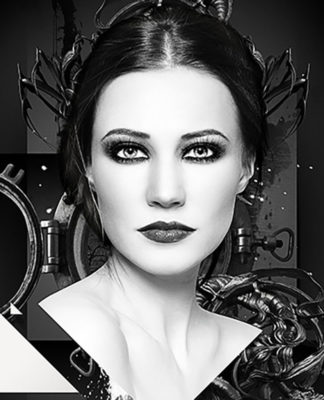
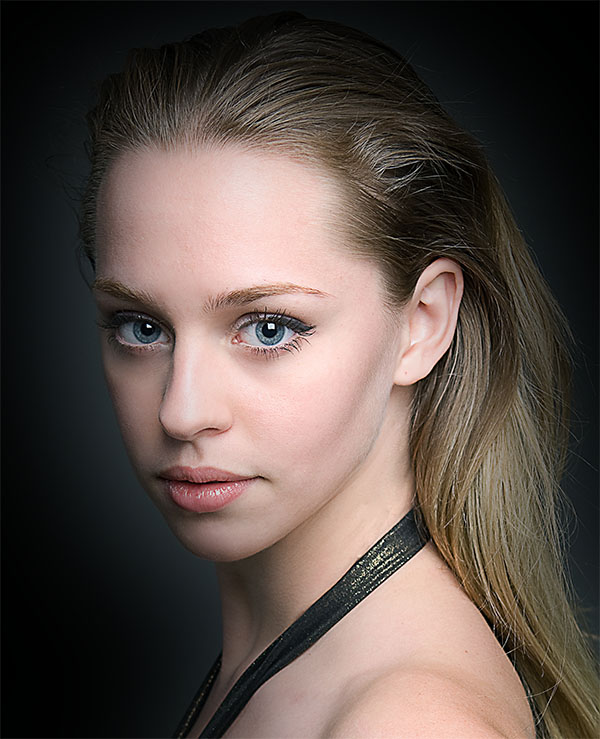
You’re all done! You can view the final outcome below. I hope that you enjoyed this Photoshop tutorial.


