Create a Lomographic effect in Adobe Photoshop
Welcome to this new tutorial, in this one we will create a Lomographic effect in Adobe Photoshop.
To begin, take your image or download this one and open it with Photoshop.

Now apply a lens correction by going to Menu > Filter > Lens correction, then in vignette widget change the value of amount to -56 and midpoint to +36.

Open your channels panel and click on the red channel.

Then go to Menu > Image > Adjustments > Brightness/contrast and put +50 on the contrast.

Do the same thing with the green channel.

Here the result

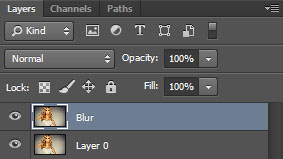
Now, duplicate your layer by pressing (Ctrl+J) and rename it Blur.

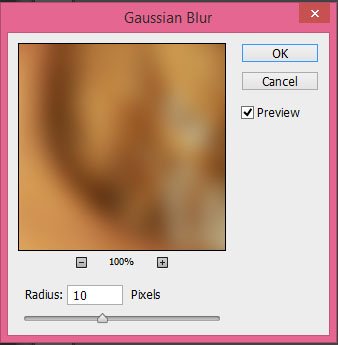
Then, go to Menu > Filter > Blur > Gaussian blur.


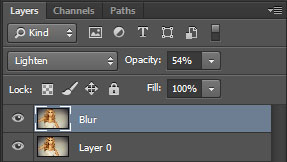
Finally, change the blending mode to lighten and reduce the opacity to 54%.

Here the result.


