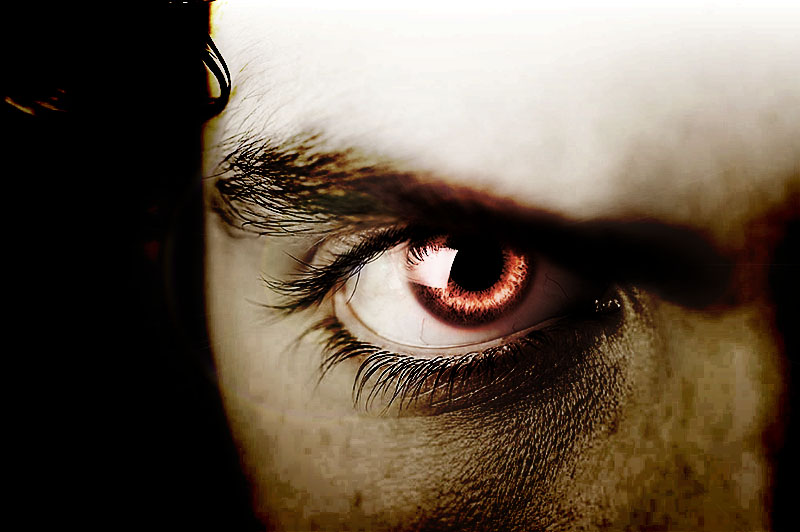
Create Amazing Evil Eyes in Photoshop
Welcome in this new tutorial, we will learn how to create amazing evil eyes in adobe Photoshop.
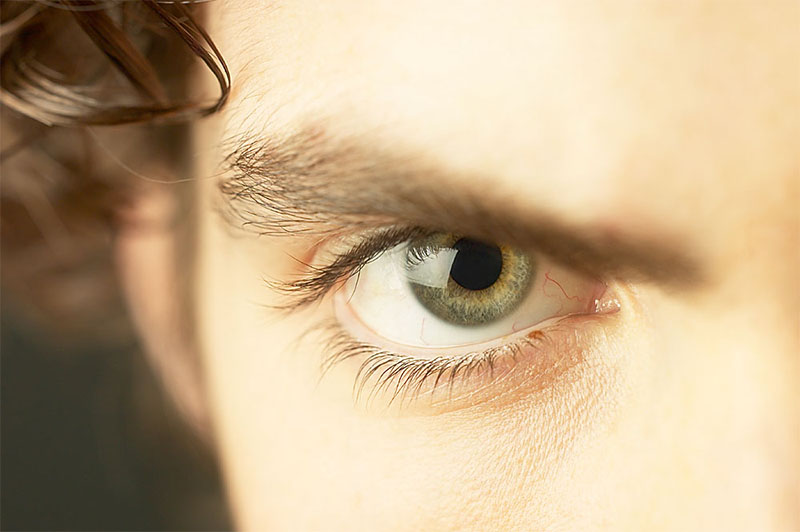
Open a new 1000x660px document, and import the eye image in your document
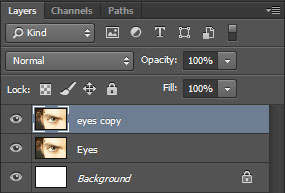
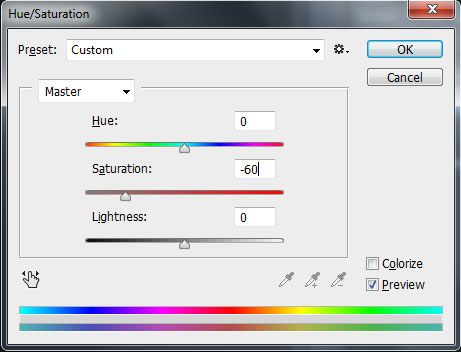
Duplicate your layer by pressing (Ctrl+J) then go to Menu > Image > Adjustments > Hue/Saturation and bring the Saturation value down to -60 .
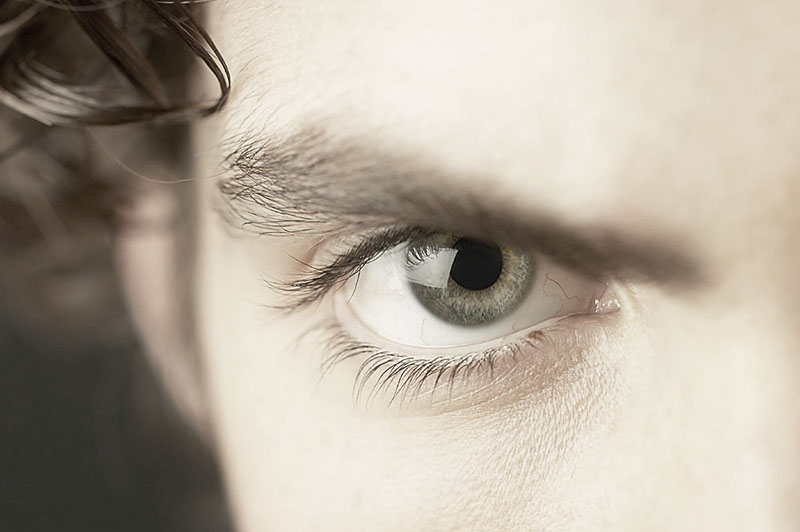
Then go to Menu > Image > Adjustments > Level and adjust shadow input level to 66 .


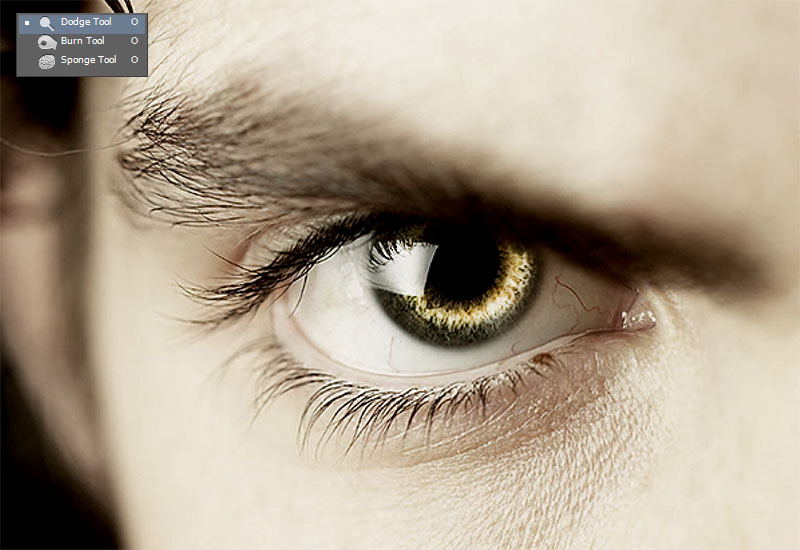
Select the dodge tool and lighten the iris.
Stay away for the thin, darker, perimeter of the iris and the pupil.
Generally set the tool as follows:
- Brush Size: Varies depending on the size of the eye.
- Brush Hardness: 10%
- Range: Midtones
- Exposure: 20%
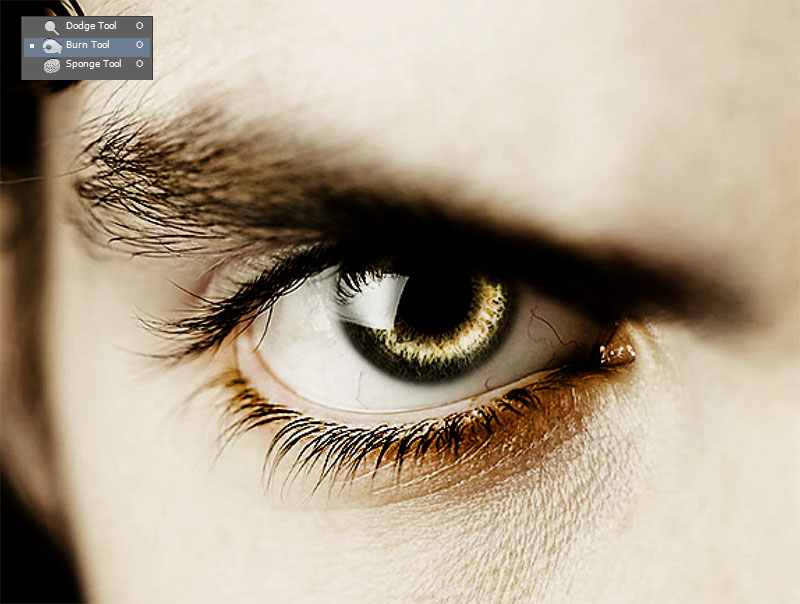
Select the burn tool and darken the perimeter of the iris and the pupil. *
I generally set the tool as follows:
- Brush Size: Varies depending on the size of the eye.
- Brush Hardness: 5-10%
- Brush Range: Shadows
- Exposure: no greater than 15%
Then add a new gradient fill layer by going to Menu > Layer > New fill layer > Gradient.
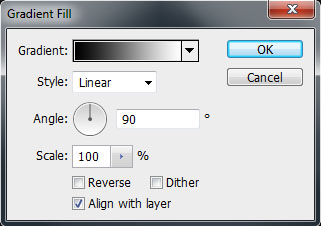

Set the Blend Mode to overlay
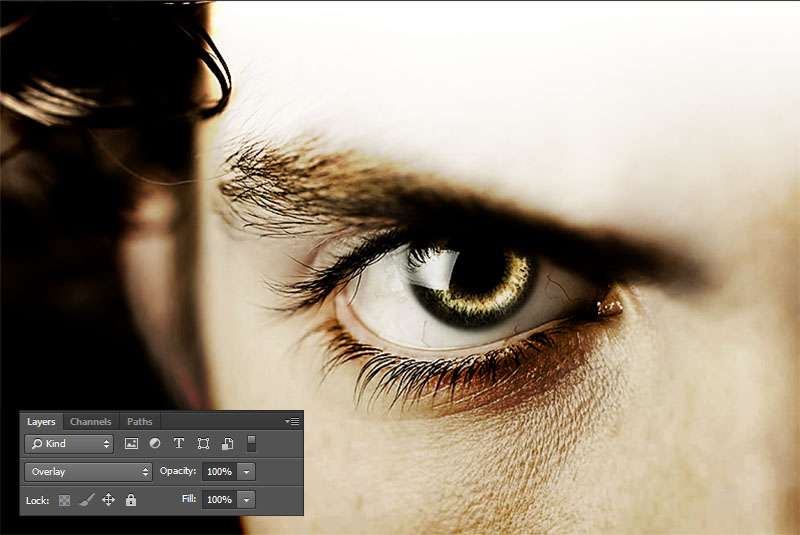
Create a new layer and fill with gray #929292

Set the Blend Mode to Saturation and bring the Opacity value down to 45% .
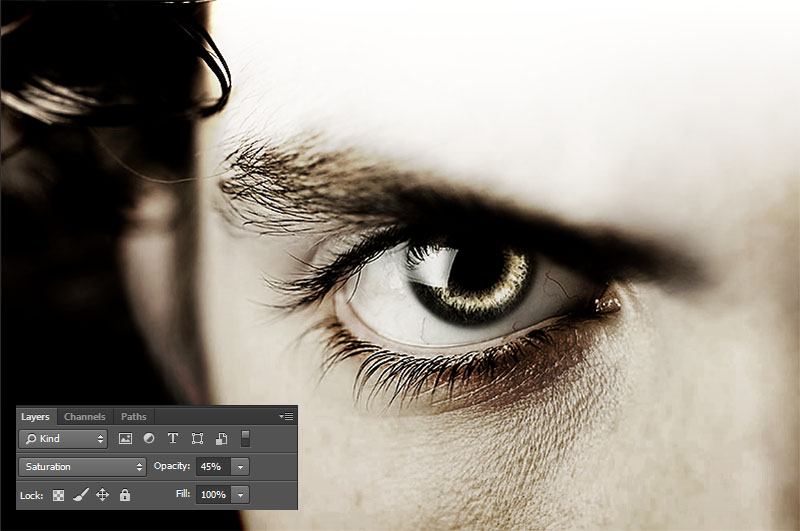
Then add a new black & white gradient fill layer
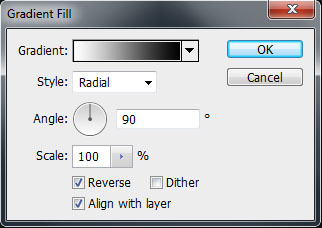
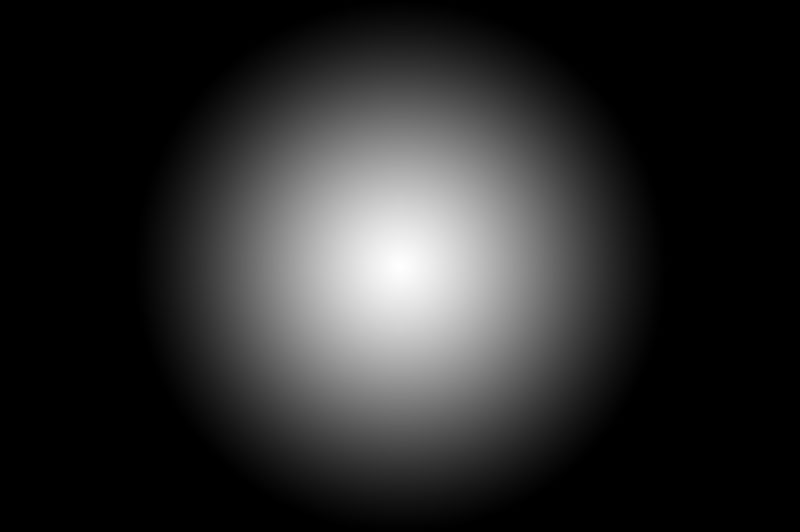
Set the Blend Mode to Soft light.
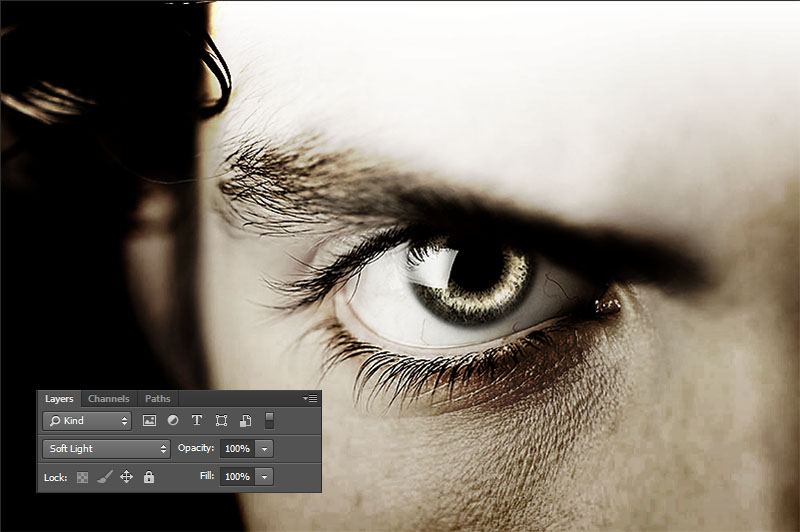
Then using the brush tool, with the Red color and setting the flow and opacity down a little you can start to build up a circle similar to the below image.

After that change the Blend Mode to Overlay and bring the Opacity value down to 68% .
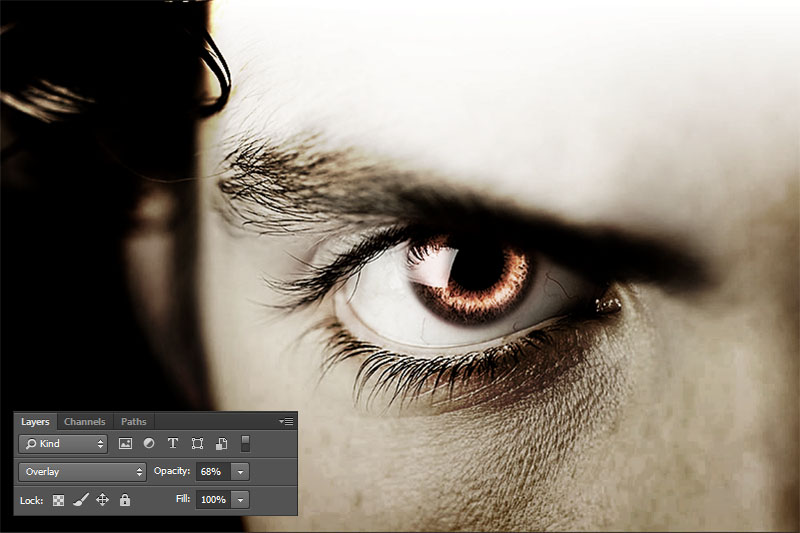
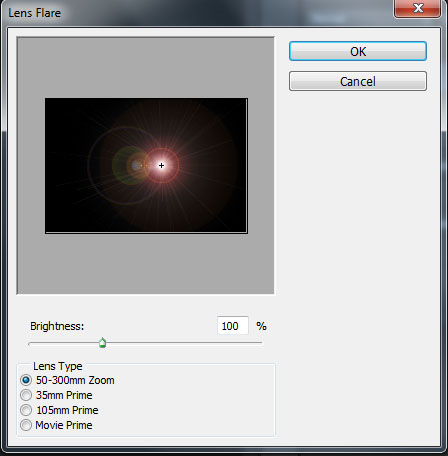
Create a new layer and fill with black then go to Menu > Filter > Render > Lens flare
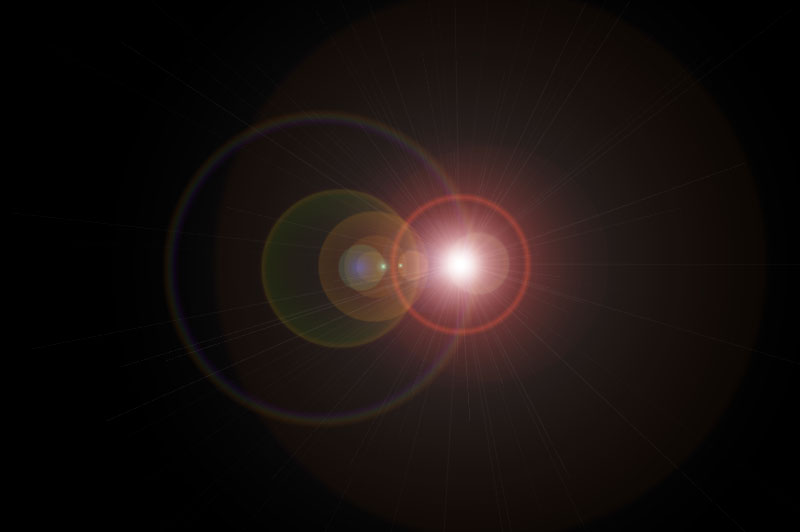
After that, change the Blend Mode to Overlay .

And your design will be done. Now it’s up to you to come up with your own. I hope you have fun.
