Create a Smoky Text Effect in Photoshop
in this tutorial we will learn how to create a smoky text effect using some creative Photoshop layer Styles and a little creativity!
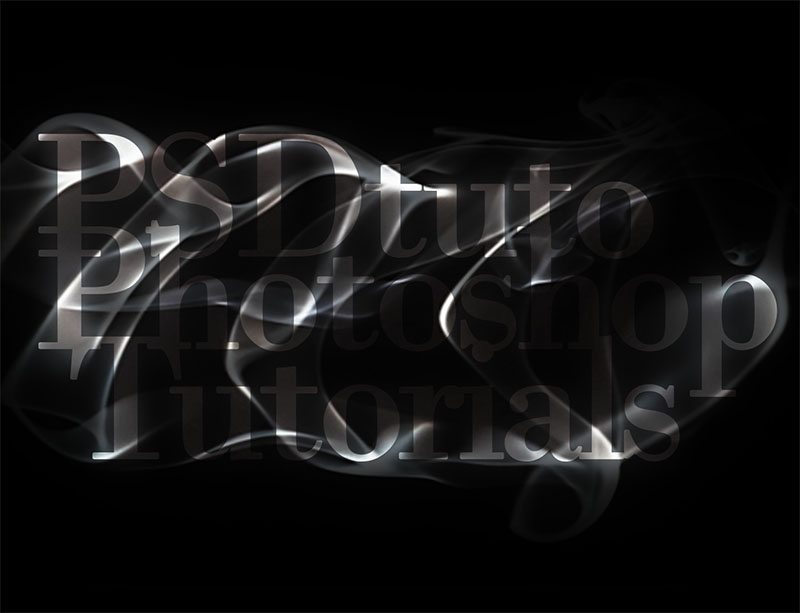
Final Image Preview

Open up a new document of 1920x1080px, resolution 72dpi, color RGB and fill it with black color.

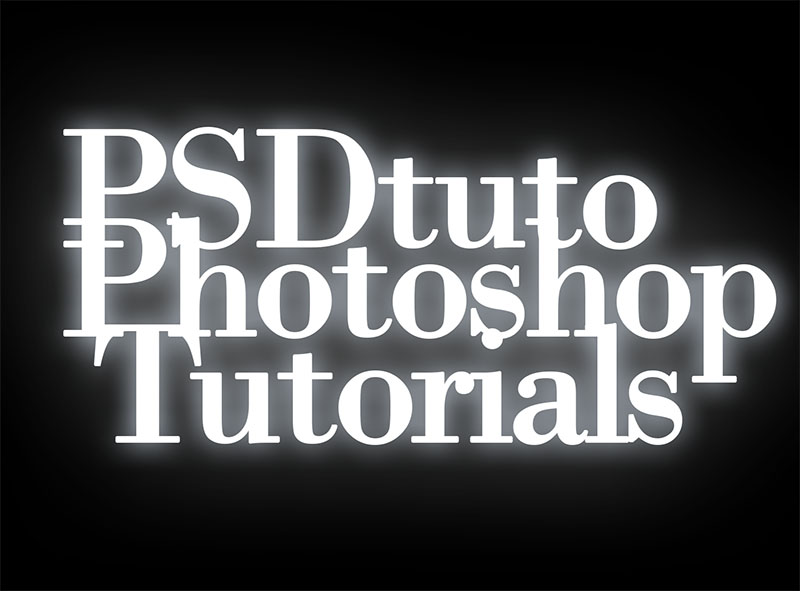
Now add some white text to the center of your canvas. I used the font ‘Bodoni MT’ set to 324pt. then convert your text to small object by going to Menu > Layer > Smart Object > Convert to Smart Object.
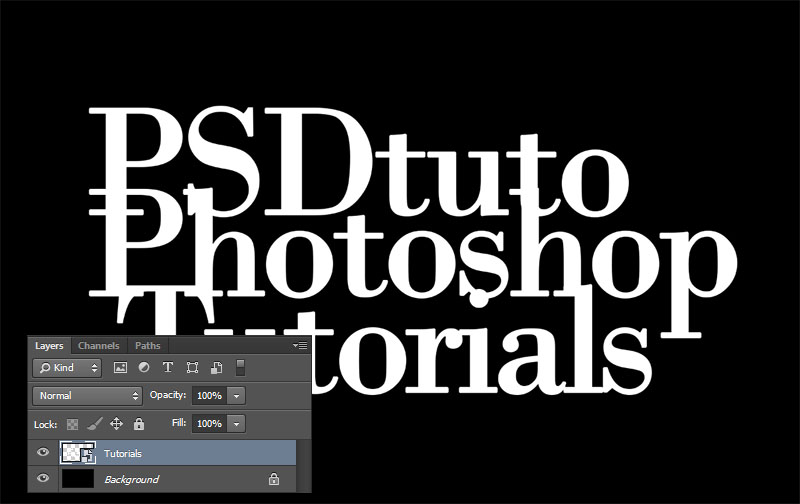
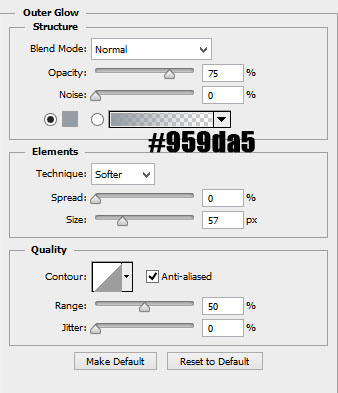
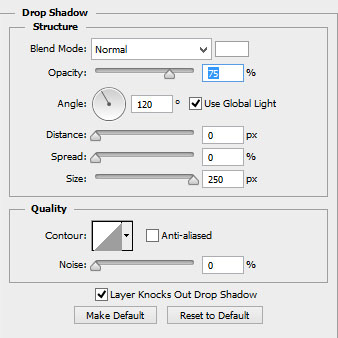
Double-click the smart object layer to open the Layer Style dialog
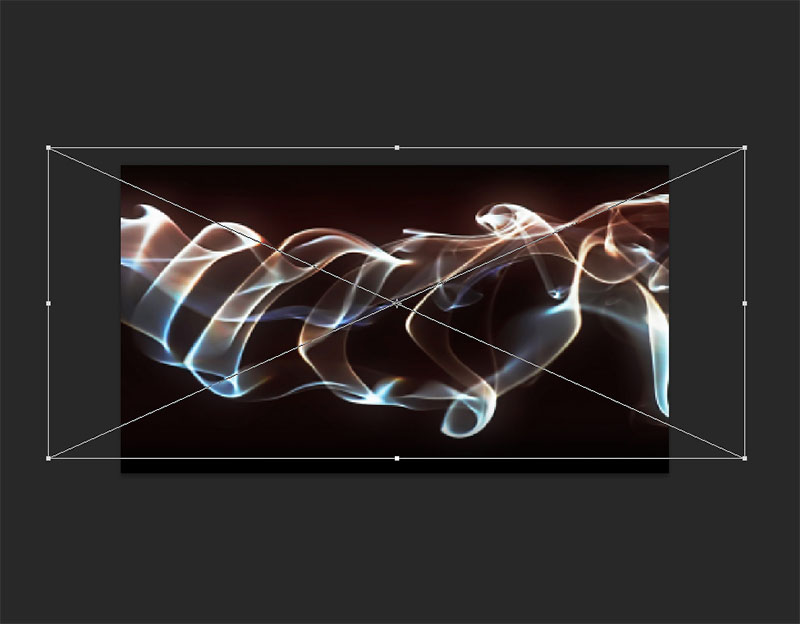
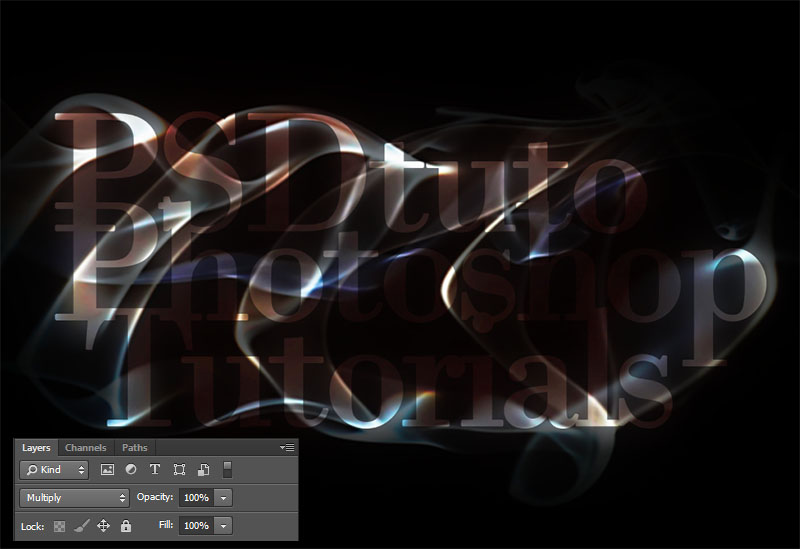
Open the smoke image. Use the Move Tool to place it onto the text and use the Free Transform Tool (Ctrl+T) to resize it.
Change the blending mode to multiply.
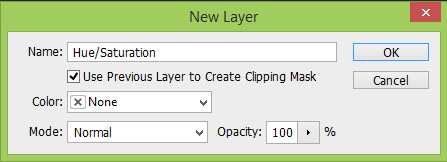
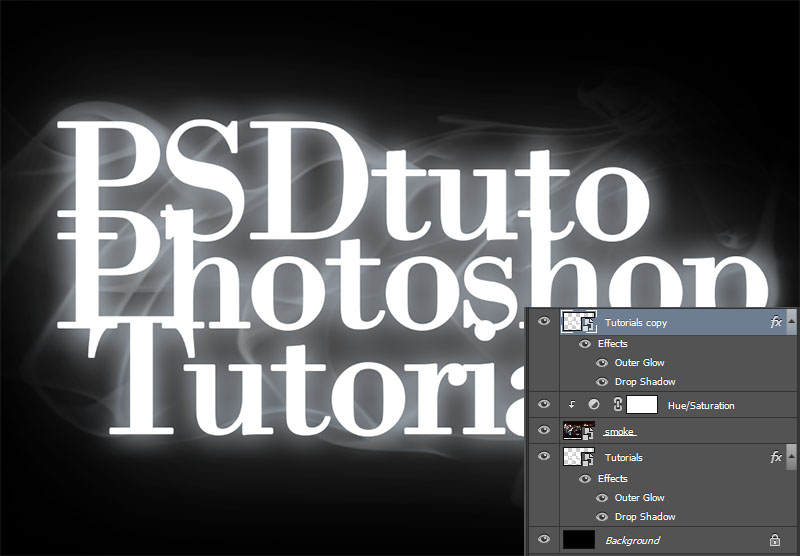
Now add a Hue/Saturation adjustment layer by going to Menu > Layer > New Adjustment layer > Hue/ saturation then set as Clipping Mask.
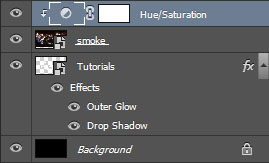
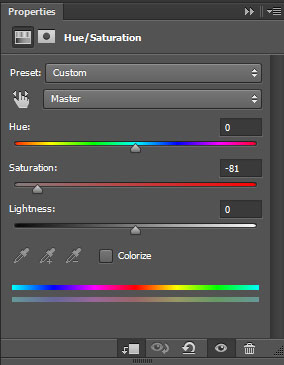
And bring the Saturation value down to -81.
Duplicate the smart object (text layer) by pressing (Ctrl+J) and drag it above the Hue/Saturation adjustment layer.
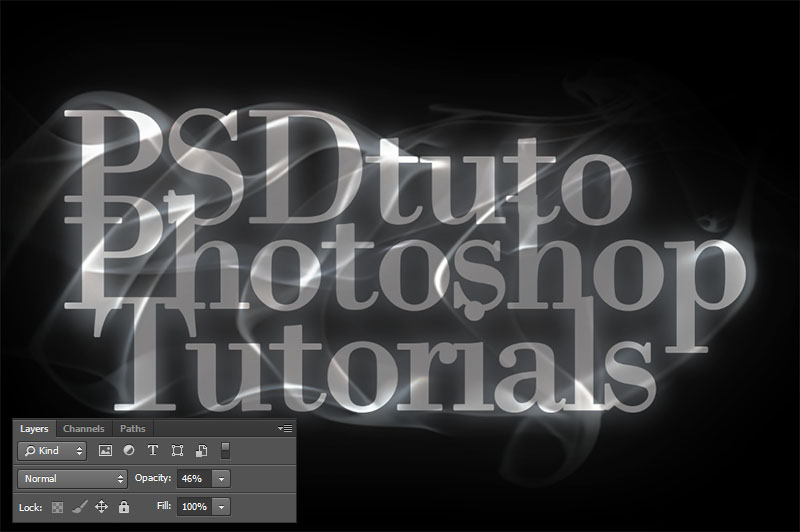
Then bring the opacity value down to 45%.
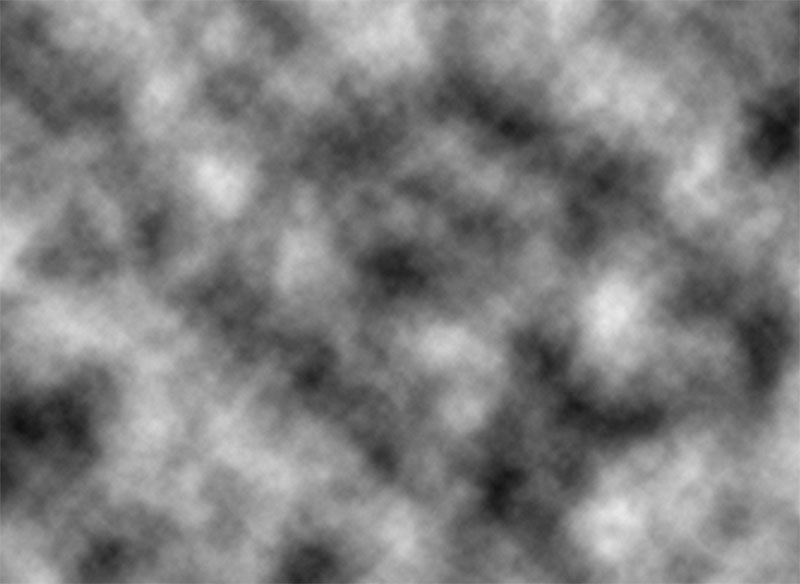
Create a new layer (Ctrl+Shfit+N), and apply a clouds filter by going to Menu > Filter > Render > Clouds.
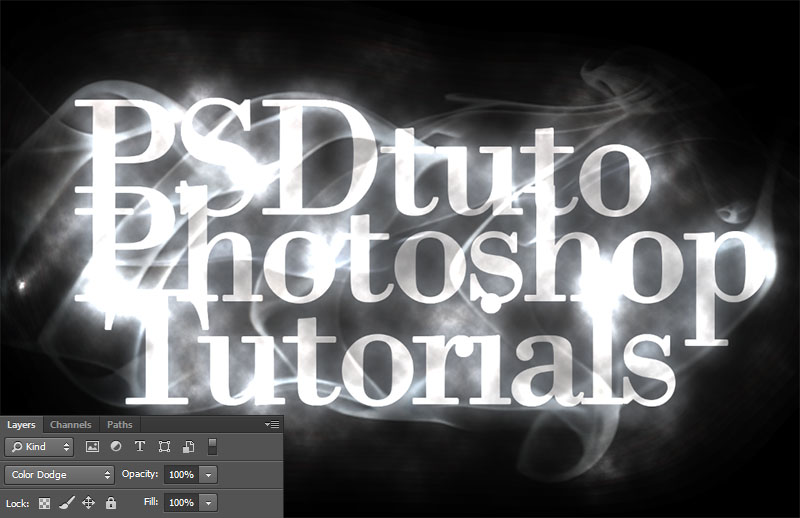
Change the blending mode to Color Dodge.
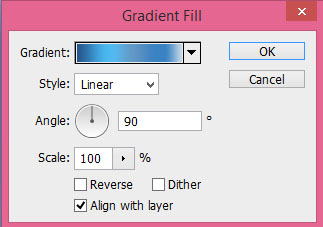
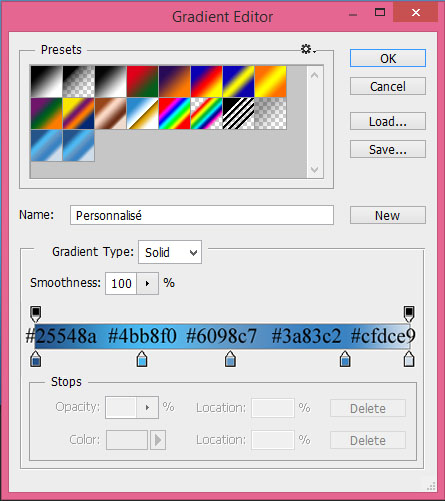
Now add a Gradient fill layer by going to Menu > Layer > New Fill Layer > Gradient

Finally, change the blending mode to Overlay.
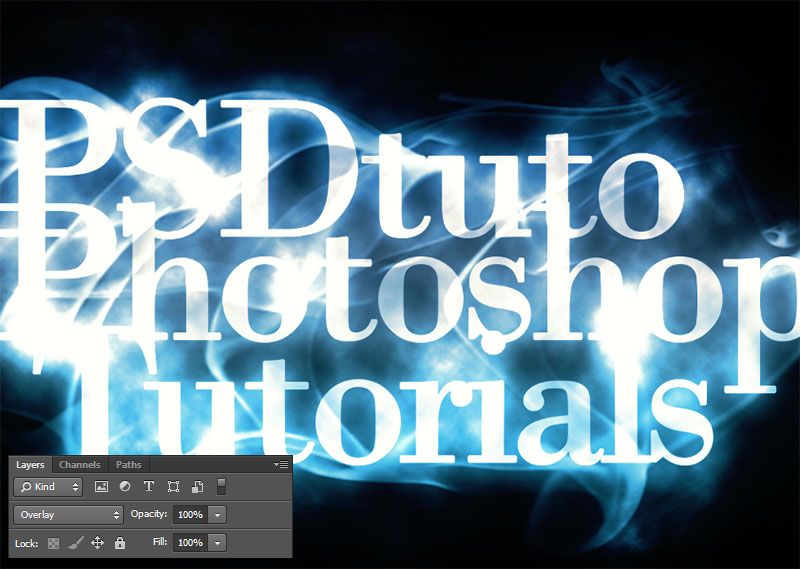
And We’re Done!
I really hope that you enjoyed this tutorial, and as always I’d appreciate your comments.


