


Grunge Effect with Photoshop
Photoshop is the number one of photo editing software; it is an amazing tool that can help you do splendid things to images using a variety of tools. It is great for creative expression and also for touch ups and edits. In this tutorial, I will show you how to apply a grunge effect to a simple image in a few steps using Photoshop.
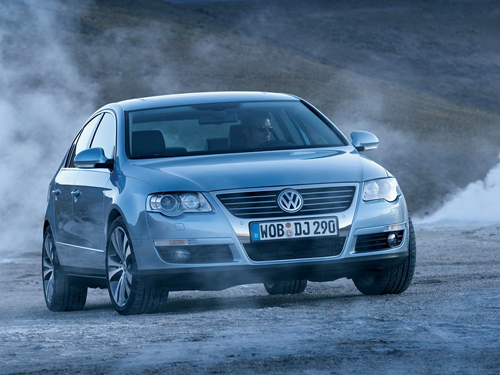
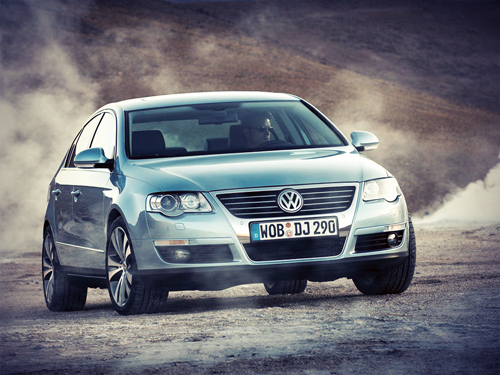
Start from creating 1024x728px canvas. Place the image of Volkswagen at the center of the document.
First, duplicate your layer ( Ctrl+J ).

Then, go to Menu > Image > Auto Color (Ctrl+Shift+B).

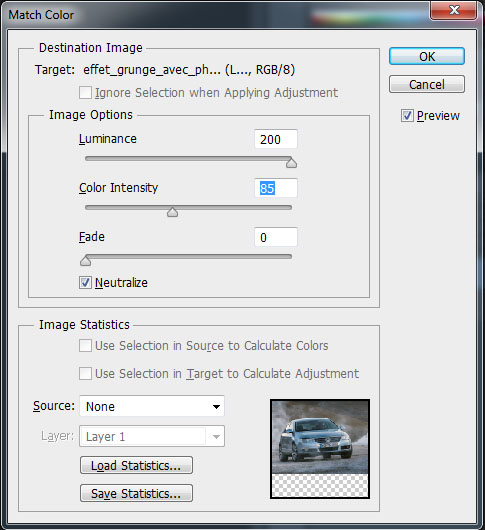
Now, go to Menu > Image > Adjustments > Color Match .

After that, go to Menu > Filter > Lens Correction and adjust the vignette like this.

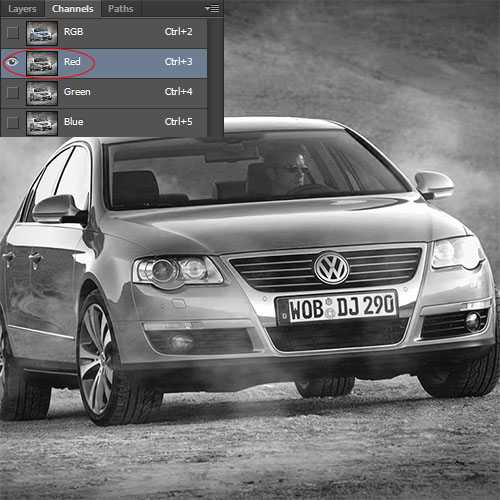
In the layers tab go to channel, choose the red channel
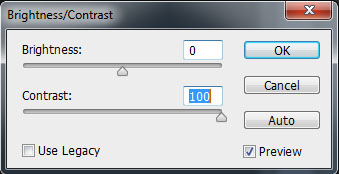
Go to Menu > Image > Adjustments > Brightness/contrast.

Repeat the same step with green channel
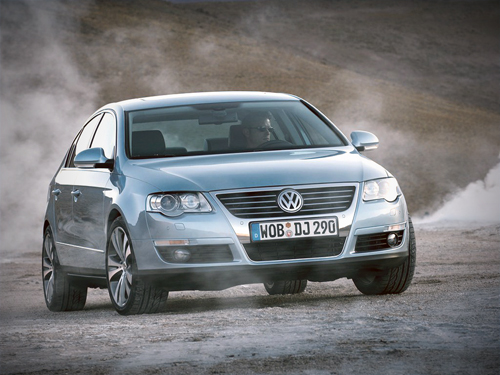
Here the result
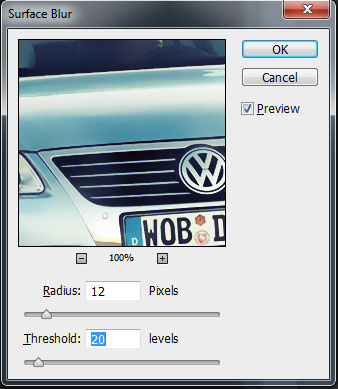
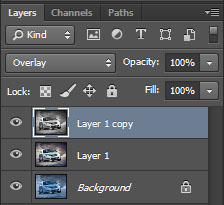
Then, duplicate your layer ( Ctrl+J ) and go to Menu > Filter > Blur > Surface Blur.

Desaturate the layer by going to Menu > Image > Adjustments > Desaturate (Ctrl+Shift+U)
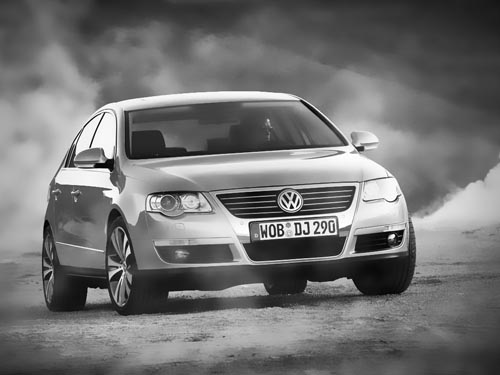
Finally, change the blending mode to Overlay .
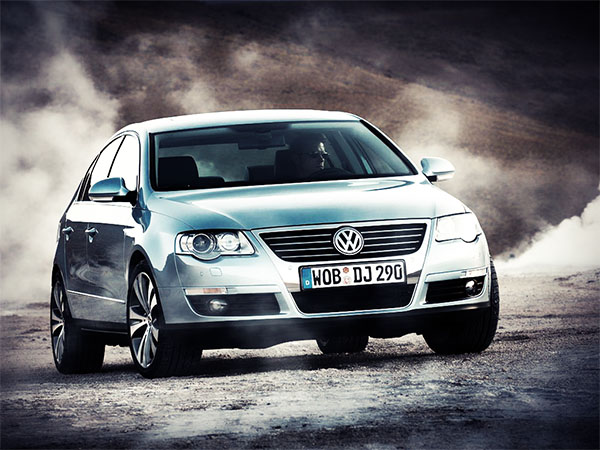
Here the final result


