Dark Abstract Photoshop Tutorial
There’s one genre of photomanipulation that we haven’t covered here yet at tutsps, and that’s the Photoshop Abstract look. In this walkthrough, we’ll use illustrated and photographic elements to construct an elegant black and white composite. Although this tutorial focuses on a stark black and white aesthetic, any of these steps can adapted for vibrant, full-colour work also. Ready? Let’s do it…
ABSTRACT STYLE
The Abstract photomanipulation style combines photographic elements, lines, 3D renders, shapes, brushes and other visual flourishes – resulting in a more conceptual look than the usual photomanip approach.

Before embarking on your own abstract adventure, it’s worth getting a feel for the look by checking out other notable works. As I don’t do many abstract pieces, I put together a mood board to generate ideas and gain inspiration:

You’ll notice there’s a lot of triangles in this scene… abstract guys LOVE triangles!!
GETTING STARTED: BACKGROUND
To start off, create a new file at print size ( File > New > Presets > International Paper > A4 / A3 ).
Right-click on your Background layer, and select ‘Blending Options’. Tick ‘Gradient Overlay’, select ‘Radial’ as the gradient style. Choose a dark gray, that transitions to a lighter gray – you can edit the colours by double clicking on the shaded gradient bar:
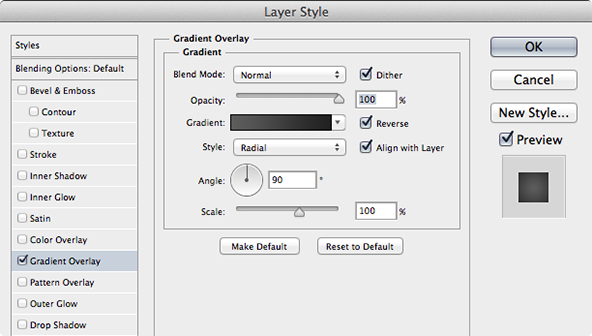
By using the above settings, you should have the rough background, which will look something like this:

COMPOSITING
Using a strong ‘focal element’ will always make a piece more visually engaging. In conceptual art like this, it could be a figure, animal or object – see the examples on the mood board above to get some ideas.
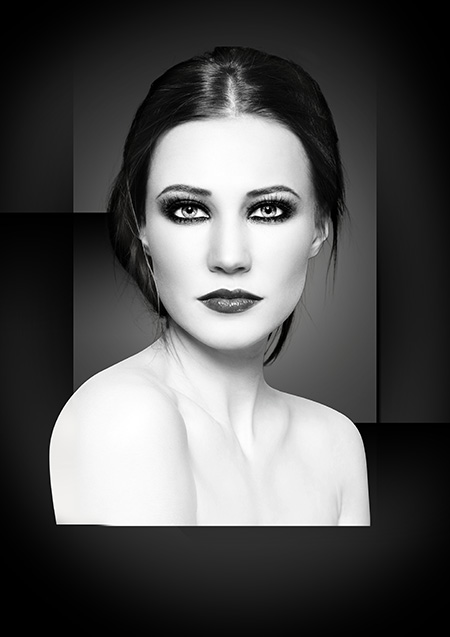
For the example piece, I opted for a striking fashion portrait from Fotolia ( #51278921 – Smoky eyes by Olga Ekaterincheva ). Here’s a look at the original photo, and how it looks against the background once composited:

Usually the best practice for compositing figure like this, is to remove the ‘sharp’ areas using paths created with the Pen Tool (P), and then tackling the hair with Refine Edge .
In this instance, the figure has a pure white background, and very dark hair – so I used a nifty trick to keep the hair intact… If you are working with a similar model image, head on over to the Brunette Background Removal walkthrough to get the headsup on how it’s done!!
With the figure fully composited using the above technique, this is how the scene for our example image looks so far:
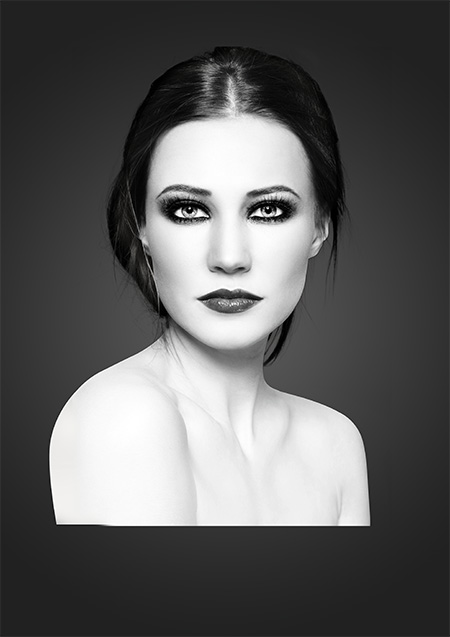
DARK SHAPES
In this step, we’ll add some visual interest by creating smooth black transitions and shapes.
Two black rectangles were added to the scene, on a new layer using the Shape Tool (U):
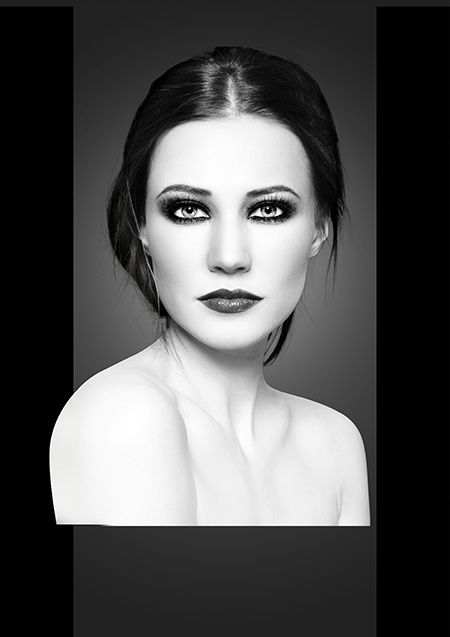
A Layer Mask was added the layer containing the black bars, and inverted ( Cmd / Ctrl + I ) to black – this will make everything in the layer invisible.
Use a very large Soft-Edged Brush set to white, to selectively paint back in some of the black bars, like so:
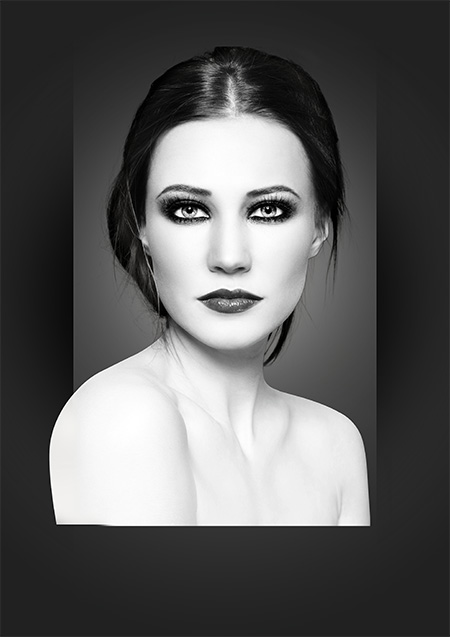
Here’s a look at the Layer Mask in action, with the large white soft-edged circle:
![]()
Here’s a quick method for creating ‘transitional’ gradients. Add a new layer, and draw a rectangular selection, using the Marquee Tool (M):

Set your foreground colour to black, and select the Gradient Tool (G) from the tool bar. Using the dialog at the top-left, choose the ‘Foreground to Transparent’ gradient:

With your marquee selection active, click and drag downwards using the Gradient Tool (G) – if you hold down Shift, the gradient will be perfectly ‘straight’:

You can repeat this transitional gradient technique throughout the image, as often as necessary.
A very large Soft-Edged Brush (B) set to black has also been used here to bring in the corners – for a ‘vignette’ look:
CHOPPING ELEMENTS
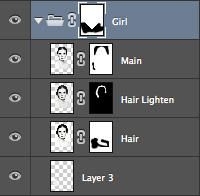
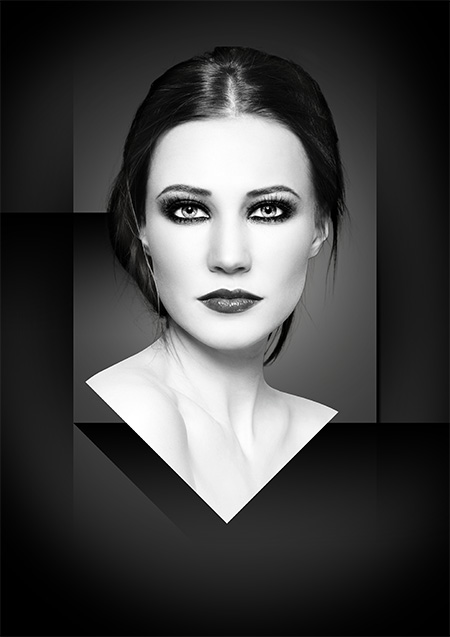
It’s always good practice to organise the elements in your layer stack into Groups. For the example piece, a large triangular area has been ‘cut out’ of our model image. This was achieved by adding a Layer Mask to the group that contains all of the layers for the girl, and then the ‘chopped areas’ were filled with black.
Here’s how it’s done…
1. Add a Layer Mask to your Layer Group ( or layer ).
2. Use the Polygonal Lasso (L) to create your selection:
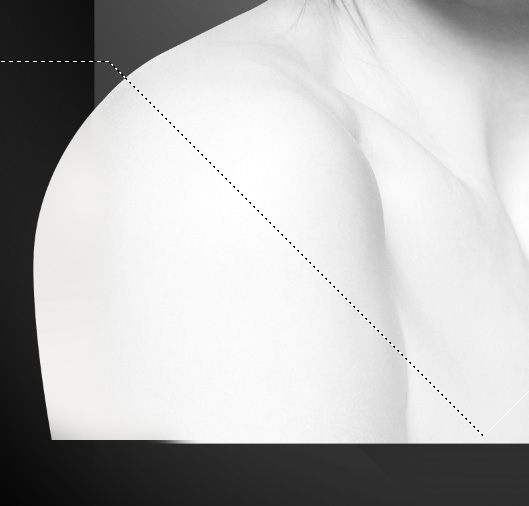
3. With your foreground colour set to black, fill the selection with black ( Alt + Delete ).
A look at the stock model layer group with the mask in place:
Our girl with the triangular shape chopped out, with some extra transitional gradients underneath:
STOCKS & RENDERS
Use the Pen Tool (P), cut out additional stock elements to add visual interest to your composite. By using the Pen Tool, everything is super-sharp, and professional looking – there really is no substitute!!
3D renders often come as .PSD files, or PNGs with transparent backgrounds, so that makes the compositing process infinitely easier. Here is a a look at the additional stocks that were incorporated into the example piece:

Credits: Fancy Lantern by ManicHysteria Stock (DeviantArt) , Asgard Render by k3-studio (DeviantArt) , Porthole by PsychoticME (DeviantArt)
Our new stock elements, positioned into place:

A BETTER BLACK AND WHITE…
You’ll notice that the stock elements are black and white, to match the composite.
As opposed to just ‘desaturating’ ( Image > Adjusments > Desaturating ) – a better method was used to make these elements black and white.
A selection was made based on the stock layer ( Hold down Ctrl / Cmd + Click the layer icon ), and then a ‘Gradient Map’ Adjustment Layer was added, via the dialog at the bottom of the layer stack:

Because we have a ‘selection’ of the layer, when we apply the Black and White gradient map, it will be masked to the layers contents. Here’s a look at the Gradient Map dialog box, and the black and white gradient you should select:

I maintain this creates the ‘best’ black and white in Photoshop.. make sure you give it a try
SPARKLE STARS
This step is nice and simple – to add sparkles, stars or small white specks, simply find an image with a black / very dark background like this:
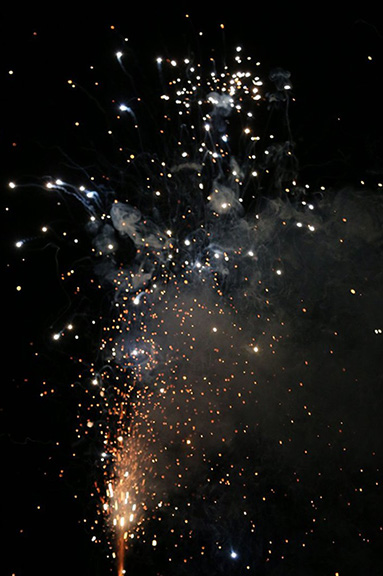
Credit: Fireworks Stock by Malleni-Stock (DeviantArt) .
Position your stock image into place, and change it’s layer mode to Screen. This will knock out all the blacks, and leave the lighter elements. You can tweak the intensity of the lights and darks quickly and easily by using the Levels command ( Image > Adjustments > Levels ).
Plain sailing:
DARK STAINS
You can add drippy / smeared / painted effects using similar techniques as outlined above.
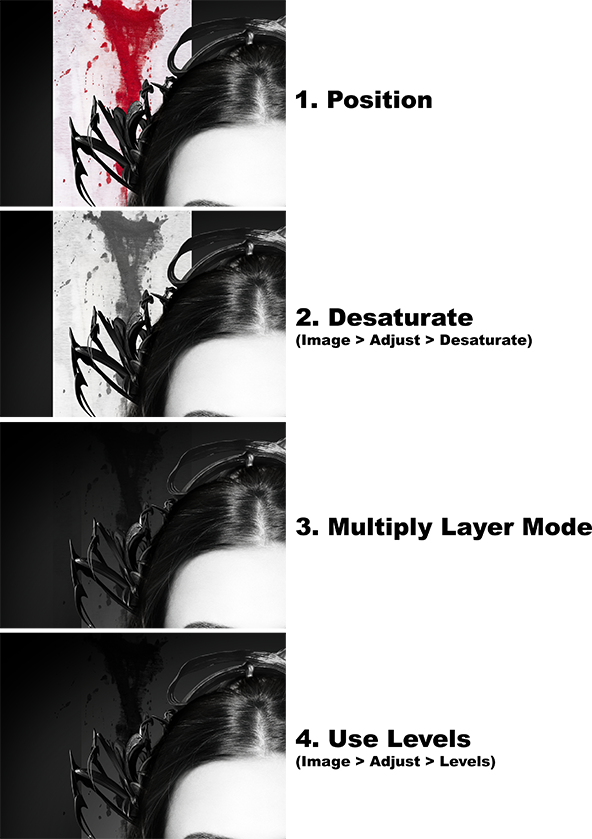
Head on over to CGTextures to grab some awesome fabric stains. Once you have the stain positioned, desaturate to knock out the colour ( Image > Adjustments > Desaturate ). Change the layer mode to ‘Multiply’ – this takes out the whites. Use Levels ( Image > Adjustments > Levels ) to strengthen the blacks, and pull back the whites even further if necessary:
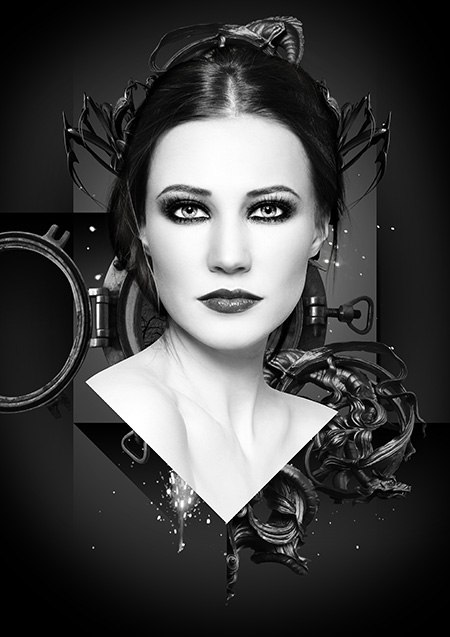
And there we have it – one super elegant black and white abstract piece:

REVIEW
We’re churning through the many styles of Photomanipulation – but is there anything in particular that you’d like to see? Don’t hesitate to give us in the comments below, or on Twitter / Facebook.
Are you ready for the real deal? Check out our full, Photomanipulation course >> RIGHT HERE


