


Elegant Photo Overlay Tutorial
Skill Level: Beginner
In this tutorial I’ll show you how to combine two separate images to create an elegant photo overlay, using some very quick and easy steps in Photoshop.

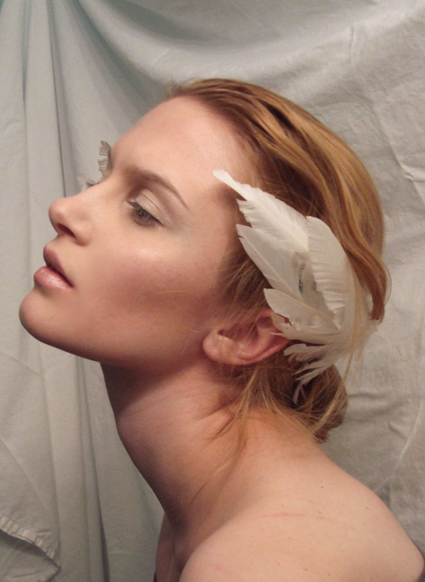
The first photo I used for this tutorial can be downloaded here .
First of all we want to convert the image to black and white.
With the photo open in Photoshop, go to Image > Adjustments > Desaturate.
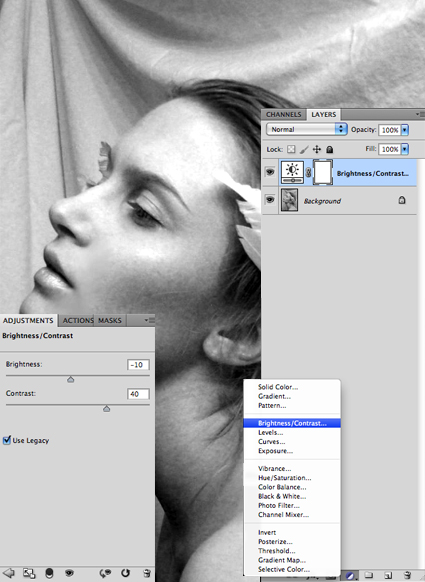
Next click on the adjustment layer button at the bottom of the layers panel, and choose Brightness/Contrast.
Balance out the sliders to give the contrast a boost while increasing the brightness.

Now you’re ready to drop in your second image by dragging the photo into your Photoshop document.
The image I’ve used can be downloaded here .
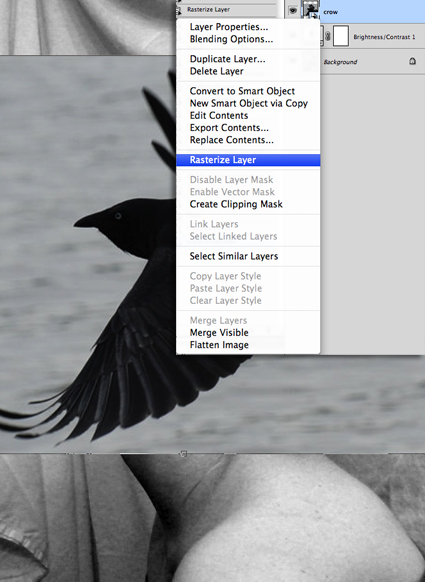
Desaturate the second image, then resize it using the Transform Tool, so it fits over the desired area of the first image.
When you’re finished, right click on the layer and choose Rasterize Layer.
By rasterizing the layer you can now apply further adjustments to the second image.
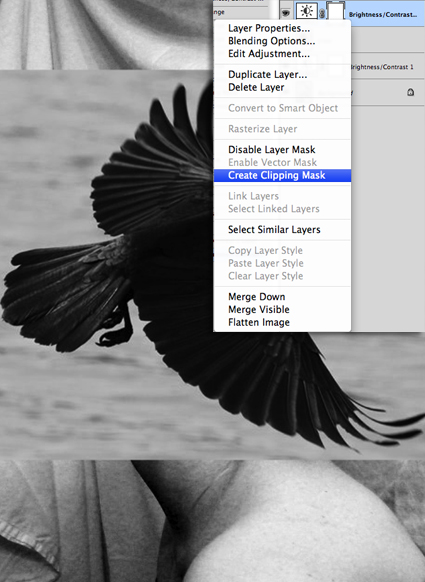
Add another Brightness/Contrast adjustment layer, then right click on the layer and choose Create Clipping Mask.
Now the adjustments you make will only apply to the clipped layer.
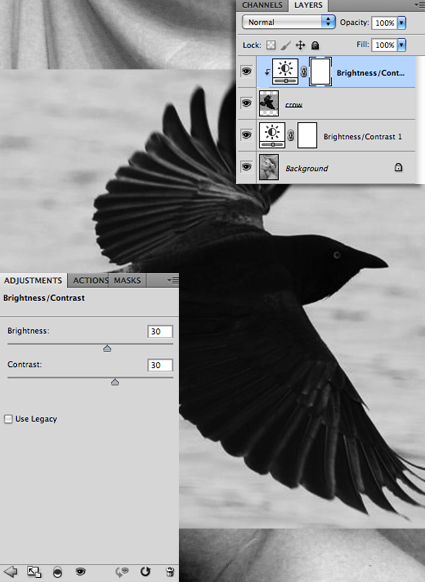
Increase the brightness and contrast as I have above.

Now click back on the second image’s layer and change it’s blending mode to Screen .

Finally select on the Crop tool and drag over the area that you want to make your final image, and then hit Enter.
And here’s the final outcome.


