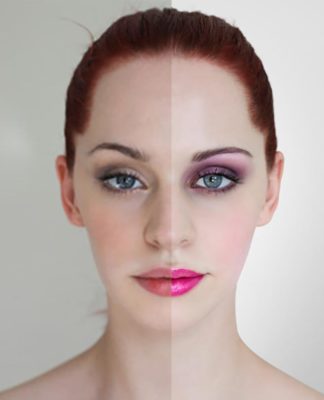
Photoshop Body Paint Tutorial
Im pleased to announce the start of a new ‘Fantasy’ season here at SurrealPSD, focusing on more lighthearted photomanipulation techniques. We can’t be macabre all the time!! Even though this is stepping out of my comfort zone somewhat, Im looking forward to learning some new techniques myself. To kick things off, we have a Body Painting walkthrough, that could be applied in a wide range of scenarios. Read on for the skinny..
BODY PAINTING
Ive been collaborating recently with a makeup artist here in the UK, and have really got into the aesthetic of ‘body-art’ and ‘body painting’. Some of the techniques are very innovative, and transfer brilliantly to a digital workflow. Before you start, spend some time looking at examples online – Ive collected some striking works on our Photography Pinterest Board which you can check out.
Nelly Recchia demonstrates what’s possible with this stunning artform:

IT’S ALL IN THE HIGHLIGHTS..
Ive experimented with digital body painting before, and never really achieved decent results. The main issue many people will face in creating this type of work, is retaining the highlights. Most paints will be moist, or reflective to a certain degree – whereas a lot of colour processing in Photoshop has a ‘dulling’ effect on reflective light.
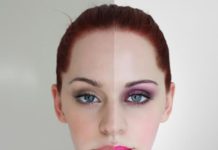
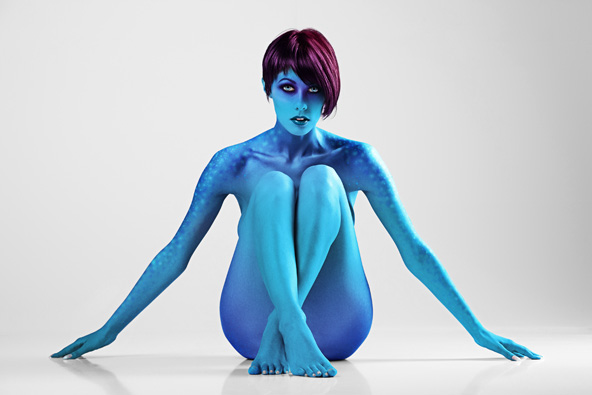
Here’s a look at the before and after for our example piece – as you can see, the soft reflected light on the right side of the body has been retained in the composite version:

THE STOCK
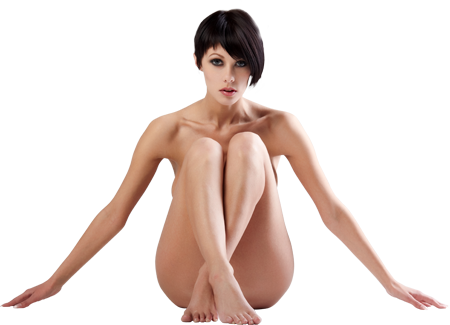
The processing method used for this technique is pretty ‘heavy’ on the pixels, and can get a little messy looking if you use poor quality stock. Seek out the cleanest artistic nude you can for your own work. For the example piece, I used an image from Fotolia Premium ( #28131848 Pure Beauty, © Maksim Toome ). If you choose to use Free Resources, spend some time browsing the DA Stock Gallery to get the right image; studio-lit photography will most likely work best!!
COMPOSITING
To start, extract your model image onto a new layer – this will enable us to control selections, and bring in another background if required further down the line. Regular readers will know I heavily prefer the Pen Tool method for cutting out the body, and the Refine Edge function for the hair. How you deal with the extraction is up to you, however I’d sincerely urge everyone to get to grips with the Pen Tool (P), because the results can be flawless
LET’S PAINT
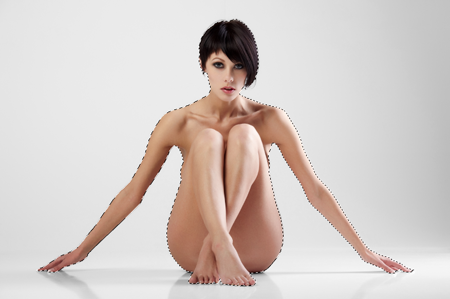
Hold down Ctrl/Cmd and click the stock model Layer Icon, on the layer stack – this creates a selection based on the layer contents:
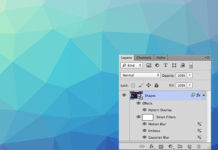
With the selection active, create a new Gradient Map Adjustment Layer – this is handy because it will apply the effects only within the selected area.
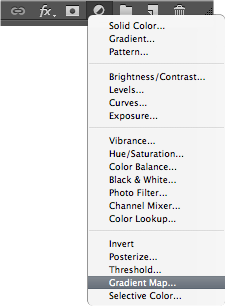
The settings used will largely depend on the tonal range of your model, plus the desired colours you would like to achieve. You can refer to the settings used in the example as a starting point, and then lead forward with your own experimentation. Listed below is the Gradient Map settings, with the RGB values of the three colour-stops used:

This step will require a fair bit of ‘experimentation’ and checking the image by eye to ensure you are not flushing out the highlights. Using the Gradient Map Layer Mask, remove un-needed areas such as lips, mouth, eyes etc. using a Soft-Edged Brush (B) set to black. This Adjustment Layer was reduced to 80% opacity, to lighten the intensity a bit. Here’s a look at the example image with the first blue tone, and masked areas:
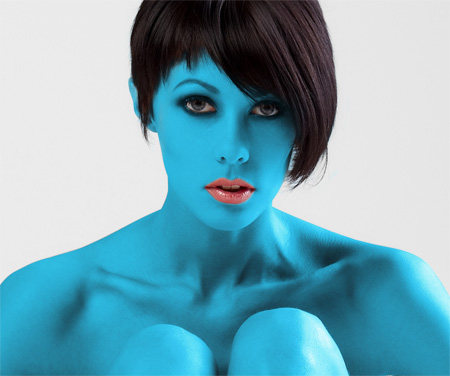
BUILD THE TONES
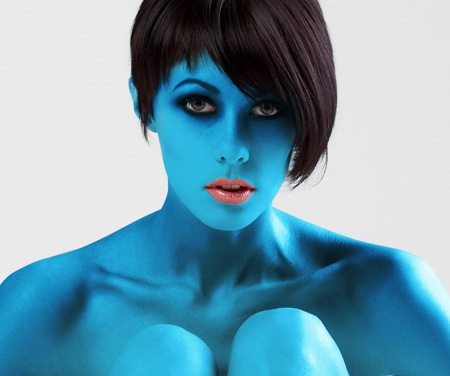
Although impressive, a single colour can be perceived as a little ‘flat’. Jazz up your piece by layering up more Gradient Map Adjustment Layers. To create a bit of variation for the example piece, I made another Gradient Map Adjustment Layer, and tweaked the colours using the following settings:

This darker tone Adjustment Layer was set to 55% opacity, and set to Overlay layer mode. Again, areas were masked out using the Layer Mask and a Soft-Edged Brush (B) set to Black:
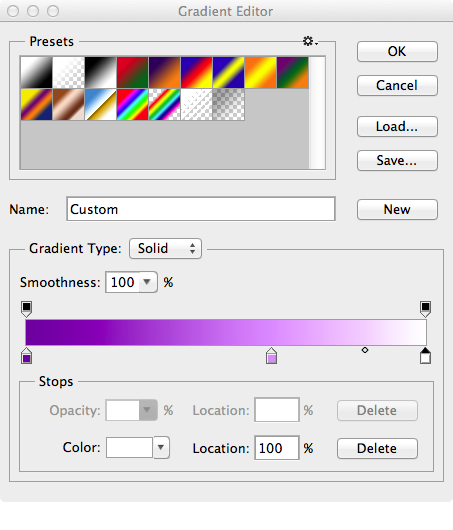
The third tone used is another Gradient Map, this time ramping up some purple hues:
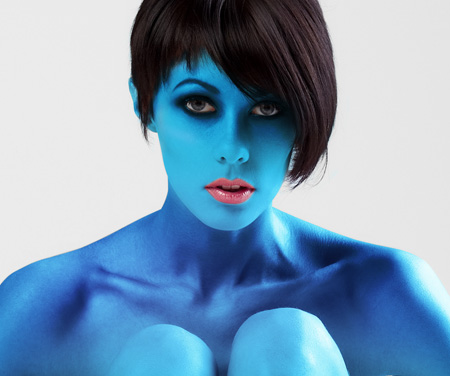
There are no hard and fast rules as to what opacity or layer mode you should be using, tweak until you find the right balance – that’s all that can be said!! This final tone was set to Hard Light layer mode, with opacity of 55%:
PATTERNS
You can enhance your body paint concept even further by creating patterns and other effects. For the example, I wanted to have some subtle alien patterning to liven it up somewhat. To achieve this, I created a new layer and created shapes with the Pen Tool (P), and filled ( right-click paths, select ‘Fill’ ):
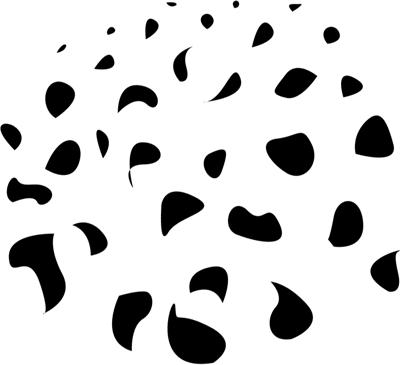
With the basic pattern established, you can then duplicate ( Ctrl/Cmd + J ), and transform ( Ctrl/Cmd + T ) as necessary. Here you can see the pattern has been repeated and moved into place:
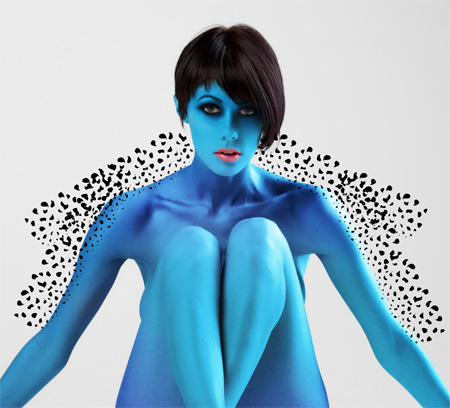
You can use the pattern to create a selection ( Ctrl/Cmd + click layer icon ), and then fill or paint inside the selection. I used all kind of layer modes, opacities and techniques to create darker and lighter shades, using the pattern mask as the base. In most instances a Gaussian Blur ( Filter > Blur > Gaussian Blur ) was used to soften the sharp edges of the pattern, for a more natural look.
Here’s a breakdown of the pattern effects, layer by layer:
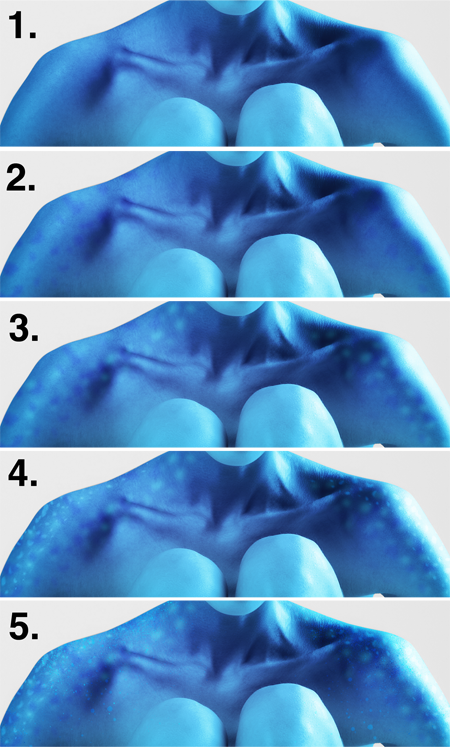
ADDITIONAL TEXTURES
You can use natural media / scatter brushes for dusty texture effects, as seen in image 5, above. Simply make a new layer, and then click with your brush to get some subtle scattered textures. Ctrl/Cmd + click your original stock model layer once again ( to create a selection ), if you would like to keep your work within the boundaries of the stock model area.
You can find a huge selection of PS brushes within the PsdGold, if you’d like to give this step a go. One of the brushes used for the example piece:

LIPS & HAIR
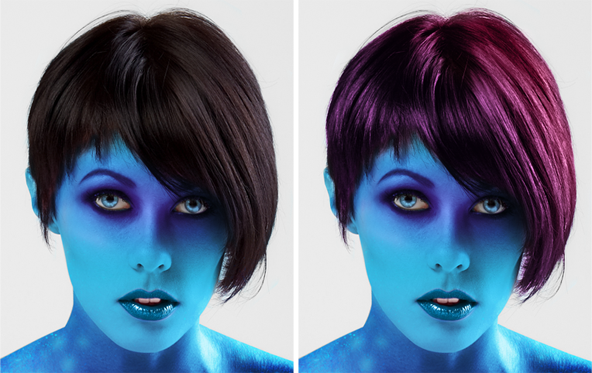
The lips and hair were worked in a similar fashion to the coloured skin tones. Again Gradient Map Adjustment Layers were used for the bulk of the work – for the lips, the layer mode was set to Hard Light, 90% Opacity. It’s a great effect, and really keeps those catch-lights in check!!
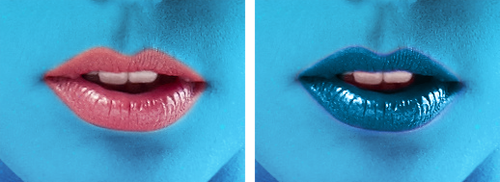
As my stock model is brunette, the highlights were getting a little lost; so I used the wacom to accentuate them on a new layer set to Linear Dodge:
FINISHING TOUCHES..
One method that works well for pulling out the pores / skin texture is to use Unsharp Mask ( Filter > Sharpen > Unsharp Mask ). Create a merged copy of all your layers ( Alt, Cmd/Ctrl, Shift + E ) and then apply the Unsharp Mask filter with your desired settings.
I really amped up the settings to increase the texture around the eyes, and selectively applied the effect using a Layer Mask . Works a treat!!
REVIEW
Fantasy season has started with a bang!! I hope you enjoyed the walkthrough – let us know if there are any techniques or effects that you would like to see explained, and I’ll see what I can do.


